


About
Made with a particular friend in mind as a gift
I roughly followed my tote bag tutorial to assemble the bag, so read that first. I'll go through the extra embellishments below...
It took a long time as I did a lot by hand, and purposely added lots of extra detail to make it last longer as I was enjoying myself!
Tags
-
 Gaia H. favorited Goth Handbag
26 Nov 11:41
Gaia H. favorited Goth Handbag
26 Nov 11:41
-
 Key West Witch favorited Goth Handbag
07 May 08:18
Key West Witch favorited Goth Handbag
07 May 08:18
-
 Isabel H. added Goth Handbag to Y2K Look
17 Sep 21:20
Isabel H. added Goth Handbag to Y2K Look
17 Sep 21:20
-
 Kay T. favorited Goth Handbag
11 Nov 09:04
Kay T. favorited Goth Handbag
11 Nov 09:04
-
 mel M. favorited Goth Handbag
14 Aug 04:00
mel M. favorited Goth Handbag
14 Aug 04:00
-
 Claire M. favorited Goth Handbag
31 Jul 23:40
Claire M. favorited Goth Handbag
31 Jul 23:40
-
 mizukixinoue added Goth Handbag to Bolsinhas
24 Jul 17:51
mizukixinoue added Goth Handbag to Bolsinhas
24 Jul 17:51
-
mizukixinoue favorited Goth Handbag
24 Jul 17:51
-
 Selene favorited Goth Handbag
02 Apr 13:34
Selene favorited Goth Handbag
02 Apr 13:34
-
George S. favorited Goth Handbag
29 Dec 02:36
You Will Need
-
Step 1
See my how-to embroidered panel for the front of the bag. I added beading and appliqued a choker to the bottom as the fringing.
-
Step 2
The back panel was cut to the same size as the front piece and I sewed the trimming and button in place.
-
Step 3
I then reinforced both panels with iron-on vilene to give the bag some stiffness.
The two panels were then sewed together along three sides, right sides facing. Turn the right way out. -
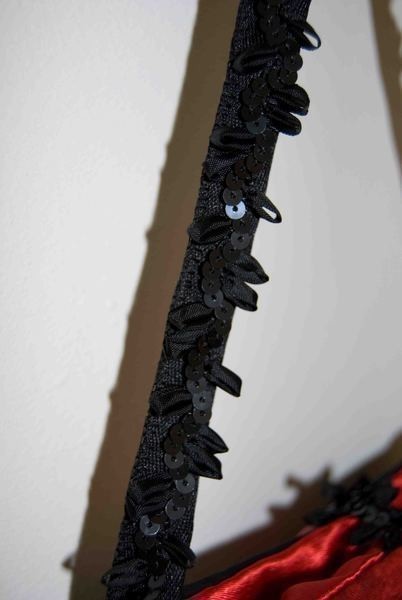
Step 4
The strap was made by taking a length of wide ribbon, sewing the decorative trim a quarter of the way along it's width, and folding the ribbon lengthways to hide the stitches on the back. I then used a small blanket stitch to seal the edge. The straps and a piece of trim were pinned to the bag as per the tote tutorial.
-
Step 5
I made the lining pieces slightly larger than needed to give the bag an opulent overflowing feel when it was made. They were stitched together, right sides facing along both sides, and along the bottom leaving a 4" gap in the centre.
-
Step 6
Put the outer bag inside the lining, and sew around the top. As the lining was slightly larger, I put small pleats in the top.
-
Step 7
Turn the bag inside-out throught the gap in the lining, and sew up the hole.
Comments


