


About
A cheap and easy way to keep your iPod safe!
My poor friend Brittany is cursed with the ability to drop absolutely everything when it is the least convenient for her to do so. So when I saw her poor iPod getting all dinged up, I asked her if she had a case. She said no. I said I'd make one. So this is what happened. ^_^!
You Will Need
-
 Step 1
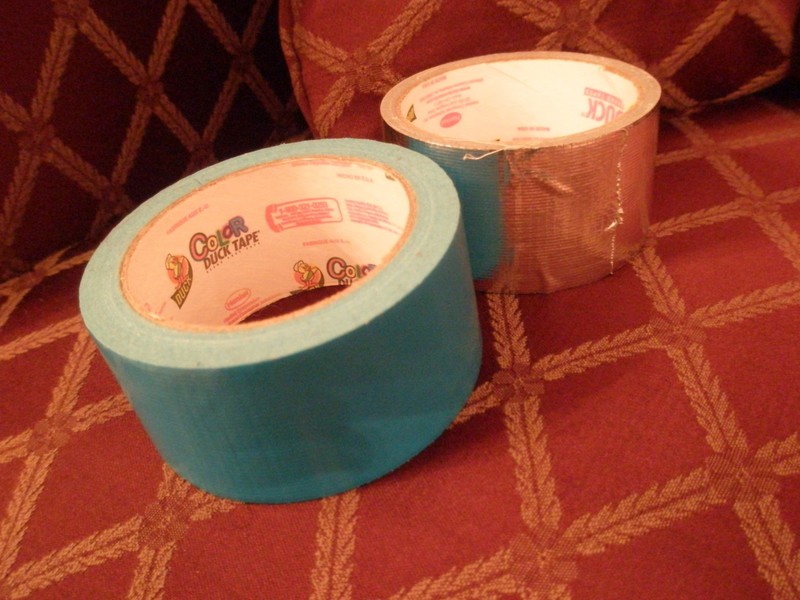
Pick out two colors of duct tape. (Or just one, it doesn't matter really. But I had teal and chrome.)
-
 Step 2
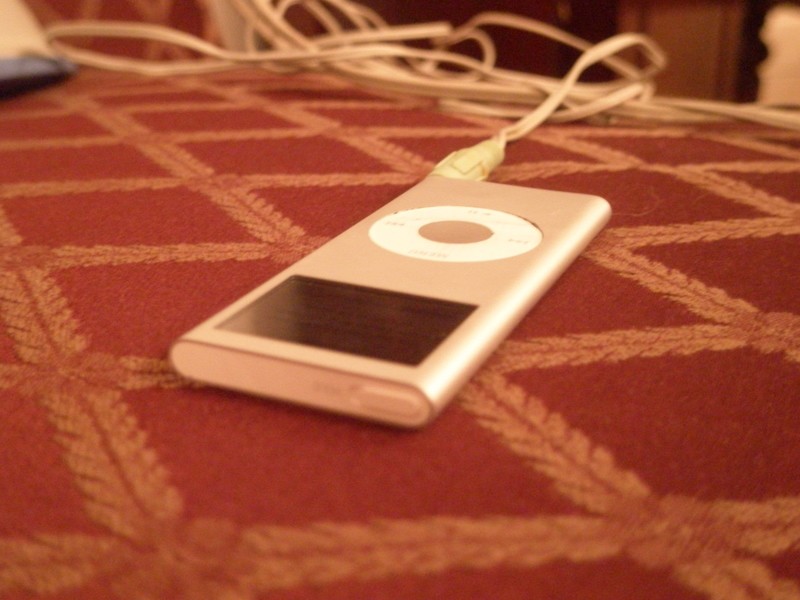
Have the iPod handy to use as a rough guide for size. From there, you know how big you'll need to make the strips. In this case, I just need one strip of tape...you'll see what I'm talking about in the next step. ^_^!
-
 Step 3
Take a strip of duct tape that is long enough to wrap around the iPod length-wise with a little bit left over. Get another piece of duct tape in the opposite color and stick it up against the sticky side of the other tape. Cut off the rough edges, and you should have a long-ish two-toned strip. This will make the body of your cozy.
-
 Step 4
Do the same thing with a strip of tape that is the length of the iPod. (Don't double this one! It only needs to be the length of the iPod!)
-
 Step 5
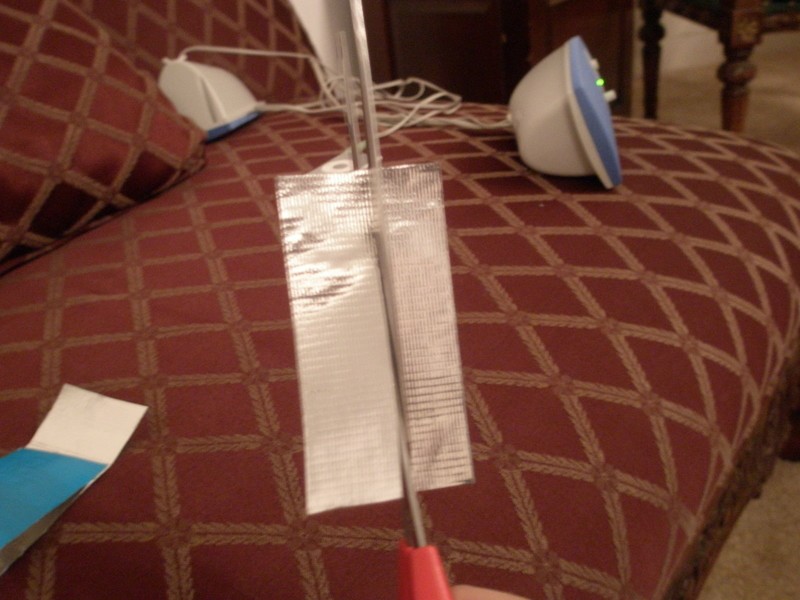
Cut this strip in half and set aside for later. Eventually, these will be the sides of your case.
-
 Step 6
Wrap your large sheet around your iPod to find out how big it's going to be wrapped around. Make sure you have a little extra overlapping around the back so you can close the case up. Once you have determined this, use a Sharpie or other permanent marker to mark off the screen and scroll wheel.
-
 Step 7
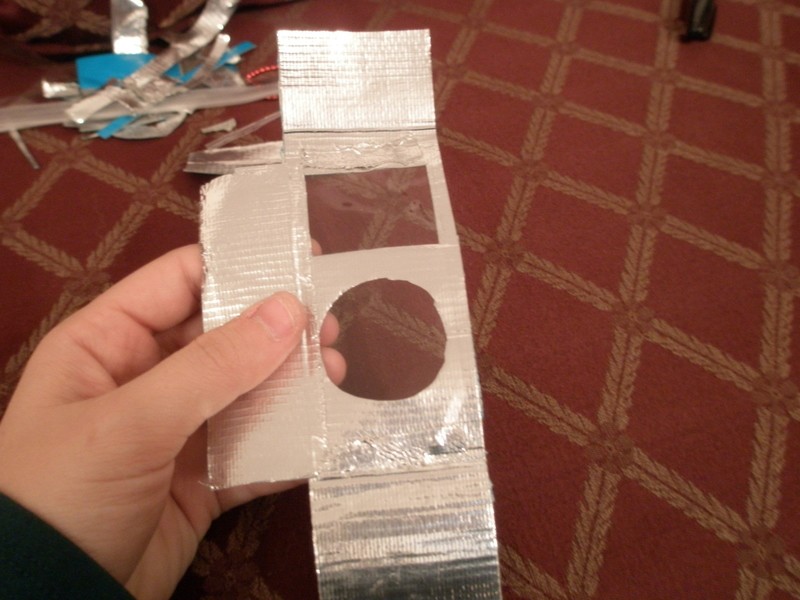
Cut out the screen and scroll wheel--be careful! I had giant scissors and nearly ruined the whole project, lol. It's alright if the spaces are a little big, but try to make sure they match up or you may be in trouble!
-
 Step 8
Now that you have the basic shell of the device, it's time to add the clear vinyl insert to keep the screen and scroll wheel safe and to add the sides in.
-
 Step 9
Cut out a piece of clear vinyl big enough to fit behind the iPod shell without sticking out.
-
 Step 10
Tape the vinyl on with the same color tape you're using for the inside.
-
 Step 11
Next, tape on the sides that you made before with the same color tape that you are using for the inside. Careful not to let the tape overlap with the vinyl (at least where you can see it through the holes.)
-
 Step 12
The easiest way to do this is to take an entire strip of the inside color tape, press it along the back side of the strip you made, and let that piece of tape attach the side strip to both the front and back at the same time.
-
 Step 13
My directions are vague and terrible, but your iPod cozy should look something like this with the strip taped on.
-
 Step 14
Tape the other strip on and it should look something like this:
-
 Step 15
Bring up the back and stick to the sticky side strips. Now you have a sleeve! And and extra bit at the top, which will be important very soon!
-
 Step 16
Cut a little piece out of the bottom for the headphone jack.
-
 Step 17
See these ugly seams along the side? We're going to fix them AND make a closure for the back at the same time! Take a strip of the blue tape (or whatever you used) and fold it over on itself length-wise so that there's no sticky parts hanging out. Then rip off another piece of tape that's the length of the cozy and cut it in half. Wrap the tape along the sides, sticking the strip to the back as you do.
-
 Step 18
Now you should have a handy flap thing that you can slide your top flap into to close the cozy.
-
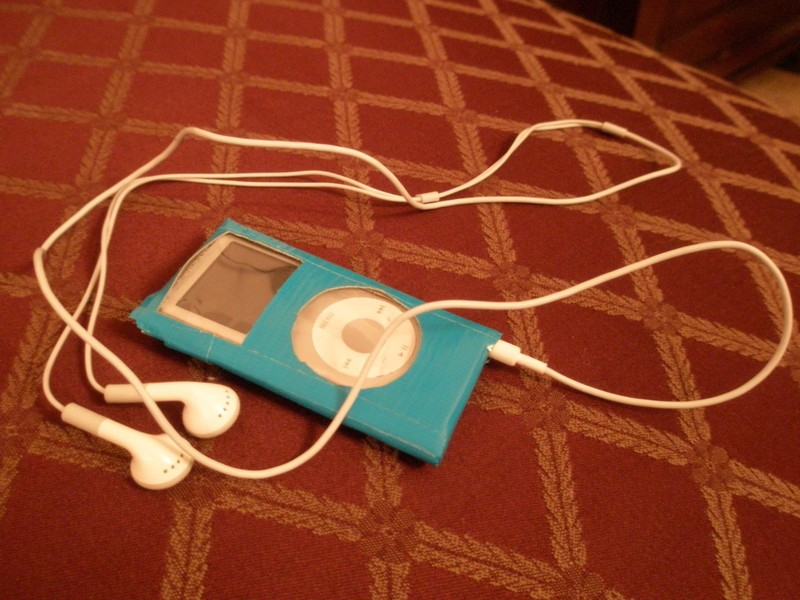
 Step 19
Voila! If you have managed to follow my horrible and convoluted instructions, you should end up with something that looks vaguely like this (or hopefully better, since this was a first attempt and kind of bad. :P) Enjoy!
Optional step: Cut a little flap in the top as well for the lock/unlock switch. But that's up to you. ^_^!


Comments

 1
Books & Journals »
Locking Box And Journal
1
Books & Journals »
Locking Box And Journal
 2
Babies & Kids »
A Toy Kitchen For A Child
2
Babies & Kids »
A Toy Kitchen For A Child
 3
Origami Flowers »
Origami Orchid
3
Origami Flowers »
Origami Orchid
 4
Office »
Pretty Sketchbooks
4
Office »
Pretty Sketchbooks
 5
Charms & Keyrings »
Shugo Chara Inspired Pop It
5
Charms & Keyrings »
Shugo Chara Inspired Pop It

