About
Bound
The pampered lifestyle of kings and queens is lost to most of us, but you can re-create it with hand-sewn books. This set of mini journals may strike your fancy or serve as an honorable gift to the royal persona in your life.
finished dimensions
Depends upon the original box size
stitches used
Coptic stitch - http://www.cutoutandkeep.net/projects/coptic-stitch
running stitch, gathering stitch - http://www.cutoutandkeep.net/projects/gathering-stitch
-
 C.J. M. added Cigar Box Books to Paper
30 Apr 23:36
C.J. M. added Cigar Box Books to Paper
30 Apr 23:36
-
C.J. M. favorited Cigar Box Books
30 Apr 23:36
-
Luna D. favorited Cigar Box Books
25 Apr 07:18
-
 Sveta favorited Cigar Box Books
19 Jan 06:56
Sveta favorited Cigar Box Books
19 Jan 06:56
- kzk favorited Cigar Box Books 28 Nov 08:29
-
 Xfluffy_unitatoX favorited Cigar Box Books
19 Nov 22:14
Xfluffy_unitatoX favorited Cigar Box Books
19 Nov 22:14
-
 tyler t. favorited Cigar Box Books
10 Nov 08:32
tyler t. favorited Cigar Box Books
10 Nov 08:32
-
 Maggs added Cigar Box Books to Household
08 Aug 20:48
Maggs added Cigar Box Books to Household
08 Aug 20:48
-
 Kinhime Dragon added Cigar Box Books to alter
23 Jul 12:41
Kinhime Dragon added Cigar Box Books to alter
23 Jul 12:41
-
 Ali L. added Cigar Box Books to Journals and Smash Books
18 Jul 03:45
Ali L. added Cigar Box Books to Journals and Smash Books
18 Jul 03:45
-
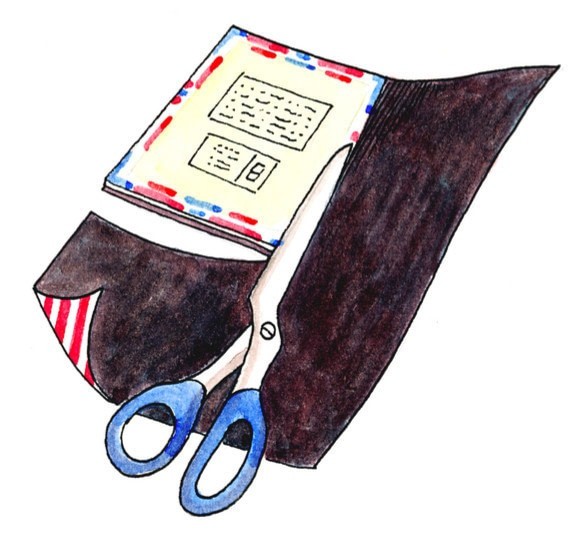
Step 1
Cut the lid off the cardboard cigar box by gently running a craft knife along the inside hinge of the top panel and repeating until all layers of the cardboard are cut. Working from the inside of the cardboard cigar box, gently cut through the layers of board at all side joints (where the side panels meet each other in the corners). Cut the remaining joints that link the side panels to the bottom panel of the box. Once that’s done, you will have six individual boards.
-
Step 2
With a paper cutter, even out the raw edges of the boards so they’re straight.
-
Step 3
Smooth the cut edges of the boards by lightly sanding them with fine sandpaper. Depending upon the age of your cigar box, some of the printed label paper may flake off. This is okay—it adds to the vintage look.
-
Step 4
Cover your worktable with wax or craft paper to protect it from the ink. With a brush and undiluted India ink, paint the raw edges of the boards with one or two coats. Allow the edges to dry completely.
-
 Step 5
When they’re dry, pair the boards according to size. There will be three pairs total.
-
Step 6
Choose any cover board. With a glue brush and glue, coat the back side of the board with a thin layer of glue.
-
Step 7
Position the glued side of the board on the back of one decorative paper sheet.
-
Step 8
Press the paper to the board and smooth out any air bubbles with the bone folder.
-
 Step 9
Use the scissors or craft knife to cut the extra decorative paper edges from the glued board.
-
Step 10
Repeat these steps for each remaining cover board.
-
Step 11
MAKE THE SIGNATURES
To determine the dimensions of the pages for the journals, choose one of the cover boards and measure it. Write this measurement on a piece of scratch paper. Subtract 1/4 inch (6 mm) from the height. Multiply the width of the cover board side by two, and then subtract 1/4 inch (6 mm) from that total. For example, your paper size would be 73/4 x 43/4 inches (19.7 x 12 cm) if you had 4 x 5-inch (10.2 x 12.7 cm) covers.
-
Step 12
With your paper cutter, cut 45 sheets of text-weight paper to this size. Separate the sheets into nine piles of five each. (There will be nine signatures in each journal.)
-
Step 13
Use the bone folder to fold each stack into a signature.
-
Step 14
Repeat steps 11 through 13 for each remaining set of covers.
-
Step 15
CREATE A PUNCH GUIDE
Determine the dimensions of the guide—it will be the same height as your signature and 2 inches (5.1 cm) wide. Cut the template from the sheet of cardstock to the determined size. Fold the template in half lengthwise, so it’s the same height as before and 1 inch (2.5 cm) wide. Smooth the crease with your bone folder.
-
Step 16
Open the template and place it on your work surface.
-
Step 17
Measure 1/2 inch (1.3 cm) from the top and bottom of the guide,
and mark these points along the inside of the fold line. -
 Step 18
Measure 1 inch (2.5 cm) from the top and bottom of the guide and mark these points along the inside of the fold line as well. You will have a total of four marks on the fold. Draw an arrow on the inside of the guide to signify the upright position.
Tip: If your covers are more than 6 inches (15.2 cm) tall, you might consider adding more sewing stations in the center of the spine.
-
Step 19
PUNCH THE HOLES IN THE SIGNATURES
Nest the punch guides inside the corresponding signatures
in the gutter of a phonebook and punch holes with your awl where you made marks. Repeat for each set of signatures. After completing each set of signatures, stack them and place them within their matching covers. -
Step 20
PUNCH THE HOLES IN THE COVER BOARDS
Choose a book set to start with. Remove the top cover and the top signature. Place them on your work surface with the cover board on top of the signature and the spines facing you.
-
Step 21
Center the signature under the cover board so there’s 1/8 inch (3 mm) of space at the top and bottom.
-
Step 22
Slide the cover board back 1/4 inch (6 mm) or so to reveal the spine of the signature underneath it so you can use its holes as a guide.
-
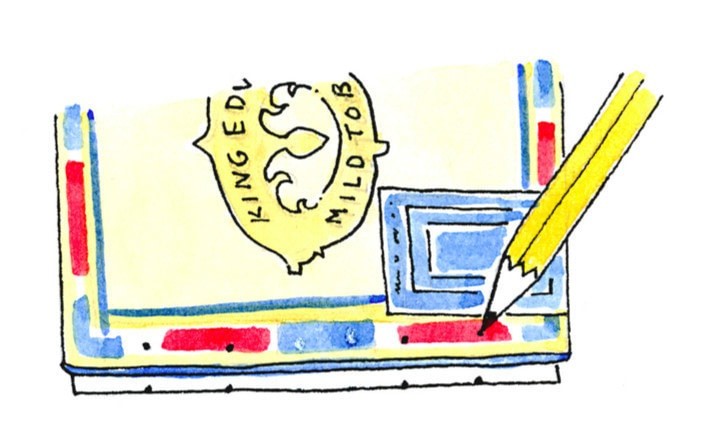
 Step 23
Mark the placement of the holes on the cover board using a pencil. They should correspond to the top and bottom sewing stations on the signature. The two marks should be placed 1/4 inch (6 mm) from the spine edge of the board.
-
Step 24
Use an awl to punch holes through the two marks.
-
Step 25
Repeat steps 20 through 24 for the bottom board and all remaining
cover boards. -
Step 26
ASSEMBLE THE BOOK
Align the signatures within the two covers of one book, and place it on your work surface.
-
Step 27
Determine the length of the binding thread by measuring the height of the signature. Multiply the height of the spine by nine and add 24 inches (61 cm). This is the amount of thread needed to sew each book.
-
Step 28
Pull the bottom signature from the stack. Enter a threaded needle into the outside of the rightmost sewing station and pull it into the center of the signature. Pull the needle until there is a 12-inch (30.5 cm) tail of thread remaining on the outside of the signature. Enter the thread into the second sewing station and pull it to the outside of the signature. Continue sewing in running stitch with true kettle stitches linking the signatures at the top and bottom sewing stations.
Variation: When you reach the final signature, you may wish to make a gathering stitch by looping around the previous running stitch threads. Complete the binding by linking the final sewing station to the previous signature with a true kettle stitch. Leave the thread long after the final stitch. It will be used to attach the covers.
-
Step 29
Use the loose tail threads to attach the covers. Tie off the loose threads in the inside of the nearest signature and trim the tails to 1/4 inch (6 mm).
-
Step 30
Repeat steps 24 through 29 for each journal set.