


About
Tutorial:: Basic Boy's Pants
So there are tonnes of baby pants patterns out there to download, you can find some here from one of my favourite crafty mummy's blog "Everything your Mama made + more". She has over 1000 tutorials she has collected all in one handy space.
I found it easier to draft my own pattern and tweak it a few times for Vincent, since he has the longest legs! You can download the pattern I made here, for free! Pants like these are the simplest things to make, but I made them a bit different to cater for the little man's butt, because most baby patterns are the same front and back. Well I know that's not true, especially with a nappy on! My pattern caters for the bulge!
Measure the length of your baby's legs from their waist, over their butt and down to their ankle. You should have a rough estimate then on how long the pants should be. Vincent's legs are 40cm long, so I added about 3-4 cm at the bottom, and then 2cm at the top for a waistband and 2cm at the bottom for a hem.
This pattern makes baggy pyjama pants and you can use any fabric you like. I used flannelette because it's snuggly.
-
 Rebecca M. favorited Basic Boy's Pants
10 Jun 17:05
Rebecca M. favorited Basic Boy's Pants
10 Jun 17:05
-
 midnighthime666 favorited Basic Boy's Pants
27 Feb 16:26
midnighthime666 favorited Basic Boy's Pants
27 Feb 16:26
-
 ann.meyers.31 favorited Basic Boy's Pants
24 Sep 05:50
ann.meyers.31 favorited Basic Boy's Pants
24 Sep 05:50
-
 Kathy Gregson added Basic Boy's Pants to Baby
17 Sep 13:21
Kathy Gregson added Basic Boy's Pants to Baby
17 Sep 13:21
-
notdeadredhead favorited Basic Boy's Pants
18 Jul 04:49
-
 Alex Poser added Basic Boy's Pants to A.o.C
11 Jan 01:48
Alex Poser added Basic Boy's Pants to A.o.C
11 Jan 01:48
-
Kathy Gregson favorited Basic Boy's Pants
01 Nov 01:58
You Will Need
-
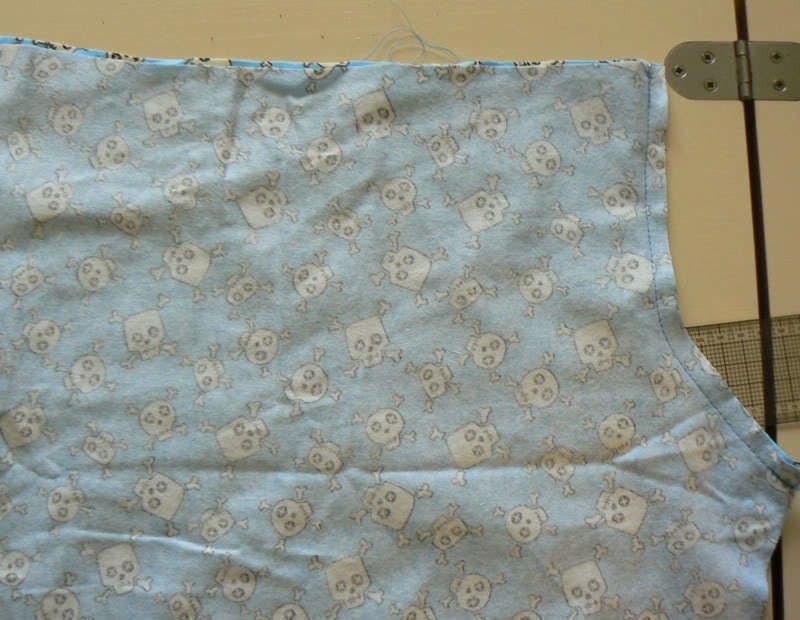
 Step 1
Cut x 1 pair of pants pattern. The notch on one of the curves shows which part is the back ((see it also goes higher?)). So you’ll have one with the fabric print ((right side)) facing you, and another with the fabric print facing the table. Not two exactly the same. If you have both pieces with the fabric printed sides facing up and they are NOT a mirror image of each other – you have a problem!
-
 Step 2
Cut elastic required. I measured around Vincent's little belly with the elastic, but you want it to stretch a little, but not too tight it cuts of the circulation to the bubbie's legs!
-
 Step 3
Let baby help!
-
Step 4
Stitch the ends of the elastic together.
-
 Step 5
Stitch the centre-front seams right sides together.
-
 Step 6
Stitch the centre back seam right sides together.
-
 Step 7
Overlock both seams. Put a little pin or a stitch of contrast thread in the back so you can tell the different for now.
-
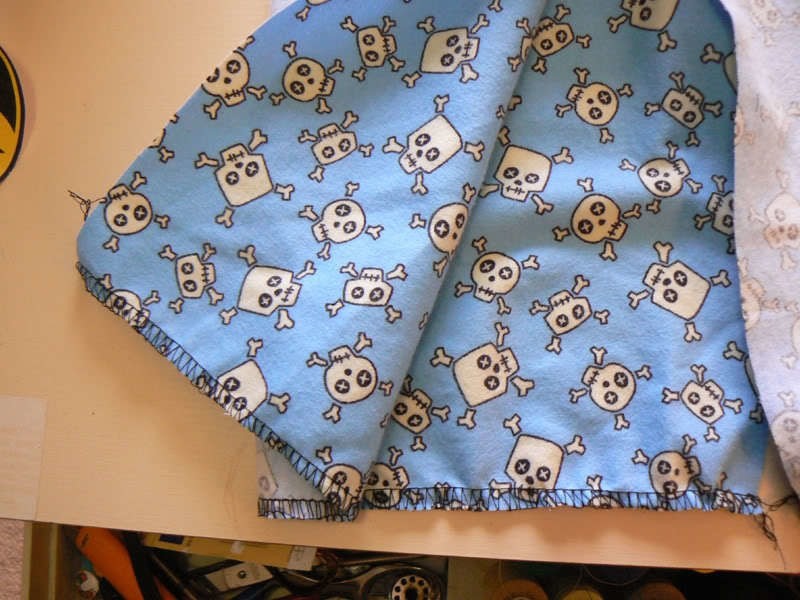
 Step 8
Hem bottom of legs. ((Overlock the edge first))
-
 Step 9
((gratuitous machine shot. I love these shots!))
-
 Step 10
Stitch inside leg seam.
-
 Step 11
In the picture above, I flipped the pants to the legs are at the top and the waist is towards me. I matched the centre front seam to the centre back seam at the crotch and then pinned them together. Make sure the hems match each other on each leg.
-
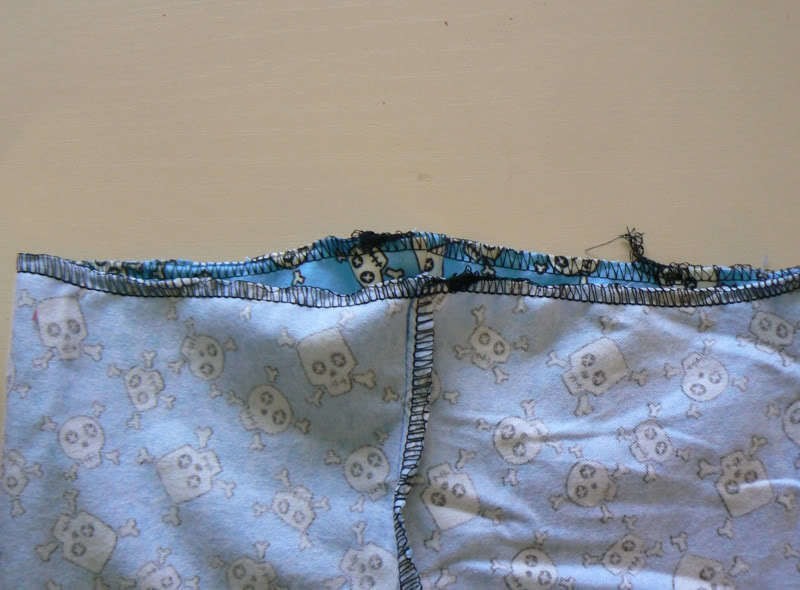
 Step 12
Overlock around the top of the pants.
((my overlocker was bought in 1994. I'm also only using one needle at the moment with it. It's seen better days. Double-needled overlockers do a MUCH better job :) ))
-
 Step 13
Pin elastic to waistband and fold waistband over.
-
 Step 14
Stitch, making sure you stitch just the fabric and not stitch into the elastic.
-
 Step 15
When Sewing Small items like baby things, you can remove the tool-kit thinger ((yep, that’s totally the technical word for it!)) that is in the front of your machine. You know that little box that opens up and you have spare needles etc in there? Most of them snap out, or slide out, leaving the base free to sew things like sleeves.
In the picture above you can see I’ve removed the tool-kit thinger on my mum’s machine to sew around the waistband easier.
There are other ways to add elastic to waistbands, including sewing the waistband first so it's like a casing, then threading the elastic through. I find the first way much easier!
-
 Step 16
dd a little tag or a ribbon so you can tell which part is the back and you're done!
-
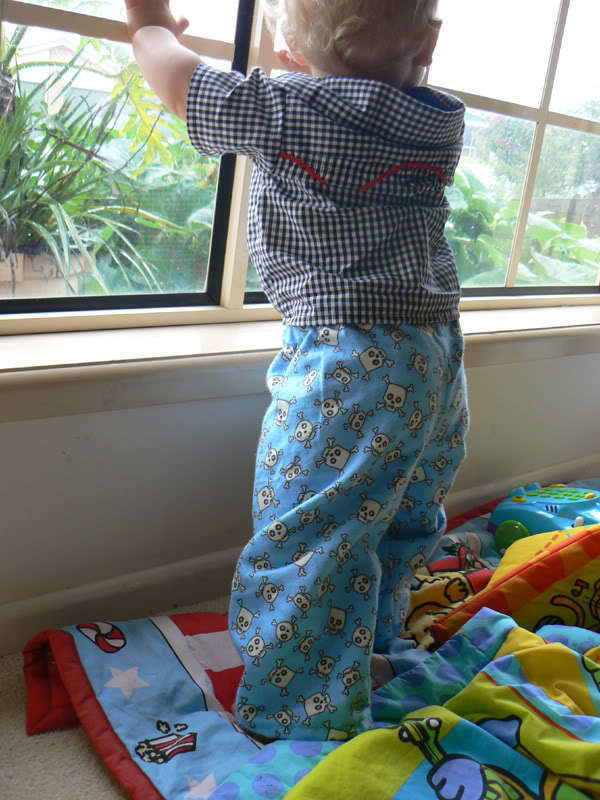
 Step 17
Take photos of the little model :)
((I think a pairof baby suspenders are in order...))


Comments


