


About
Mistake? Uh-uh, I meant to do that ;)
Oh, happy mistake! This was originally going to be a 2-colour box chain, in what I thought was the easy way. I started out making a European 4-in-1 chain, with silver rings in the middle and gold rings on the outer. I was then going to join them with a silver ring to make the box shape. I didn't have the instructions in front of me, but I was too eager to get going to waste time looking for it :) I was sure I remembered that I had to remember that it was obvious(!!!!), so I started joining the two sides together in what I hoped was the correct way. It didn't look quite right, so I tried again a bit further down the chain. I still wasn't sure if I'd got it right. However, on stepping back, I found myself liking the pattern thus created. Soooo, this therefore is a European 4-in-1, pinched at intervals using a box chain pattern.
In any case, I couldn't for the life of me remember where on earth I had seen these instructions. After an exhaustive search online and through my magazines, I finally admitted defeat - I had found plenty of descriptions of the box chain pattern (otherwise known as Queen's or one place had it as King's) but none from the 4-in-1 startpoint. Quite by chance today I found this 'easy' method on YouTube - what I hadn't remembered was that I had seen it in video format. Senility is definitely setting in!!!
J.
Tags
-
 Diane W. favorited Another Chainmaille Bracelet
26 Apr 20:47
Diane W. favorited Another Chainmaille Bracelet
26 Apr 20:47
-
 Shelley C. favorited Another Chainmaille Bracelet
01 Feb 14:15
Shelley C. favorited Another Chainmaille Bracelet
01 Feb 14:15
-
Lennea K. favorited Another Chainmaille Bracelet
07 Nov 06:54
-
 MaDonna O. favorited Another Chainmaille Bracelet
10 Jul 02:31
MaDonna O. favorited Another Chainmaille Bracelet
10 Jul 02:31
-
 amyandJodie favorited Another Chainmaille Bracelet
26 Apr 18:59
amyandJodie favorited Another Chainmaille Bracelet
26 Apr 18:59
-
 Lauren J. favorited Another Chainmaille Bracelet
31 Jan 23:43
Lauren J. favorited Another Chainmaille Bracelet
31 Jan 23:43
-
 Step 1
As requested by RavenW, these steps will show how the pattern was created.
I hope it will be clear enough for you to follow :-S.Add 4 closed rings to 1 open ring and close it.
-
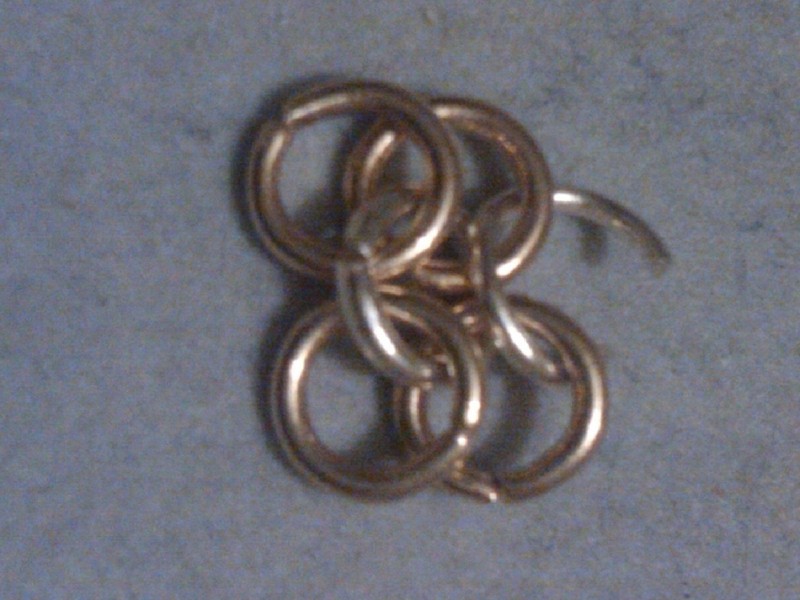
 Step 2
Lay it out so it looks like the picture to the left - the 4 original closed rings should lay facing the the same direction (the left and right hand sides mirroring each other)
-
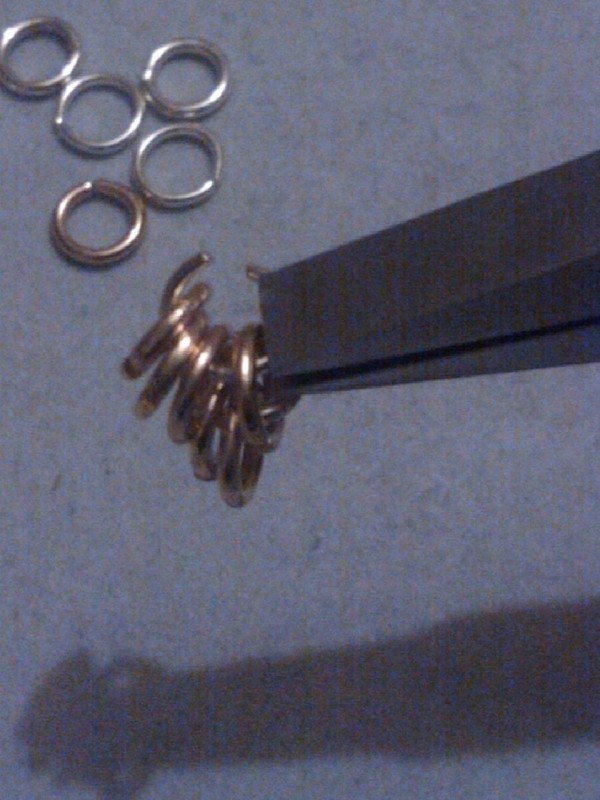
 Step 3
This picture illustrates how you will insert the next open ring. After you've threaded the open ring, hold it with your pliers and you will add 2 new closed rings to this open ring and then close (see the next image).
-
 Step 4
This image shows the open ring with 4 closed rings - that is 2 two rings from the pattern and 2 newly added closed rings.
-
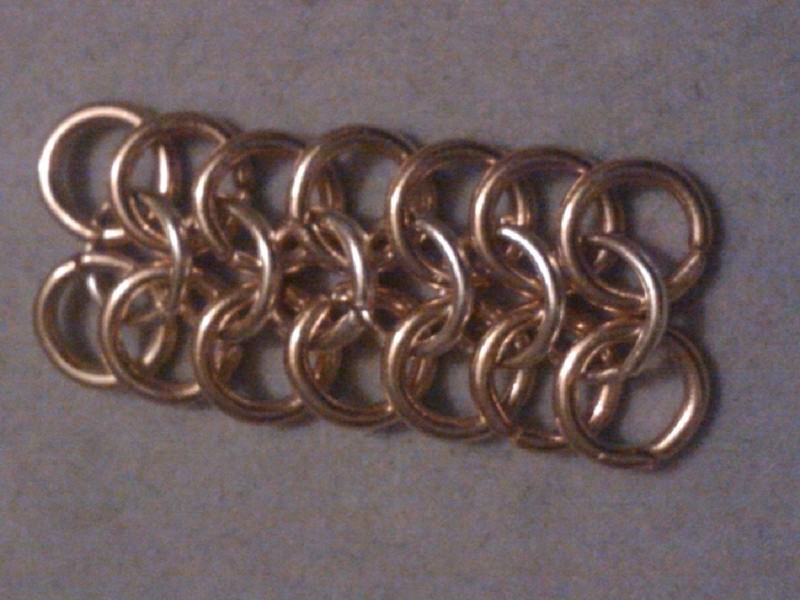
 Step 5
Continue until you have reached the desired length.
-
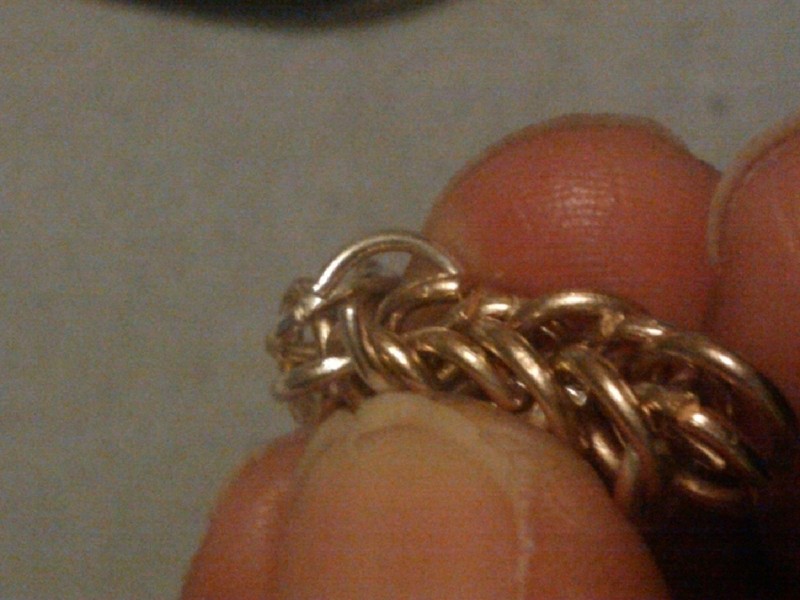
 Step 6
Hold the piece in your hand holding the two sides together - they will fall naturally together so do not worry about it. As the rings I used are relatively thick, I found it easier to use a different coloured (and thinner) wire as a guide to where I needed to insert the ring. The wire is threaded though 4 rings where they overlap- I hope you will be able to tell by the image which 4 it ought to be.
If the wire is thin enough you can then thread an open ring where the wire has gone through and then remove the wire. If is is not thin enough, make sure you hold the piece securely, remove the wire and immediately replace it with and open ring. -
 Step 7
The open ring in place, the guiding wire removed, you can now close the ring.
At another one or two rings - examine the pattern as you go to determine how many you would like to use
-
 Step 8
I have inserted a second open ring (in this image I have not yet closed the first, naughty me) in the next set of 4.
-
 Step 9
The two rings now closed this is how it will look.
-
 Step 10
This is how it looks on the other side.
Keeping to this side, count along, say, half a dozen rings and repeat the pattern.
-
 Step 11
Finally, it should look something like this!
I hope I haven't confused you too much.
Happy linking! :)


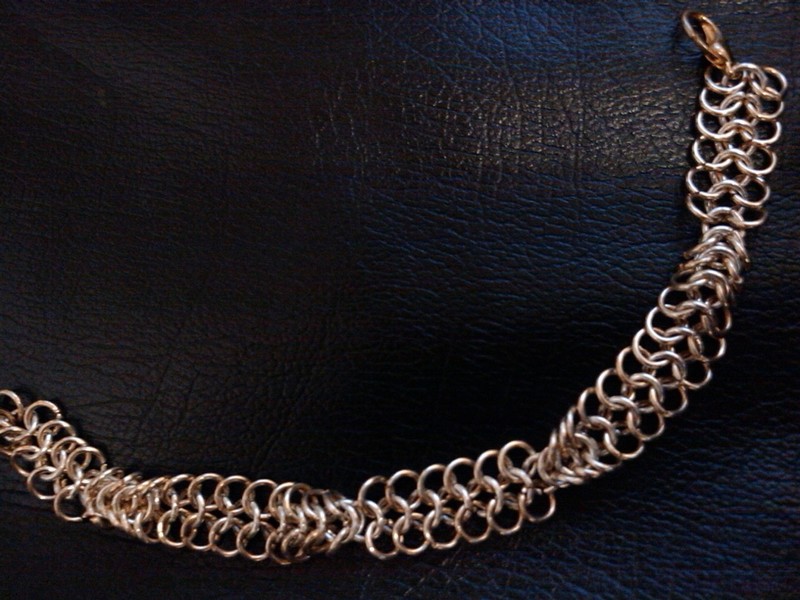

Ps. I love it when a mistake makes something great!!
At the request of Raven W., I've added a how-to. Hope it suffices