


About
Willow
THE WREATH IS THE SIMPLEST and quickest of the round-weave projects. For this design I have used eight rods altogether, but you could carry on wrapping in the same pattern to make a thicker wreath.
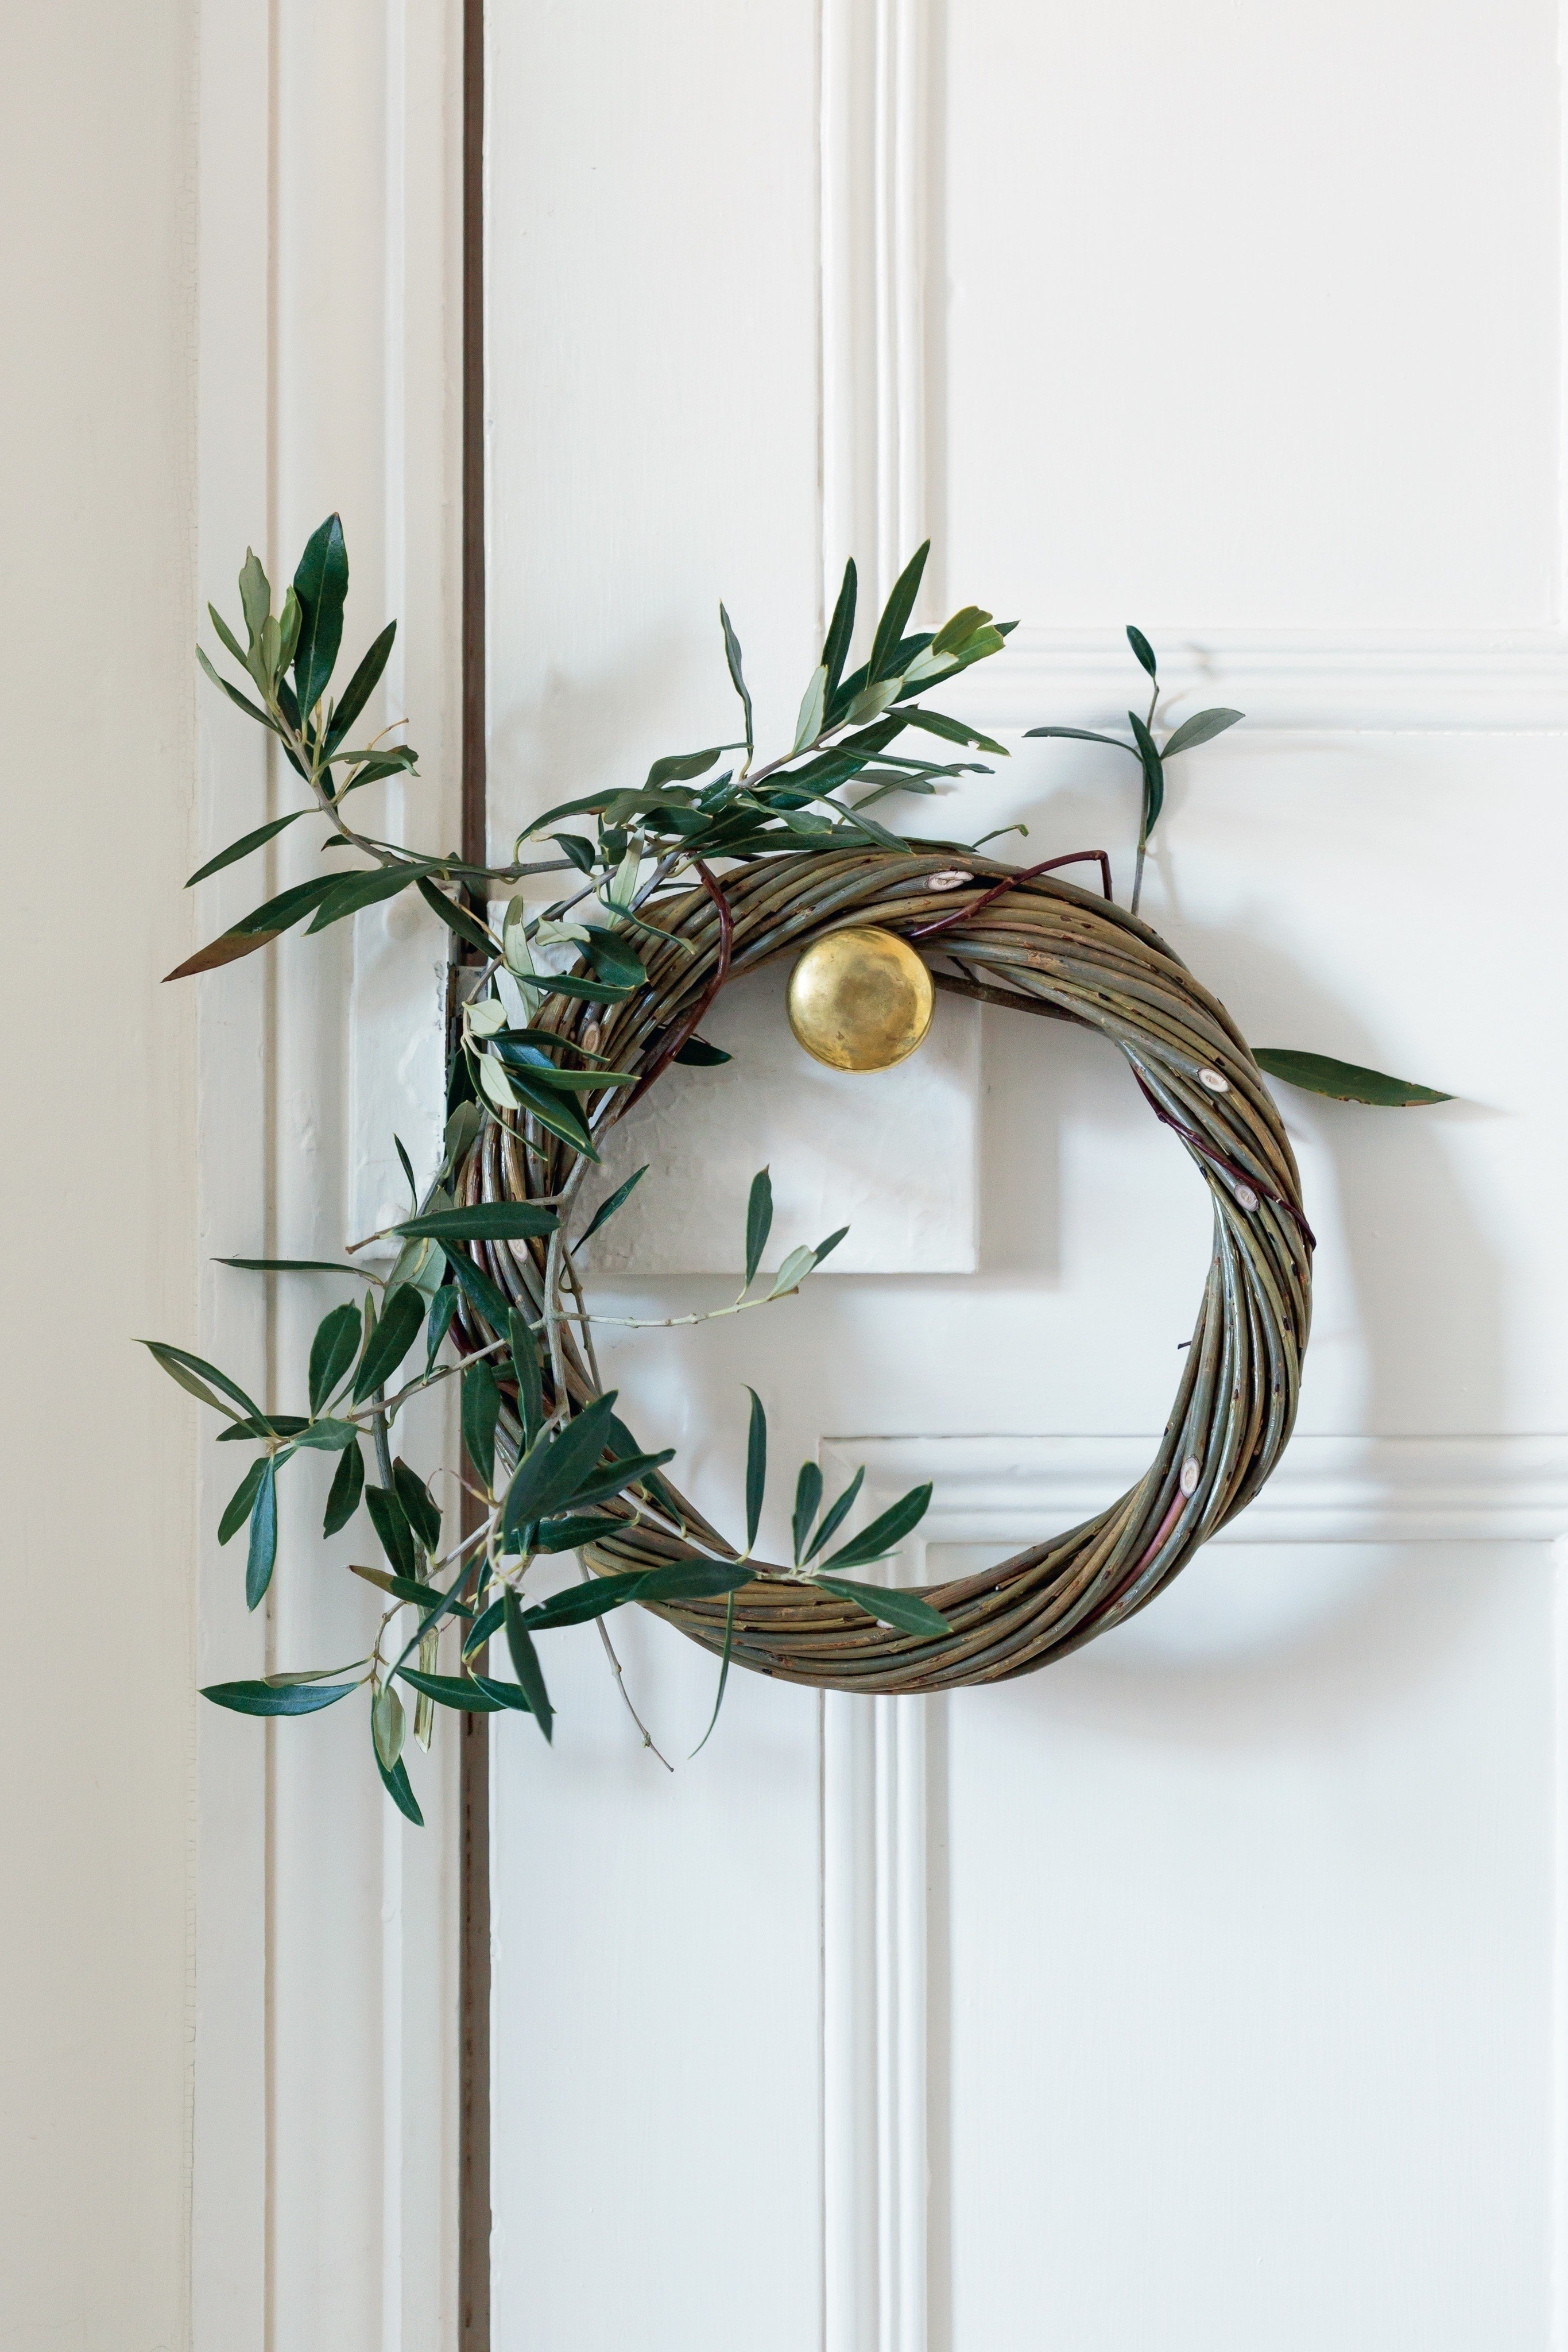
A willow wreath can be used in many ways. It offers a beautiful natural structure to which you can add many different styles of foliage for as many different occasions. Holly, ivy and mistletoe are obvious choices at Christmas time, but the wreath can be used for many other celebrations during the year. Dressing it with spring flowers and moss as a centrepiece on a table can look stunning. Or try hanging it on a wall adorned with hops and apples in the autumn – this also looks fabulous.
-
 Ignacio D. added Willow Wreath to Great
20 Apr 13:04
Ignacio D. added Willow Wreath to Great
20 Apr 13:04
-
Ignacio D. favorited Willow Wreath
20 Apr 13:04
-
 Lydia L. added Willow Wreath to DIY the Room
01 Dec 15:01
Lydia L. added Willow Wreath to DIY the Room
01 Dec 15:01
-
 CraftyCat added Willow Wreath to Crafts
20 Nov 02:30
CraftyCat added Willow Wreath to Crafts
20 Nov 02:30
-
CraftyCat favorited Willow Wreath
20 Nov 02:30
-
 Crafterella featured Willow Wreath
04 Nov 23:00
Crafterella featured Willow Wreath
04 Nov 23:00
-
 Aurum Press published her project Willow Wreath
28 Oct 09:00
Aurum Press published her project Willow Wreath
28 Oct 09:00
You Will Need
-
 Step 1
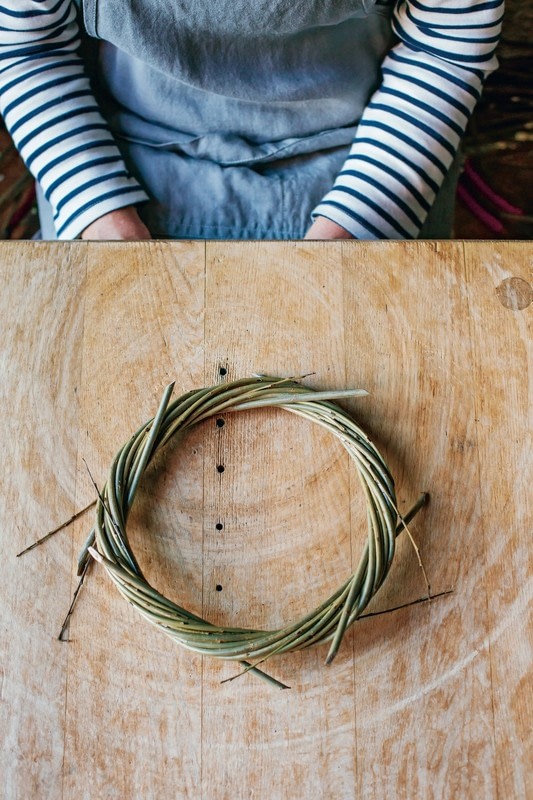
, To start, prepare each rod by wrapping it around a bottle or large piece of cylindrical wood to encourage the fibres into shape. This helps to avoid kinks in your rods as you wrap the willow, which would be very visible in this design. With a firm grip, hold the butt end very tightly against the mould as you wrap the remaining rod away from you until you reach the tip. It will spring off in a spiral and will be easier to weave. Starting with 1 willow rod, curve half of it to make a circle of 20cm (8in) diameter.
-
 Step 2
It may take a few goes to achieve a smooth circle without a kink, as with the first wrap with the first rod you will find there is
a lot of disparity between the strength of the butt end and the part of the rod that wraps over it. Encouraging a good, generous curve at the butt end with your left hand and holding it there firmly with your thumb will help to retain a consistent circle. -
 Step 3
Wrap the remaining half of the rod around your hoop 4 times until the tip meets the butt. The shape will feel a little out of balance until you put the next rod in.
-
 Step 4
Start opposite the first butt, but insert it so it is travelling in the other direction. Notice in the picture the top butt is pointing
to the right and the lower butt is pointing to the left, and both are sitting on top of the circle, with the tips underneath. It’s important to get this sequence right. If you wrap your rods in the same direction the wreath wouldn’t hold together as well. Wrap the rod 7 times around the hoop. On the seventh wrap you should finish with the tip at the place where the butt started. -
 Step 5
Thinking of the numbers on a clock face, you have 2 butts sitting on top of your hoop at 6 and 12 o’clock. Add in another 2 butts, 1 at 3 o’clock and another at 9 o’clock, making sure the butts are inserted in opposite directions, as you did with the first 2. You should now have 4 butts on top of your wreath and 4 tips underneath. You have used 4 rod so far, and are halfway there.
-
 Step 6
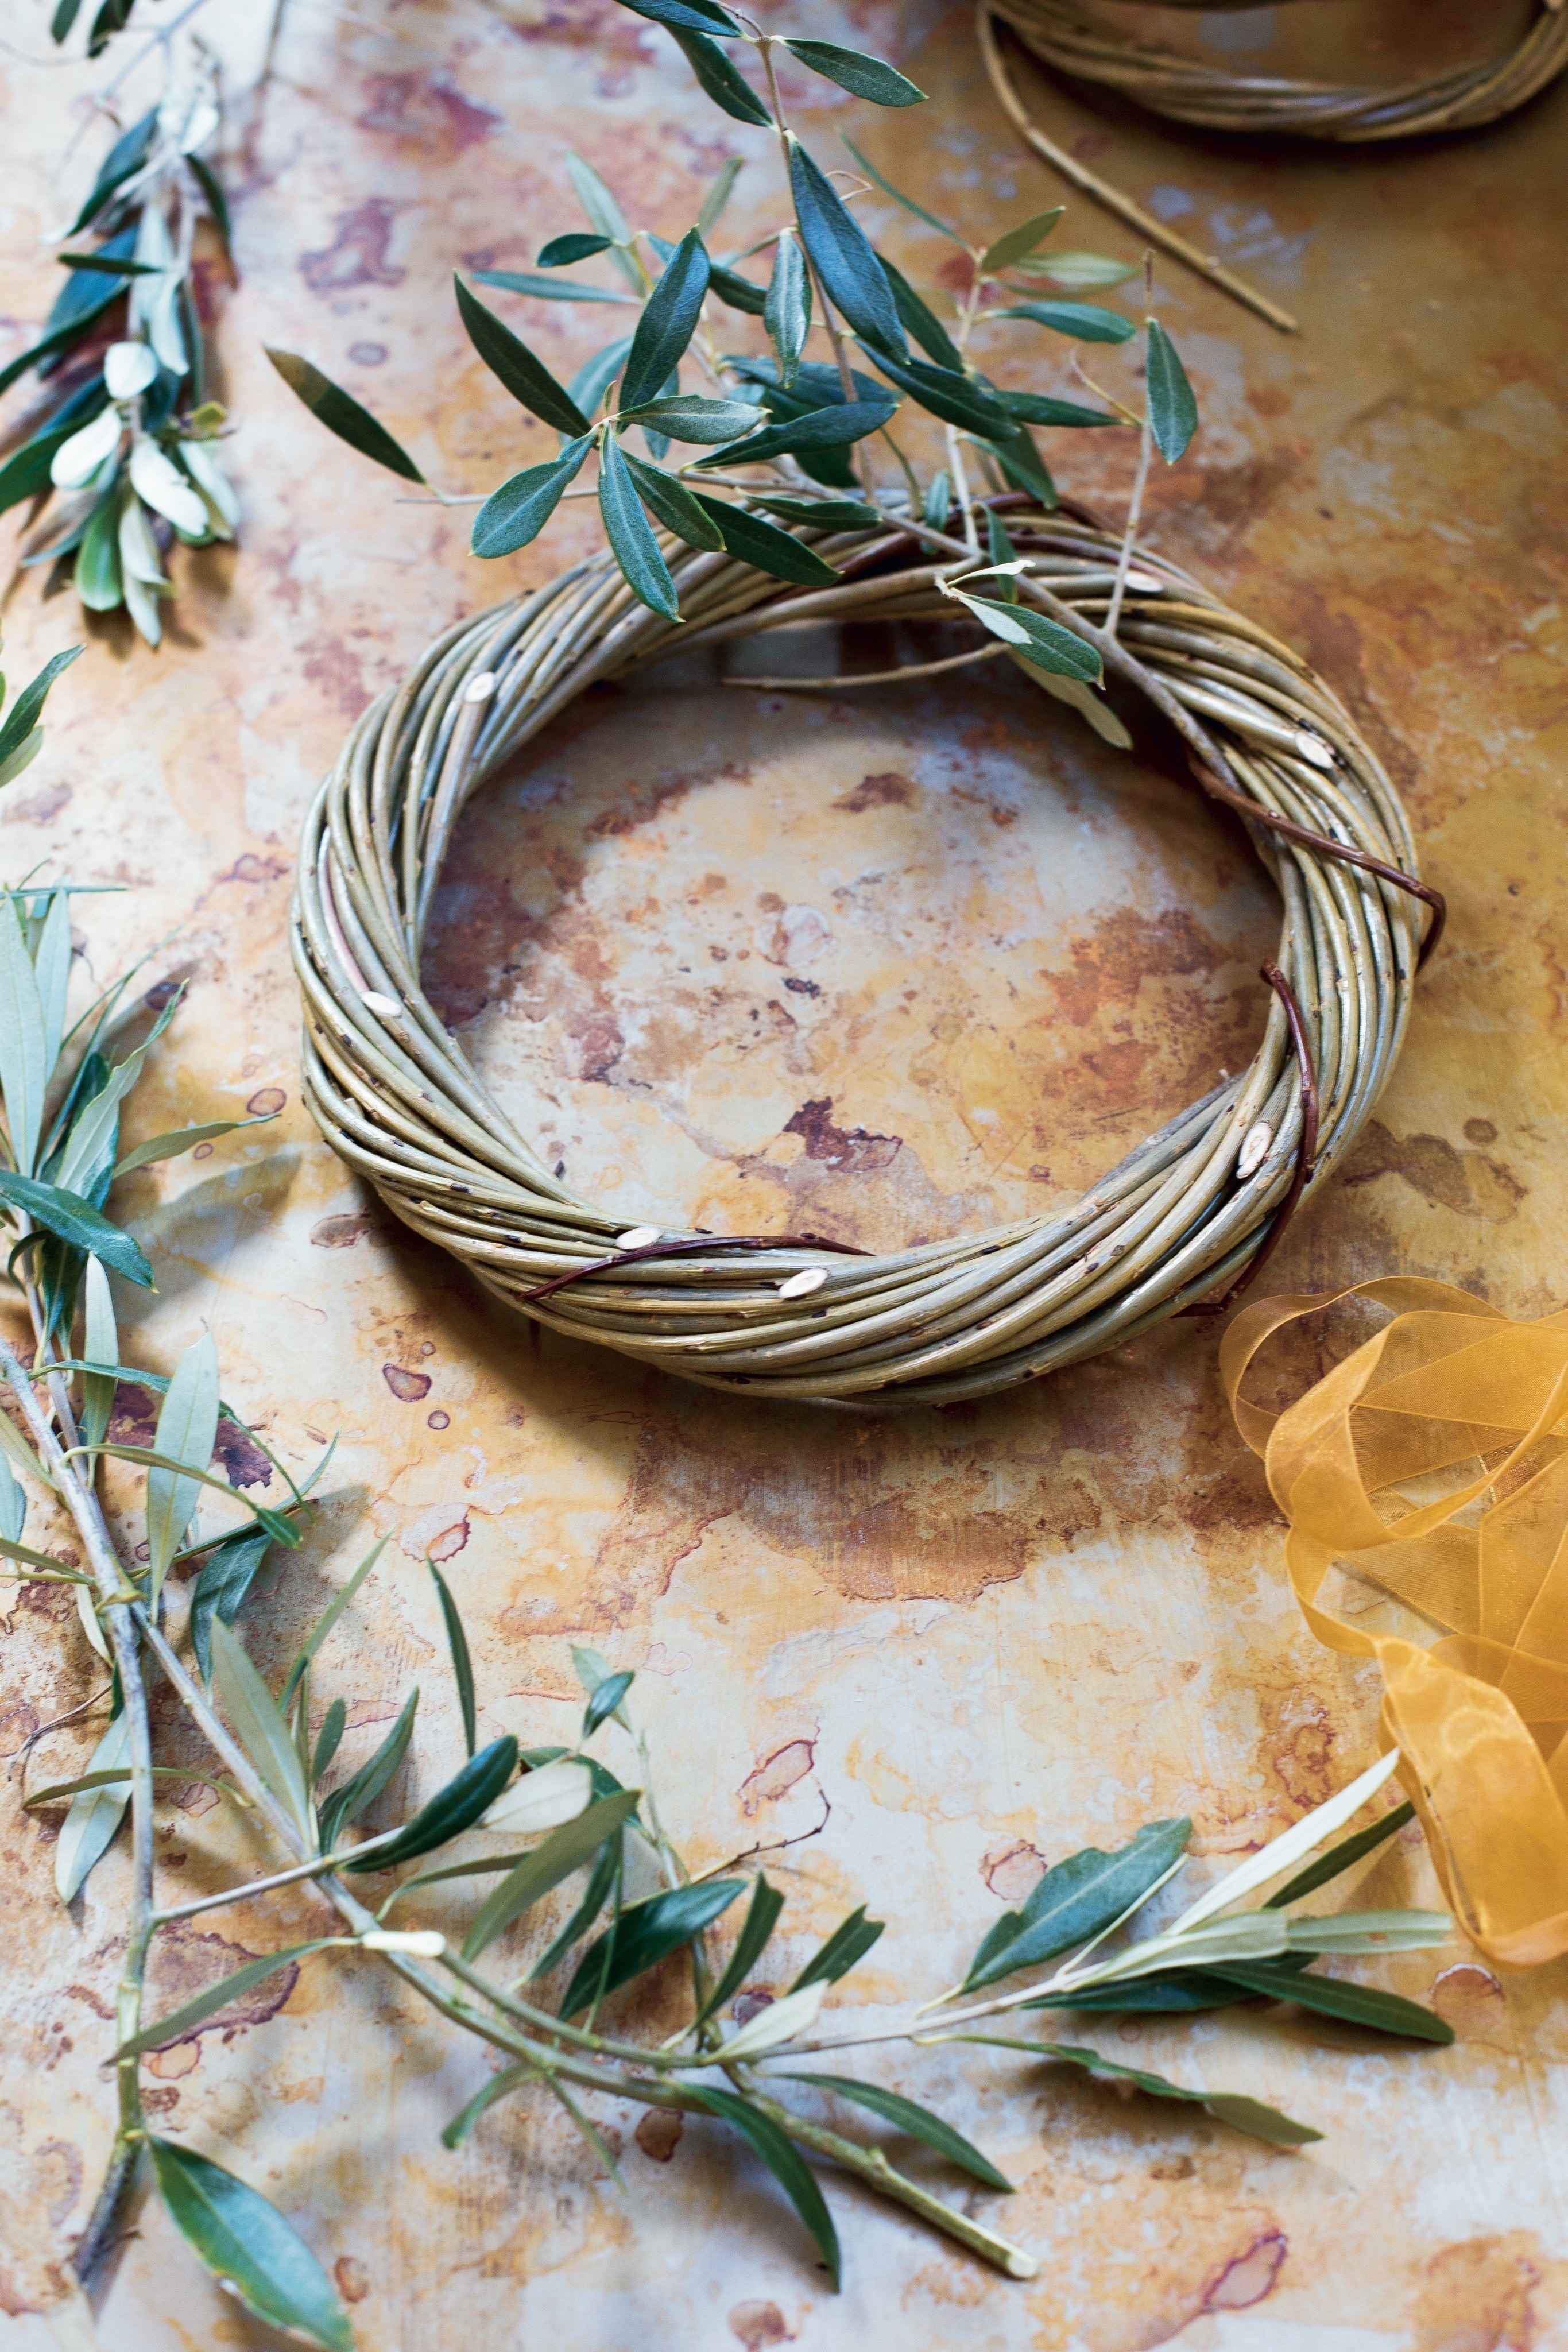
Turn your wreath over and repeat Steps 4 and 5 so that you finish with another 4 butts on the second side. The wreath will start to become more and more solid as you wrap more into it. For this design we have used 8 rods, but you could carry on wrapping in the same pattern to make a thicker wreath. (To make a larger wreath I would advise using longer willow.) Trim all butts and tips with secateurs, leaving a short slype cut.
-
 Step 7
To decorate, you can wind twines of foliage around the wreath, as I have done here with mistletoe.


 1
Home Accessories »
Diy Jewelry Box
1
Home Accessories »
Diy Jewelry Box

