

About
I am into organizing lately and I have decided to make a toy organizer which also could be used as a picnic bag.
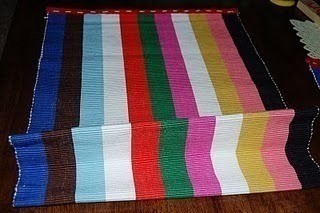
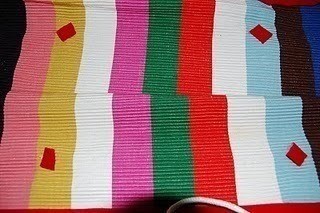
I’ve had this table runner from Ikea for almost 5 years. I’ve got it when we had a little condo but we moved into the house my Interior vision had changed and this runner was hidden in the garage. If you will look through my previous posts I am into organizing lately and I have decided to make a toy organizer which also could be used as a picnic bag.
I’ve planned to have a pocket on the outside of my bag and that was the only cut that I had to make. This project is very easy.
Tags
-
Step 1
Cut out your future pocket, considering the items you are going to be putting in plus extra ½” for bottom stitching.
-
 Step 2
Create the bottom of your bag. Find a middle part of your runner/fabric and fold each side as you see on this picture
In my case each fold is 3", which creates 6" base. The wider your base the sturdier your bag is going to be. Trim the top of your bag with red felt.
-
 Step 3
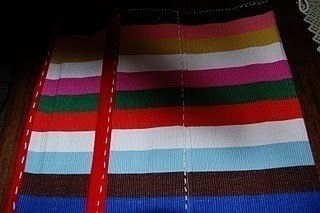
Stitch the sides of the bottom .
-
 Step 4
Front pocket
Secure the pocket in the location of your choice but leaving some room for the handles. Trim the top of the pocket with red felt. Stitch the bottom of the pocket to the bag. Don't stitch the sides yet.
-
 Step 5
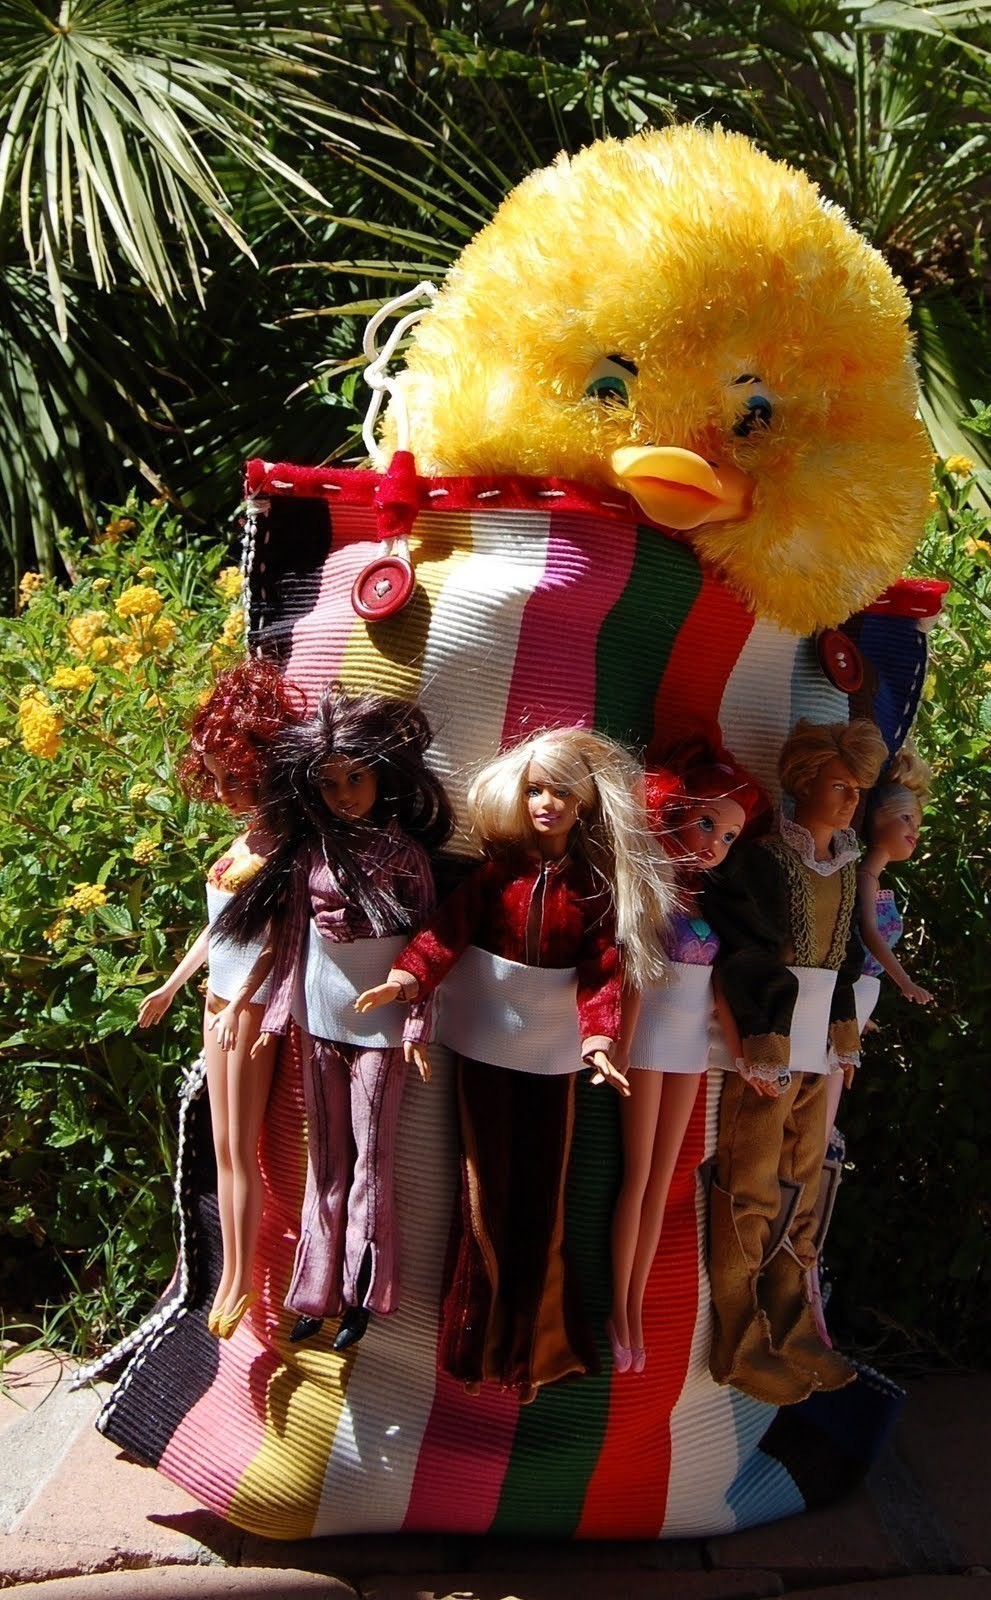
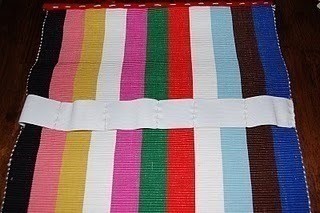
Elastic band for Barbie dolls.
We don't have a lot of Barbie dolls in the house, that's why I've created only 6 openings to hold them all, but you have more you can create extra rows:)
-
 Step 6
Working on handles. I've used a regular rope. Create some loops on each end of the rope
In my case, I've had two pieces 30" each before the loops. My idea also called for some buttons in red, well I didn't have exactly what I've had in mind, so I had to create my red buttons.
-
 Step 7
I've used Red Spray Paint and here they are
-
 Step 8
Attach handles to the bag and secure the back of the stitches with some red felt and hot glue
-
 Step 9
Stitch the sides of your bag.
and you are done!
-
 Step 10
Time to organize your child's toys! I hope it helps and as usual - Have fun!


Versions

Comments

 1
Books & Journals »
Locking Box And Journal
1
Books & Journals »
Locking Box And Journal
 2
Babies & Kids »
A Toy Kitchen For A Child
2
Babies & Kids »
A Toy Kitchen For A Child
 3
Origami Flowers »
Origami Orchid
3
Origami Flowers »
Origami Orchid
 4
Office »
Pretty Sketchbooks
4
Office »
Pretty Sketchbooks
 5
Charms & Keyrings »
Shugo Chara Inspired Pop It
5
Charms & Keyrings »
Shugo Chara Inspired Pop It

