About
A wee pouch for all the teeny things that get lost in the bottom of your bag
I recently got a new mp3 player and I am a little concerned about losing it on the abyss that is my purse...much like my lip balms, USB key and other smallish things that tend to wander about in there.
So I decided to come up with a solution!
This is much like the tutorial posted under the reusable snack bag I posted already...except that I put inner pockets in it!
Also...this is the first tutorial I have every written for ANYTHING. Have mercy on me!
-
 marilyn.steckly favorited The Teeny Things Pouch
23 Apr 05:55
marilyn.steckly favorited The Teeny Things Pouch
23 Apr 05:55
-
 MandyCip_93 favorited The Teeny Things Pouch
22 Nov 10:54
MandyCip_93 favorited The Teeny Things Pouch
22 Nov 10:54
-
 silentband favorited The Teeny Things Pouch
19 Jul 04:39
silentband favorited The Teeny Things Pouch
19 Jul 04:39
-
 chizzwizz favorited The Teeny Things Pouch
09 Jan 22:39
chizzwizz favorited The Teeny Things Pouch
09 Jan 22:39
-
 Bat Ma'am favorited The Teeny Things Pouch
03 Nov 20:26
Bat Ma'am favorited The Teeny Things Pouch
03 Nov 20:26
-
 Ana M. favorited The Teeny Things Pouch
26 Oct 01:37
Ana M. favorited The Teeny Things Pouch
26 Oct 01:37
-
 Ichigo M. favorited The Teeny Things Pouch
22 Aug 03:09
Ichigo M. favorited The Teeny Things Pouch
22 Aug 03:09
You Will Need
-
 Step 1
First, cut two rectangles of fabric the same size (the size you choose depends on what you want to put in your bag...if you want to stash your mp3 player, you might want to make sure that the measurements will fit it. I made a boo-boo there.)
-
 Step 2
Then, cut another, shorter rectangle of fabric. This is going to be the inner pockets. (I used the same as my exterior, but that by no means means you have to do the same...get all creative!)
-
 Step 3
Hem the short rectangle on both ends.
-
 Step 4
Cut two strips of non-stickyback velcro that are the width of your rectangles.
-
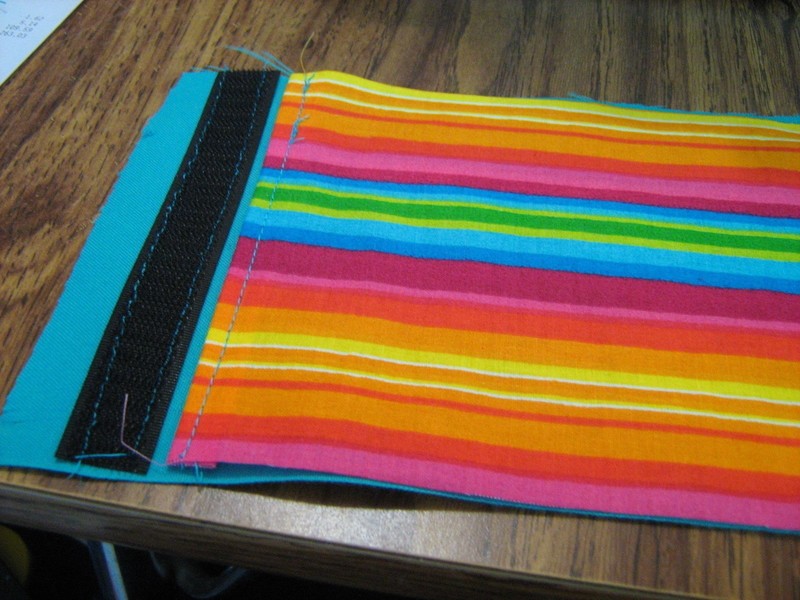
 Step 5
Sew the velcro strips to the right side of your liner fabric. (Remember to leave space for the hem!)
-
 Step 6
Line up the small rectangle between the velcro strips. If there isn't enough space, hem them in a bit more (I had to do this...I am terrible at sewing).
-
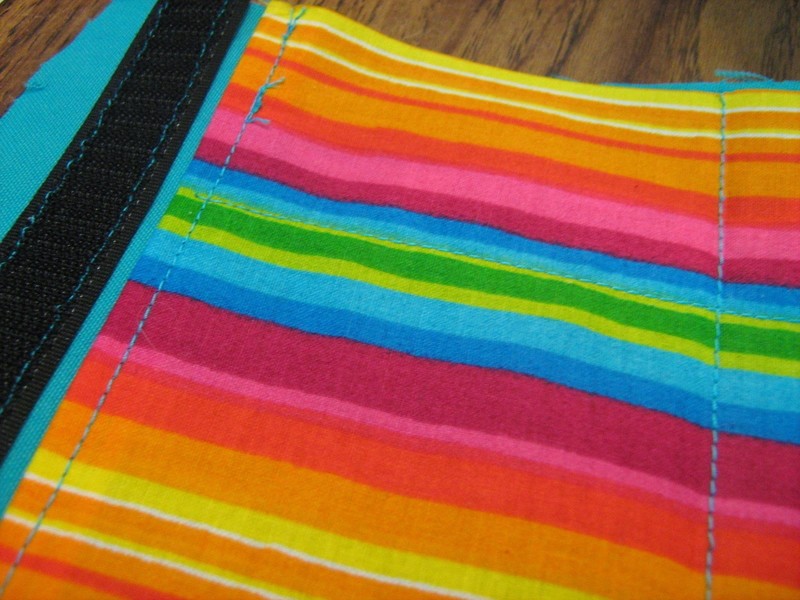
 Step 7
I found it easier to stitch lengthwise along the fabric so it wouldn't move sideways. It is up to you...I didn't pin it either, because all I ever do is hurt myself when pins get involved, so I tend to avoid them unless absolutely necessary. Do what works best for you! Also, how large the inner pockets will be depends on what you want it for. Make as many or few as you like.
**Remember! This is going to be folded in half, so how ever many times you sew lengthwise will be doubled! (I made one line running down, so that means there will be 4 pockets, 2 on each side.)
Don't forget about your side hems.When you are done, fold in half, mark the line and sew width-wise across the fabric.
TADA! Pockets. -
 Step 8
Sew up the sides, leaving a small space (about 2 inches). This is where you'll turn it inside out when you're done. (probably best to not leave the space at the very bottom like me. Makes it harder to sew up)
-
 Step 9
The inside of the bag should now look like this
-
 Step 10
Sew up the sides of your other large rectangle. You should now have two "pockets". (Forget for a moment that there are pockets inside the one pocket.)
-
 Step 11
Turn the pocket that will be inside so that the velcro and pockets are facing outward.
Insert this into the other pocket.
-
 Step 12
Sew around the opening. This is a little bit tricky for me...I find it difficult to keep the line straight when going over the seams.
-
 Step 13
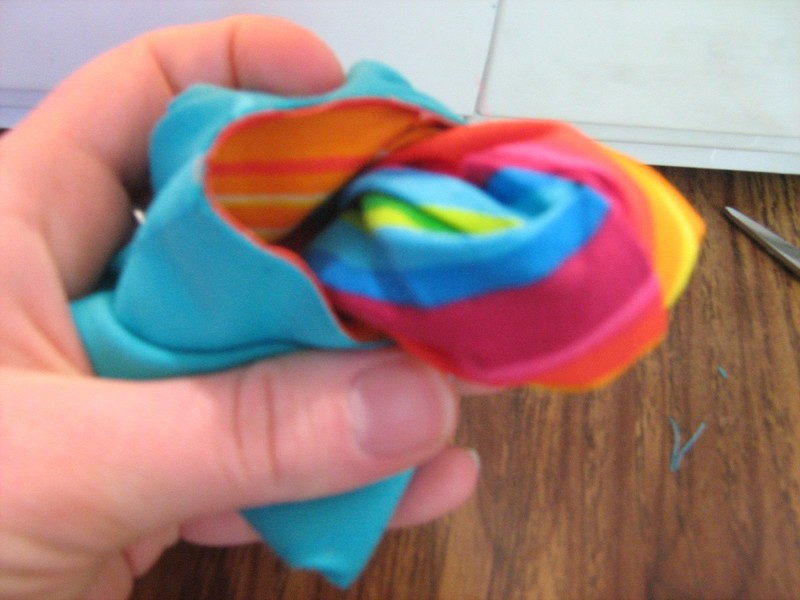
Pull the inside out...
-
 Step 14
And yank everything through that hole!!
(Ok, don't actually yank...but do gently pull it all through the hole.) -
 Step 15
You should now have something that looks like this.
-
 Step 16
Sew the hole closed.
When the hole is all sewn up, tuck the part that is supposed to be inside where it belongs. Use your fingers to poke out the corners into a proper cornery shape.
-
 Step 17
Et finis!
You might want to iron the mouth a little to get it nice and flat, if you like to... -
 Step 18
Put your stuff in it!