About
How To Draft and Make a Clip Frame Purse
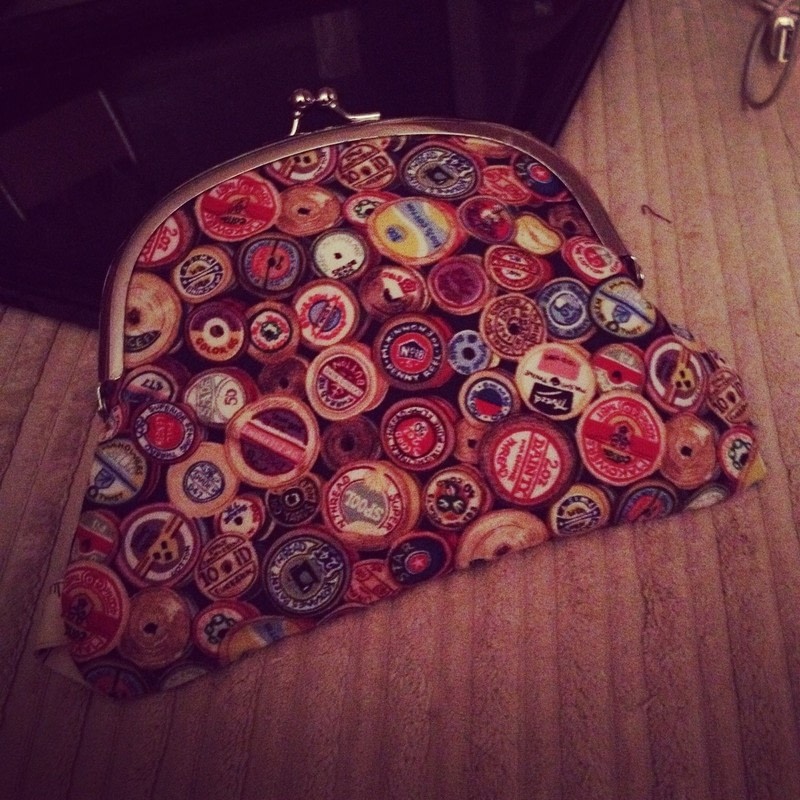
So I decided to make myself a new purse in a last ditch attempt to save some money. I figure, if I can't carry around every coffee card, loyalty card and magic money card (credit cards...) I own I can't overspend. So as I can never find one affordable that I like in shops I decided to make my own clip purse.
Now don't get me wrong, it's still pretty big, but I can only keep 3 cards in it which is a win.
-
 Kayleigh W. added Self Drafted Clip Frame Purse! to Sewing
25 Feb 00:31
Kayleigh W. added Self Drafted Clip Frame Purse! to Sewing
25 Feb 00:31
-
 Pam favorited Self Drafted Clip Frame Purse!
24 Feb 16:53
Pam favorited Self Drafted Clip Frame Purse!
24 Feb 16:53
-
 Katharine Sophia published her project Self Drafted Clip Frame Purse!
22 Feb 09:00
Katharine Sophia published her project Self Drafted Clip Frame Purse!
22 Feb 09:00
-
Step 1
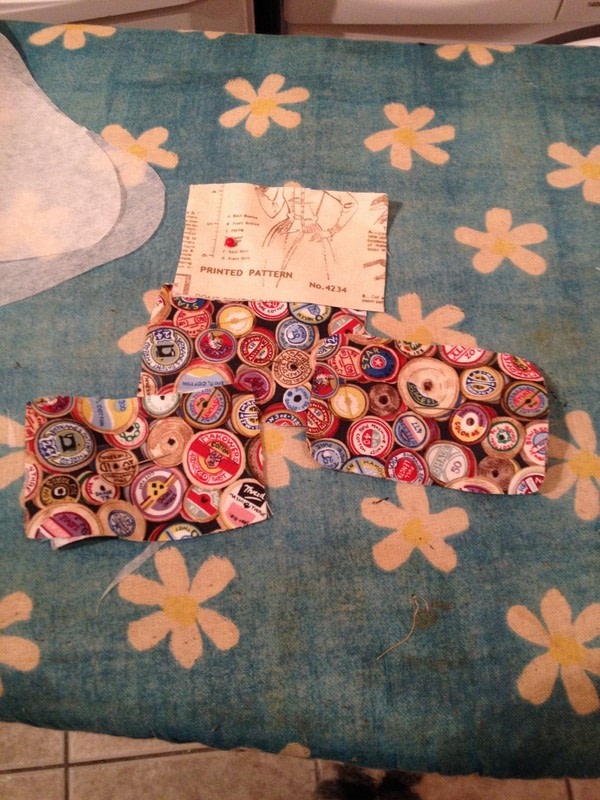
So to begin with trace around the clip frame onto some pattern paper (greaseproof, newspaper, anything works! But not tin foil) and sketch the kind of shape you want the purse to be from there (square? triangular? As long as the top bit matches the clip frame the rest is fair game). Draw a line down the middle of this and cut out the better half of your template so that when you cut it it will be symmetrical.
-
 Step 2
Take each fat quarter in turn and fold it in half, right sides facing out. Place the straight line you drew down the half of the template on to the fold, pin and snip. Cut two in this way on each fat quarter. (two for outer and two for lining).
-
 Step 3
Do the same again to produce 4 matching pieces of light weight iron on interfacing. Then you simply affix the interfacing to the fabric to give it a little more structure.
-
 Step 4
To make the credit card slots draw round your favourite credit card and add a 2cm seam allowance or more. I made 3 slots so cut 6 matching pieces of fabric. As it turns out mine are too small and this means I cannot carry cards with me. Which is fine as there's no money on them anyway.
-
 Step 5
Sew each pocket RST, turn and press.
-
 Step 6
So then make the main body of the purse. To make sure you don't get overly excited with the sewing machine and seal the thing mark with pencil where the bottom of the clip frame will come to...
-
 Step 7
Sew the outer pieces together, RST, leaving the raw edges at the top just past your marker.
-
 Step 8
So with the outer done it is time to sew the inner. Which is where my credit card slot fail happened when I made mine. I basically tiered the pockets as you can see in the picture, but sewed too far in which made them teeeeeeeeeny. Note to self, in future check before doing the lining. But no matter, it just means no cards for me ever! Do all your inner features before any other sewing, far easier :)
-
 Step 9
So next I stitch the lining RST, but leaving a 3ish inch gap at the bottom in the middle. Keep it inside out and press.
-
 Step 10
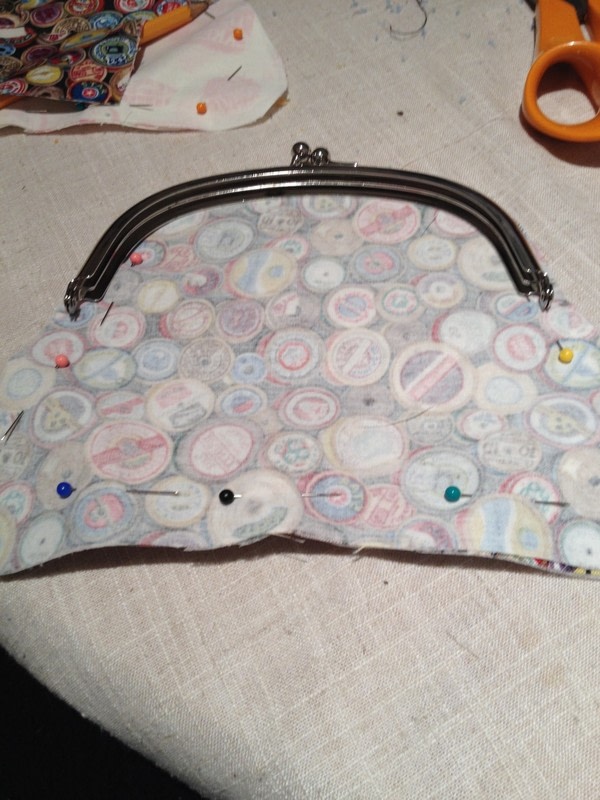
So, RIGHT SIDES TOGETHER, put the lining inside the outer fabric and pin together. Sew around the top edges (where the frame will be essentially and where the edges are raw) and notch the curves as you go.
-
 Step 11
Then... using the gap in the lining that you left when sewing it the first time, pull the outer through.
-
 Step 12
Press the open seam and stitch it closed. I usually press the lining and the outer at this stage too. Now you can push the lining back into the outer fabric and it will actually look like a purse!
-
 Step 13
So next comes fabric glue. When I made this, I was so tempted to use superglue but after reading a lot online I was put off this idea and went into town to get some fabric glue. Annoyingly though, the nozzle was quite wide and as I applied it quite liberally to the channel of the clip frame when I pushed the purse in it OOZED. I wiped it off the fabric with a wet cloth but there are still some yellowy stains. It can't be helped and I have learnt my lesson for next time! Sadly though, it doesn't look as perfect as it should due to this error in judgement. Next time I'll invest in a teeny tiny brush for this. Some instructions have also suggested using cord in the channel to help the bond so perhaps try this too. I think you ought to do some research rather than take my word as gospel on this one, as mine did not go very well, but hey! We live and learn.