


About
Don't throw those scraps away! Keep them and make this!
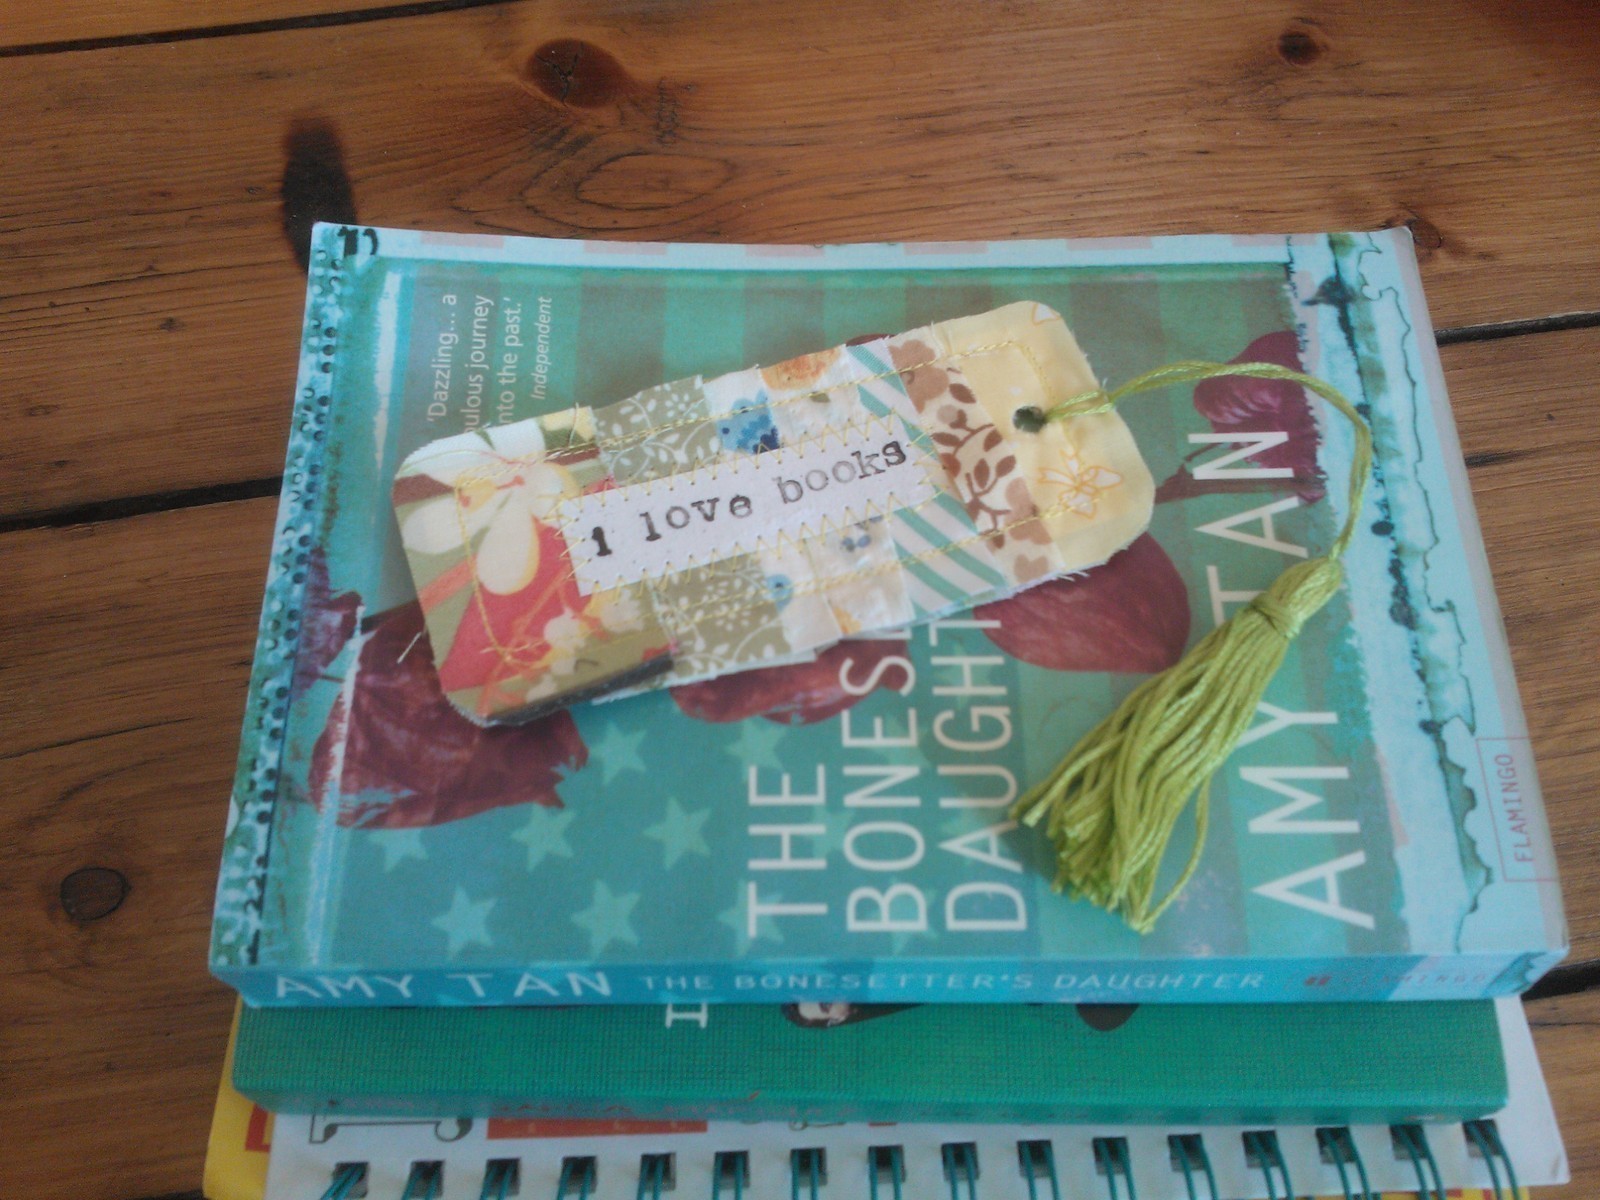
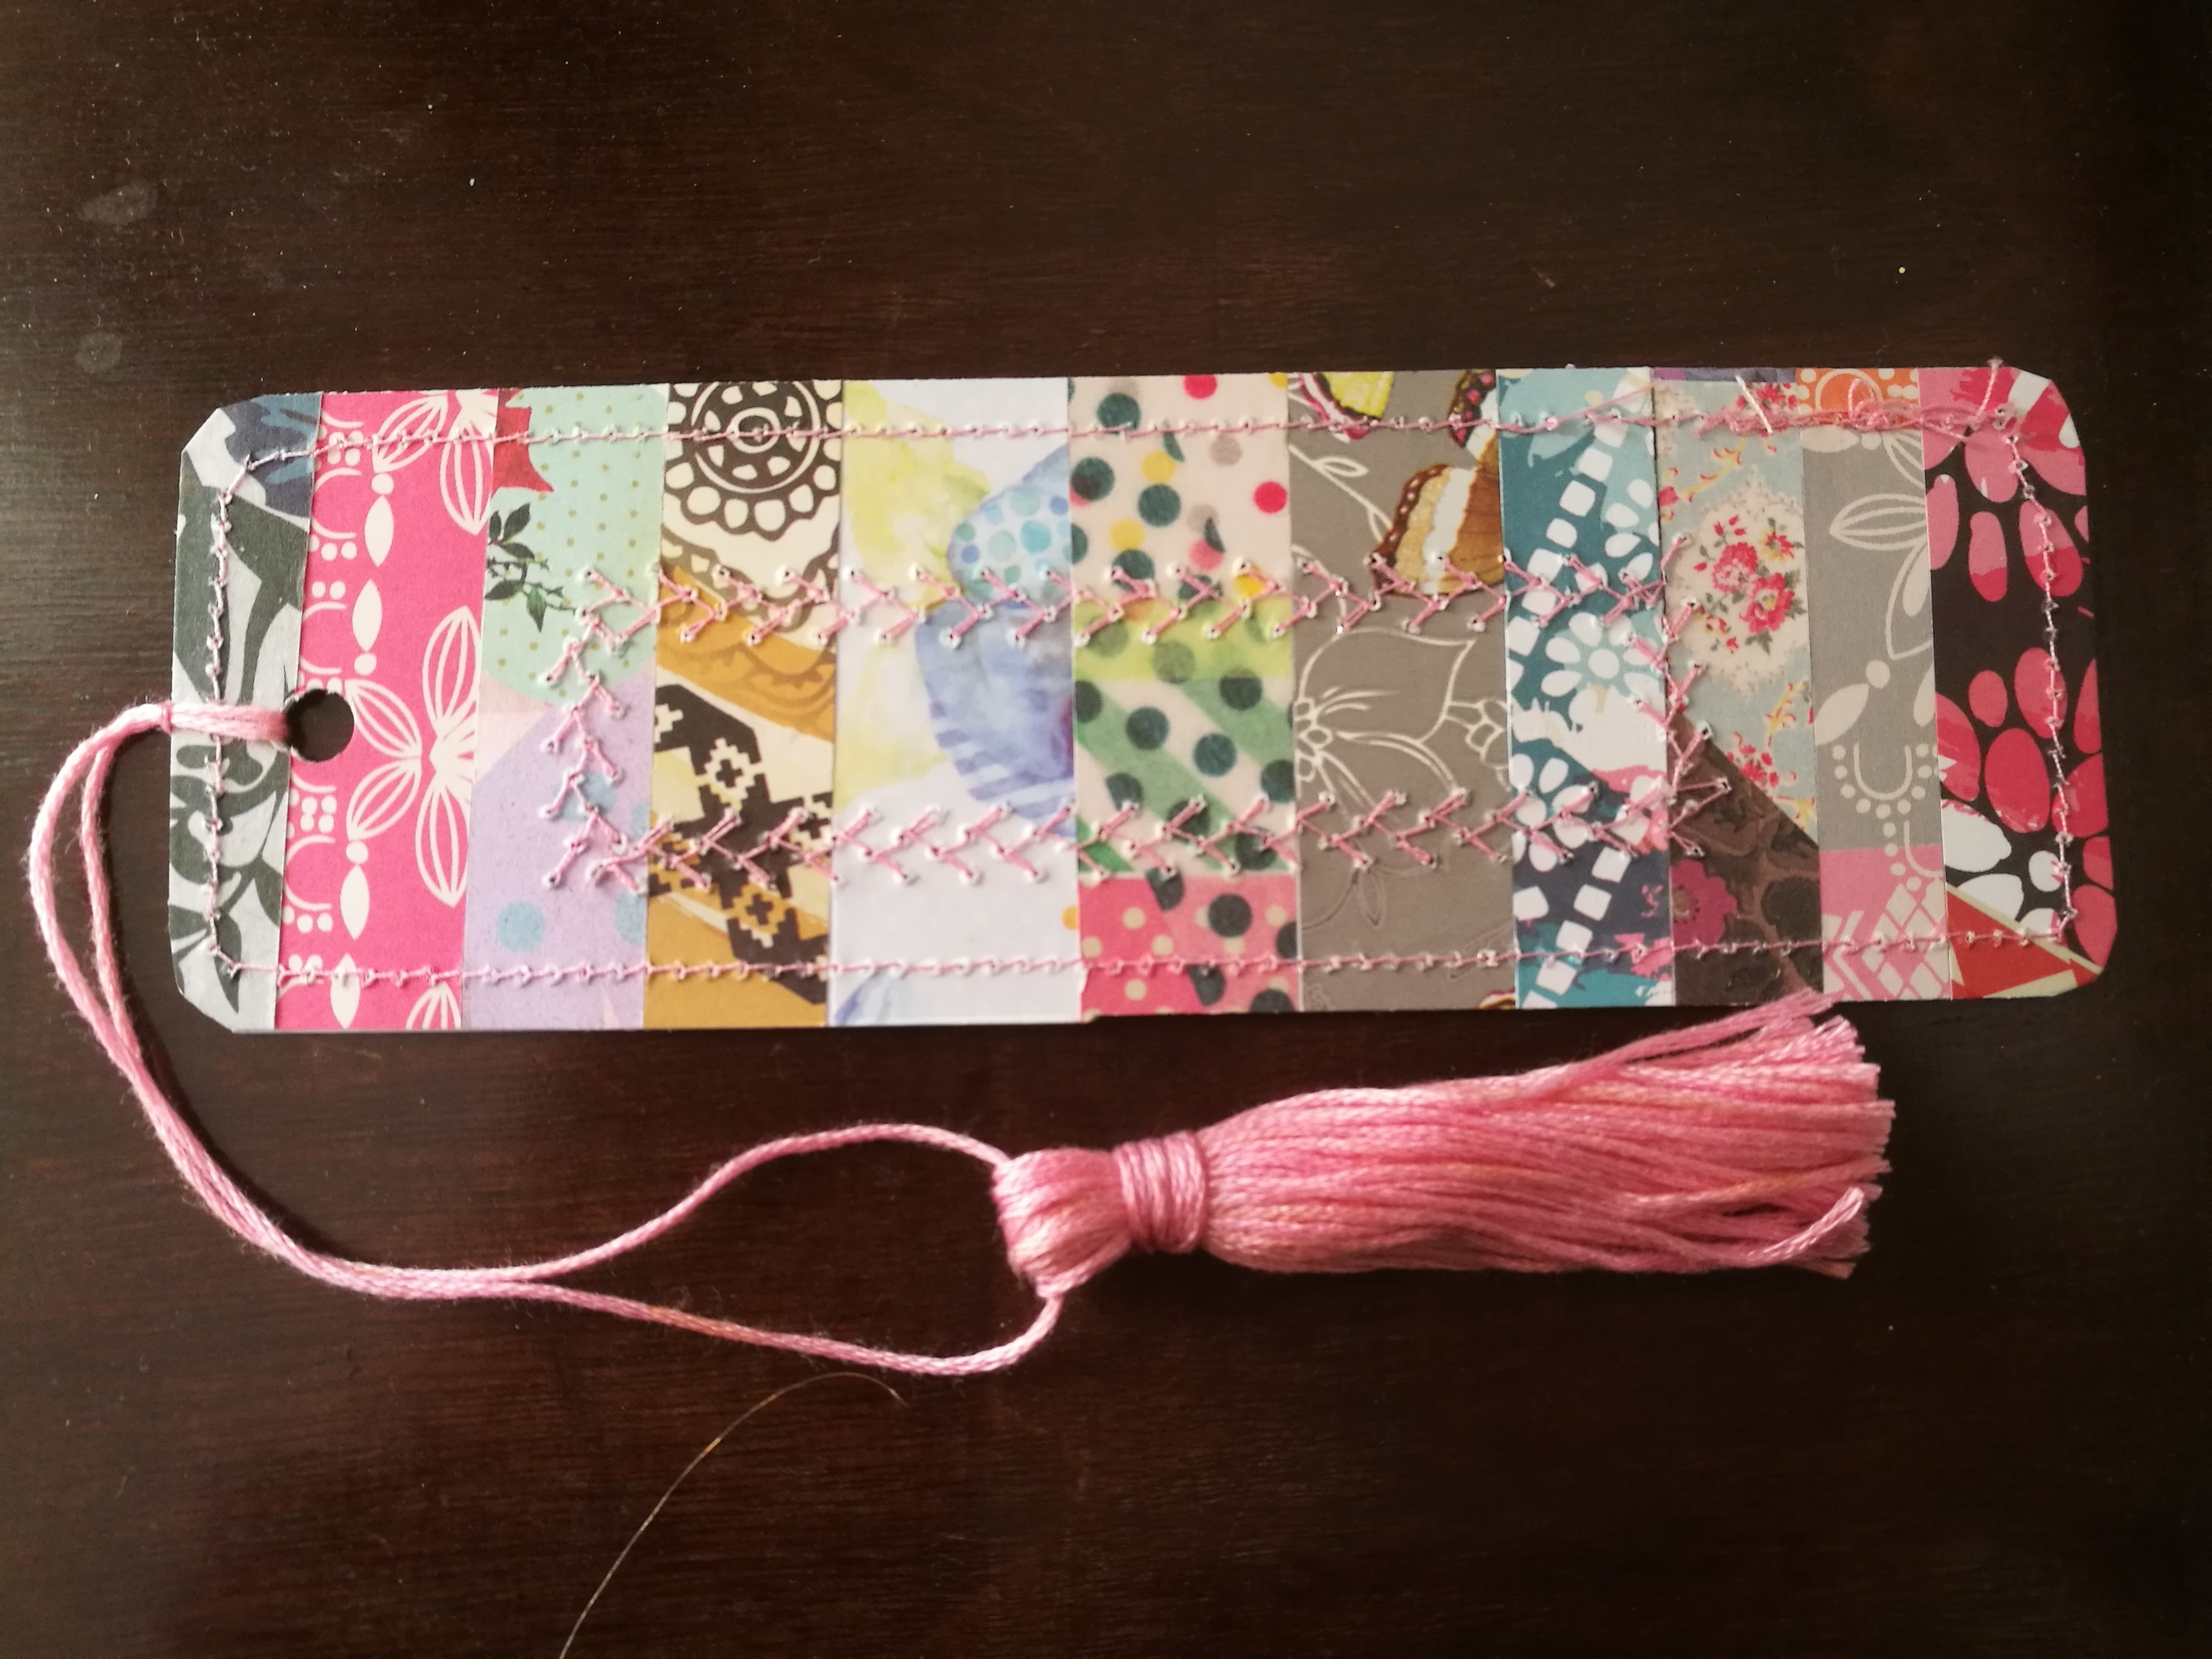
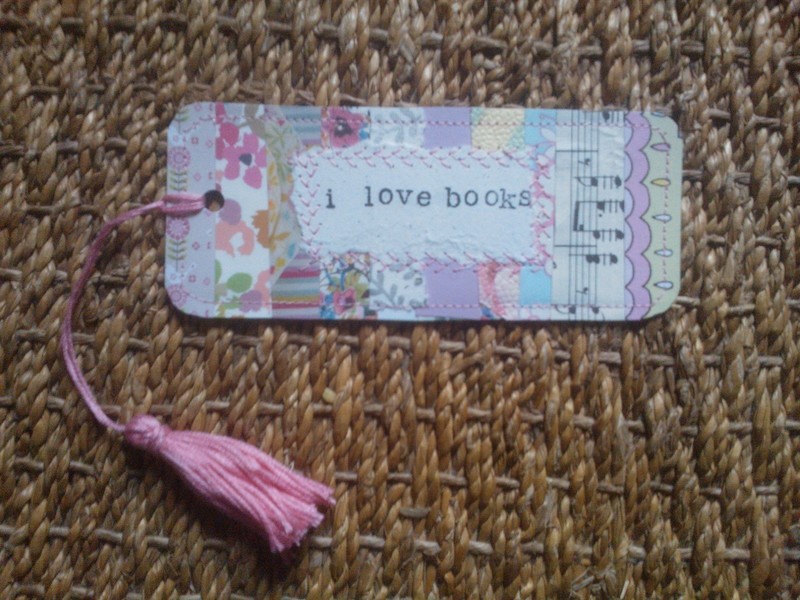
I hate wastage, so I don't like to throw away any of my scraps. I thought I'd use all the odds and ends I had lying around to make some bookmarks. You can make these out of paper or fabric scraps. The green one is fabric and the pink one is paper. You can choose to add the central stamped 'I love books' panel or leave it plain.
Edit (Jun 2019) - I had some paper scraps left over from another project, so I thought I would make another one of these bookmarks. I had forgotten how fun these are to make! I think this one ('Shh...I'm reading!') came out well. I gave this to a friend. Every one of these I'm made I have given away, so it might be time to make one for myself!
Tags
-
 Sarah Sylvia S. favorited Scrappy Bookmarks
20 Jul 17:38
Sarah Sylvia S. favorited Scrappy Bookmarks
20 Jul 17:38
-
 Jousie N. added Scrappy Bookmarks to Paper Products
01 Jul 02:27
Jousie N. added Scrappy Bookmarks to Paper Products
01 Jul 02:27
-
 stephanie.vincent.39589 added Scrappy Bookmarks to Patterns
05 Feb 22:39
stephanie.vincent.39589 added Scrappy Bookmarks to Patterns
05 Feb 22:39
-
 glitzer13*_* added Scrappy Bookmarks to my will doing projects :p
03 Jan 16:52
glitzer13*_* added Scrappy Bookmarks to my will doing projects :p
03 Jan 16:52
-
 amanda.shillito favorited Scrappy Bookmarks
18 Oct 22:55
amanda.shillito favorited Scrappy Bookmarks
18 Oct 22:55
-
jen s. favorited Scrappy Bookmarks
06 Oct 16:41
-
Mae L. favorited Scrappy Bookmarks
09 Aug 23:36
-
 Jen P. added Scrappy Bookmarks to cute
07 Jun 20:17
Jen P. added Scrappy Bookmarks to cute
07 Jun 20:17
-
 iscrafte added Scrappy Bookmarks to Inspiration
25 May 07:44
iscrafte added Scrappy Bookmarks to Inspiration
25 May 07:44
-
 yiv favorited Scrappy Bookmarks
19 May 19:38
yiv favorited Scrappy Bookmarks
19 May 19:38
-
 Step 1
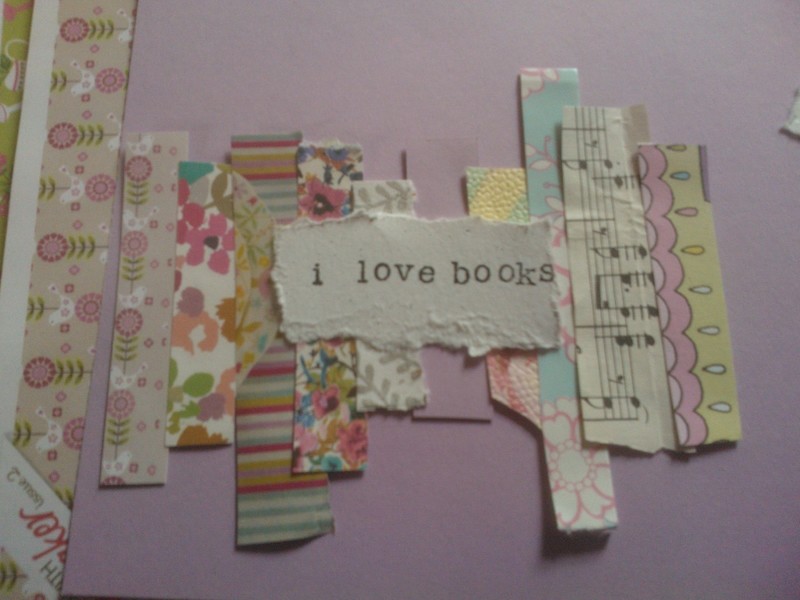
Lay your scraps out on a piece of card or thick paper (the white piece you can see in the background), in the order you want. Glue them down. Don't worry if your backing card is bigger than your scraps, you can trim it later.
-
 Step 2
Stamp a piece of paper and place it in the middle of your laid out scraps.
-
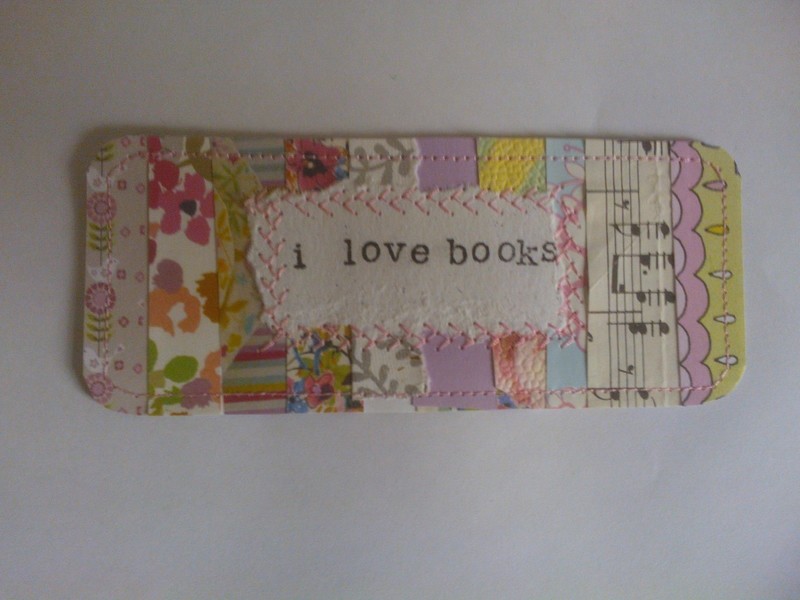
 Step 3
Use your sewing machine to stitch the central panel down. I used a decorative feather style stitch.
-
 Step 4
Flip your bookmark over and lay out more scraps on the other side and glue them down. Sew round the edge in a rounded rectangle shape, through all three layers. Trim the leftovers to make a nice clean edge.
-
 Step 5
Punch a hole in the end of bookmark.
-
 Step 6
Make a tassel using the embroidery thread and yarn needle and loop through hole in the bookmark. Now place in your fave book and enjoy!


Comments


 1
Home Accessories »
Diy Jewelry Box
1
Home Accessories »
Diy Jewelry Box


