


About
A cute bow you can attatch to whatever you like
I made this bow because a friend of mine is dressing up as the mad hatter for a birthday party, and needed a bow tie :) It's pretty simple, I made it up as I went along... You could add some decorations such as sequins, embroidery or applique, but I decided to keep mine nice and simple ;) Oh and don't be put off by the massive number of steps, I just wanted to make it as clear as possible :) Have fun!
Little L x
p.s. I apologise for any funny lighting, I made it on my bed and couldn't be bothered getting a proper lamp :S
p.p.s. I used a needle and thread to sew this together, hence it took me almost an hour. An experienced sewer would be quicker. Using a sewing machine would probably also be quicker, but more fiddly, as the bow is quite small.
Tags
-
 Angi B. favorited Pretty Felt Bow :)
01 Jun 07:55
Angi B. favorited Pretty Felt Bow :)
01 Jun 07:55
-
Rae G. added Pretty Felt Bow :) to Hair things
20 Jul 09:53
-
 Sveta favorited Pretty Felt Bow :)
27 Jan 10:33
Sveta favorited Pretty Felt Bow :)
27 Jan 10:33
-
Siru N. favorited Pretty Felt Bow :)
07 Dec 18:54
-
 English Ginger favorited Pretty Felt Bow :)
12 Nov 22:52
English Ginger favorited Pretty Felt Bow :)
12 Nov 22:52
-
 Rose K. favorited Pretty Felt Bow :)
19 Aug 23:44
Rose K. favorited Pretty Felt Bow :)
19 Aug 23:44
-
 Despina V. favorited Pretty Felt Bow :)
27 Apr 16:52
Despina V. favorited Pretty Felt Bow :)
27 Apr 16:52
-
 lilxpanda added Pretty Felt Bow :) to To-make list
21 Sep 00:48
lilxpanda added Pretty Felt Bow :) to To-make list
21 Sep 00:48
-
 April favorited Pretty Felt Bow :)
17 Jul 06:04
April favorited Pretty Felt Bow :)
17 Jul 06:04
-
 Dona Monstra favorited Pretty Felt Bow :)
27 Jun 16:49
Dona Monstra favorited Pretty Felt Bow :)
27 Jun 16:49
You Will Need
-
 Step 1
First, cut out three pieces of felt, one 19x14 cm, one 5.5x14 cm and one 2x12 cm. I chose blue but you can choose whatever colour you want :)This picture is of the biggest piece, I forgot to take pictures of the others... as you can see it is a bit creased so I ironed it before starting :) (I have icluded seam allowance into the measurements, so just cut the pieces as big as stated)
-
 Step 2
Take the biggest piece. Make sure the felt is lying landscape (like above), and take the left side of the felt and fold it in, approximately a third into the fabric.
-
 Step 3
Take the other edge (on the right hand side) and fold it in as well, let it overlap the other side by approximately one cm.
-
 Step 4
Pin the top and bottom like on the picture, make sure the pin goes through the back of the fabric too.I only used two pins because that's all i could find, you could use more but it isn't really needed.
-
 Step 5
Prepare a needle and thread. I like to put the needle on the thread and then knot the two ends together, so you get a thicker stitch and save time. As you can see i used quite a big needle, this is handy for some of the later steps but you don't need a big needle for the whole thing.
-
 Step 6
Stitch shut one of the pinned sides. I stitched up and down the side using quite small stitches to make a solid line, then used a stitch about three times as big and stitched up and down again to straighten the line.
-
 Step 7
Stitch up the other side in the same way.
-
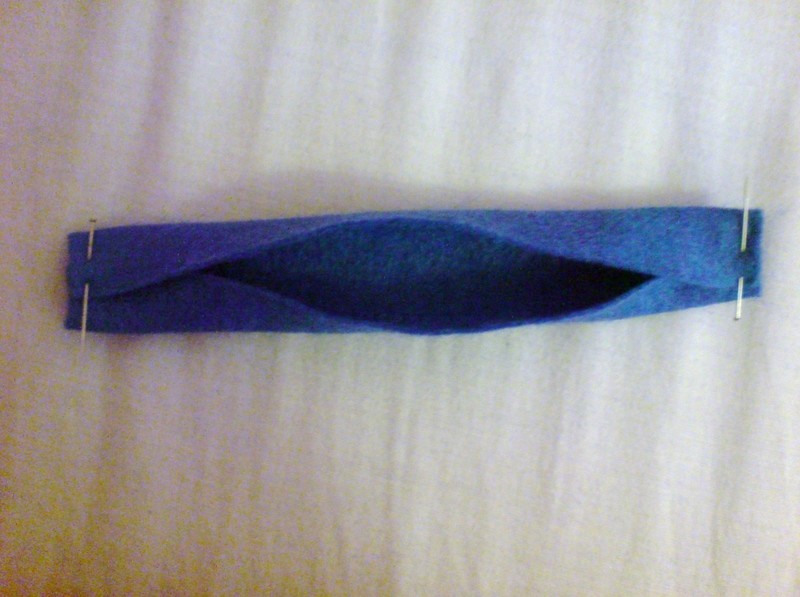
 Step 8
Carefully turn the bow inside out. It should look something like this.
-
 Step 9
Put the main piece to one side, and take the medium sized piece. We are going to do the same with this piece. Yours will probably be stubborn like mine and refuse to fold, but this doesn't matter. Pin both ends with a 1cm overlap.
-
 Step 10
Take your smallest piece of felt and carefully slot it into the medium sized piece. It should be the same width as the pinned ends and a little bit shorter than the medium sized piece.(This step will add a bit of bulk to your centre piece)
-
 Step 11
You will need to iron folds into your felt so that it will fold properly, with a 1cm overlap like the pinned ends. Then stitch one of the pinned ends shut. You will only need about four small stitches, but you might want to go over your solid line again (don't use a bigger stitch, the edge is too small for that)
-
 Step 12
Stitch the other end shut in the same way.
-
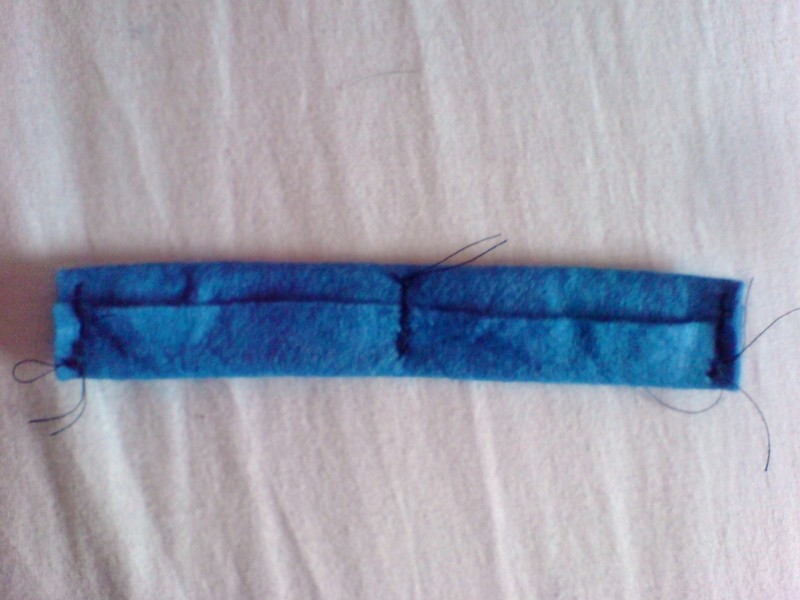
 Step 13
Stitch another line down the middle to stop your felt from unfolding. Also, prepare your really big needle for later, as you won't be able to do this during the following steps.
-
 Step 14
Back to the main piece. Turn it so that the overlapping side is face up. Fold it like in the picture. Do this top and bottom.
-
 Step 15
It should look like this. Keep pinching the middle so it doesn't lose the shape.
-
 Step 16
This is how it will look like from the front... If yours is not quite even (as mine is on the picture) you can pull the corners a little bit with your other hand to even the shape out.
-
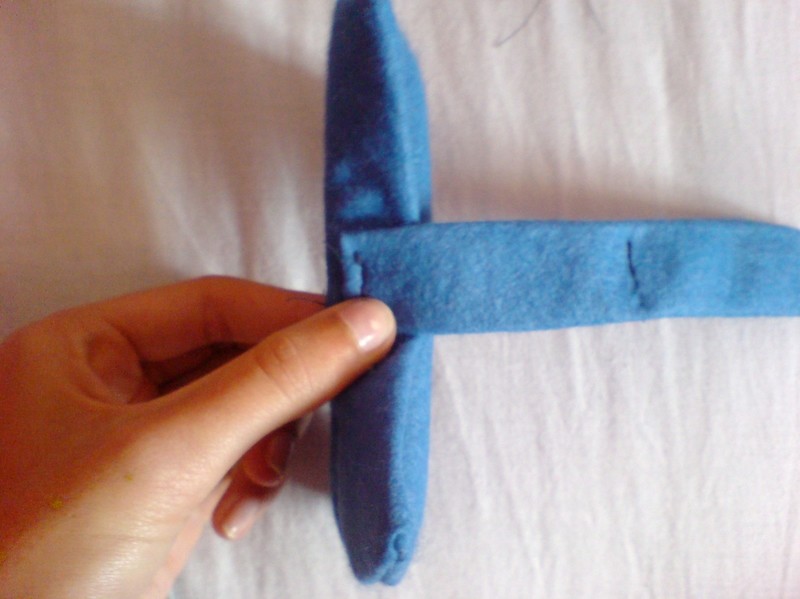
 Step 17
Take your other piece and place it at the top of your pinch. MAKE SURE YOUR BOW IS FACING THE RIGHT WAY, the strip should be ready to wrap around the front FIRST.
-
 Step 18
Top view...
-
 Step 19
Wrap the long strip around the body of the bow.
-
 Step 20
Make sure the stitches in the middle of the strip face the bottom when you wrap it round.
-
 Step 21
Should look like this when the strip is totally wrapped round...
-
 Step 22
Front view...
-
 Step 23
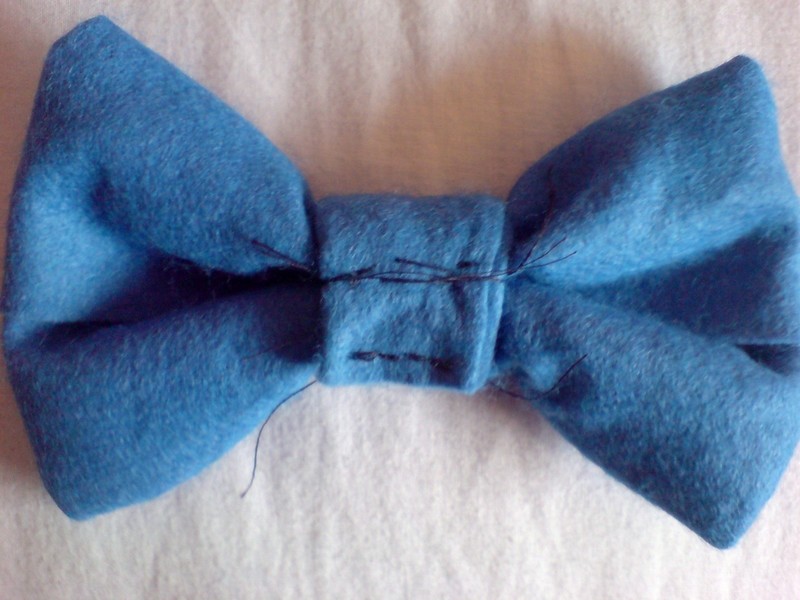
Make sure your bow is facing down. Take your prepared needle and stitch a couple of big stitches through the whole of the centre piece. These do not need to be neat as this is the back of your bow.
-
 Step 24
It should look like this...
-
 Step 25
As you can see, the end of the strip is not attatched and is slightly visible from the front. If this doesn't bother you, go straight to Step 27, if it does, just carry on to Step 26...
-
 Step 26
Fold the flap over your messy stitches and sew the flappy layer onto the one underneath it (the one with the visible messy stitches)
-
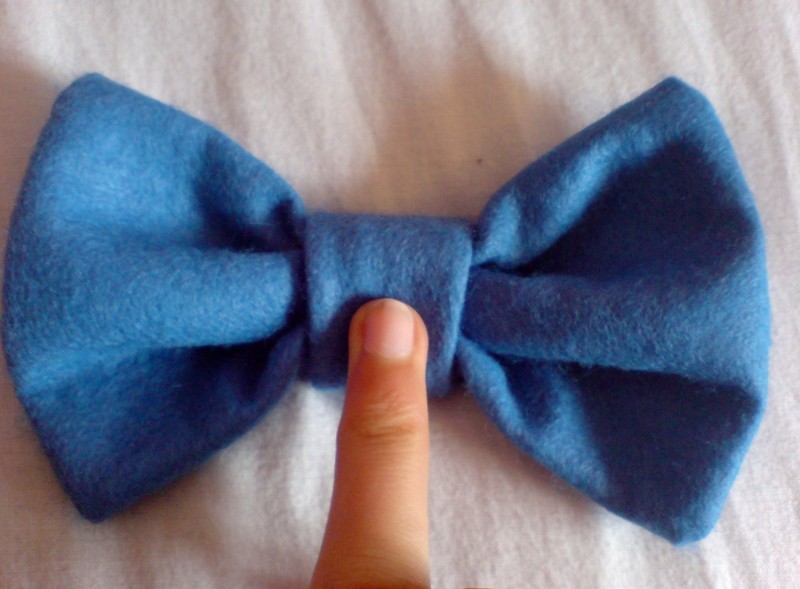
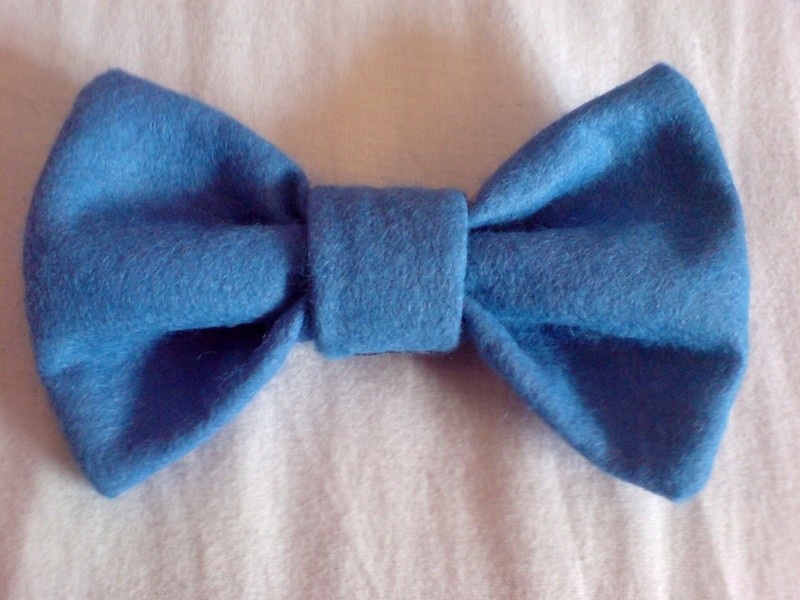
 Step 27
This is your finished bow :)
-
 Step 28
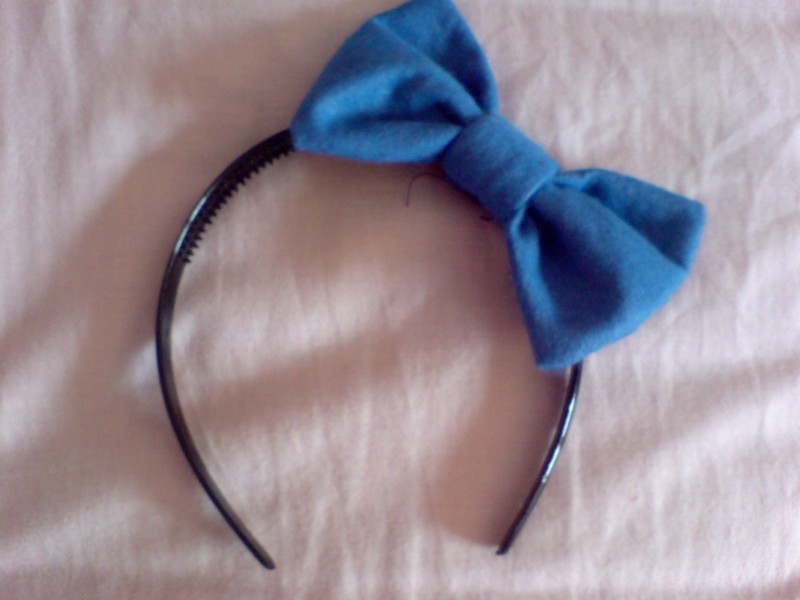
As the strip is not necessarily attatched to the bow, you can slide your bow onto hairbands...
-
 Step 29
...
-
 Step 30
... onto a clip...
-
 Step 31
... or just onto a ribbon :D (well, I put mine onto a suede cord, but you know, same difference ;) )


Versions

Posted by
Atomicbunny


Posted by
Emmaline C.


Posted by
Jiska

 1
Home Accessories »
Diy Jewelry Box
1
Home Accessories »
Diy Jewelry Box

Which I'm grateful for - I HATE glue guns they scare me
Plus her pictures aren't a rip off of yours, she's taken her own pictures.
So I think you're both safe.