


About
Transfer your favourite photos onto polymer clay!
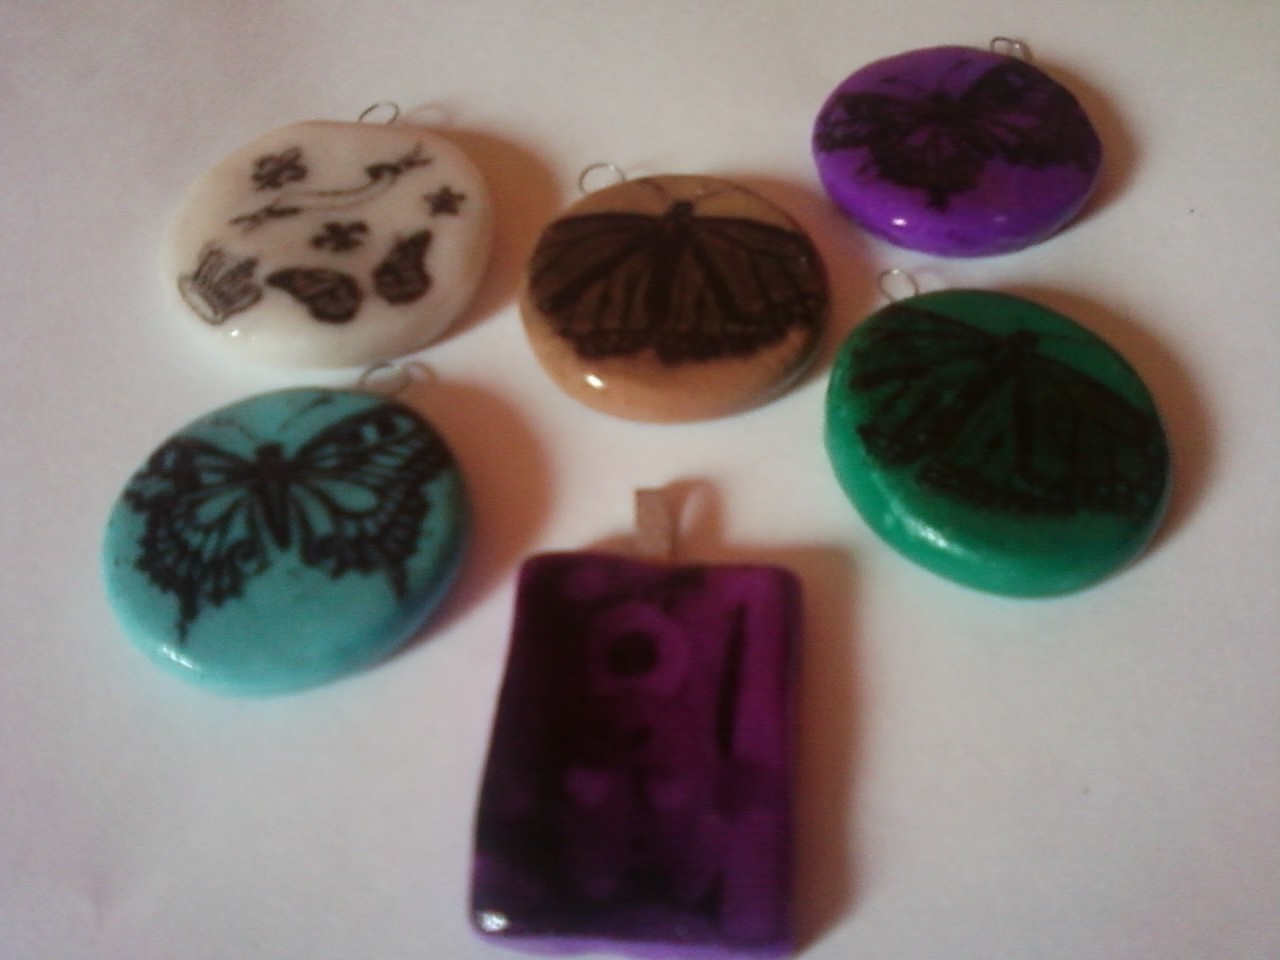
Create pendants or charms with your favourite photos! These can be a great gifts for your loved ones too!
-
 Key West Witch added Polymer Clay Photo Pendants to Jewelry
30 Jun 04:31
Key West Witch added Polymer Clay Photo Pendants to Jewelry
30 Jun 04:31
-
 Sarah Sylvia S. favorited Polymer Clay Photo Pendants
25 Jul 01:04
Sarah Sylvia S. favorited Polymer Clay Photo Pendants
25 Jul 01:04
-
 Rebecca B. favorited Polymer Clay Photo Pendants
20 Jul 01:00
Rebecca B. favorited Polymer Clay Photo Pendants
20 Jul 01:00
-
Robyn A. favorited Polymer Clay Photo Pendants
19 Feb 17:58
-
 Beth M. favorited Polymer Clay Photo Pendants
28 Sep 13:36
Beth M. favorited Polymer Clay Photo Pendants
28 Sep 13:36
-
Camille D. favorited Polymer Clay Photo Pendants
14 Sep 21:48
-
 Jill M. favorited Polymer Clay Photo Pendants
25 Aug 23:13
Jill M. favorited Polymer Clay Photo Pendants
25 Aug 23:13
-
 02jhseaby added Polymer Clay Photo Pendants to Try
18 Jun 21:22
02jhseaby added Polymer Clay Photo Pendants to Try
18 Jun 21:22
-
02jhseaby favorited Polymer Clay Photo Pendants
18 Jun 21:22
-
 Elentine added Polymer Clay Photo Pendants to Fimo
15 Jun 23:53
Elentine added Polymer Clay Photo Pendants to Fimo
15 Jun 23:53
You Will Need
-
 Step 1
First, print out your images and cut them out.
Use laser or similar printer for this. I read that inkjet printers doesn't work for this.
I found out that printer paper works the best.Also make sure you reverse all of the pictures and letters before printing out!
-
 Step 2
Roll out your polymer clay. Thicker clay is better to work with.
-
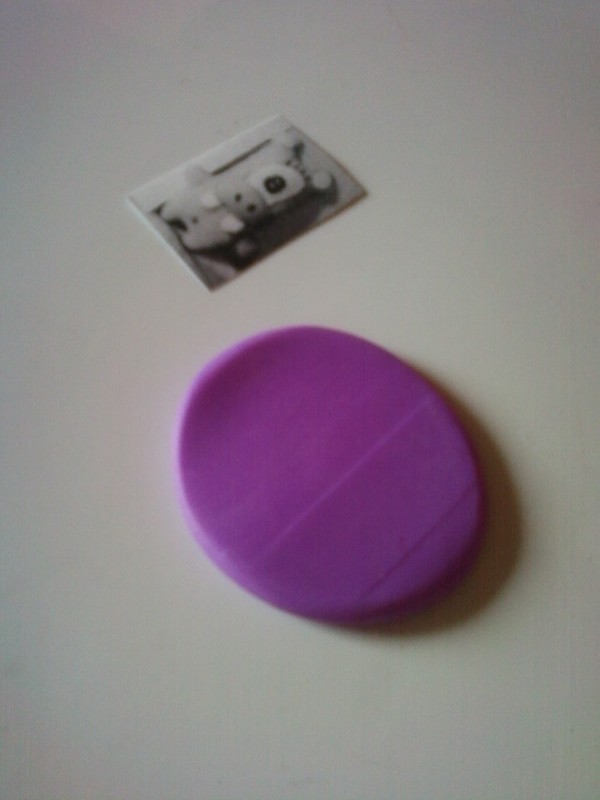
 Step 3
Put image of your choice onto clay.
You can also take colorful pictures, i just had black & white printer. ;) For better results of colorful images, take white clay. -
 Step 4
Put really small amount of water onto paper.
Too much water makes next step harder. -
 Step 5
Carefully start to rub off the paper with your finger. Do this carefully, making sure that picture doesn't moves or breaks. (excuse my English)
-
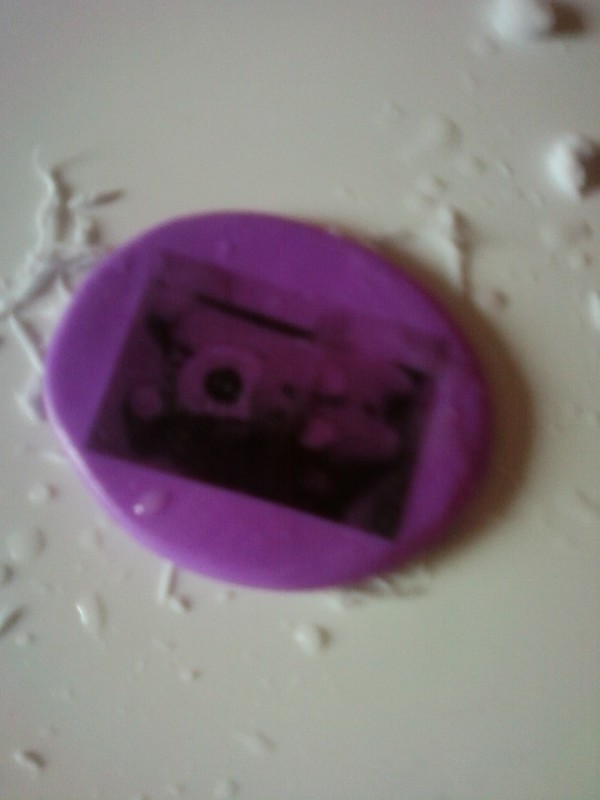
 Step 6
Keep rubbing the paper off. You can see the picture through the paper now.
-
 Step 7
Rub the paper off completely and the ink will remain on the clay.
-
 Step 8
Use napkin or piece of fabric to clean the excess paper off the clay. Also do this carefully.
-
 Step 9
Now you can cut your pendant to the shape you want if you didn't before. And attach eyepin,pendant bail or if it's thick enough, make a hole to make a bead.
-
 Step 10
After baking or boiling in hot water (i boiled),sand your pendant with sandpaper or nailfile if neccessary. Just don't sand the picture! You can also varnish your pendant.
-
 Step 11
Now your pendant(s) is ready to use! Enjoy! :)


 1
Home Accessories »
Diy Jewelry Box
1
Home Accessories »
Diy Jewelry Box

CO + K User
CO + K User