


About
Metal stamped cuff from flat wire
I know I'm probably about 5 years too late to this trend but hey, better late than never right? Despite being a beginner (I don't use that term lightly, I started like a week ago), I thought that maybe a 'For beginners, by beginners' type of tutorial would be useful for some people.
I have a more detailed version on my blog where I also elaborate about the materials and where to get them so check that out if you're interested
http://thepotatolarcenist.blogspot.sg/2013/12/metal-stamping-game-is-afoot.html (I can't seem to get it to work in the promotion bar :/)
-
 Sarah Sylvia S. favorited Metal Stamped Cuff
19 Jul 23:45
Sarah Sylvia S. favorited Metal Stamped Cuff
19 Jul 23:45
-
 Kimya J. favorited Metal Stamped Cuff
28 May 03:10
Kimya J. favorited Metal Stamped Cuff
28 May 03:10
-
 Melissa Beth added Metal Stamped Cuff to Zooey Deschanel DIY
19 Jan 10:50
Melissa Beth added Metal Stamped Cuff to Zooey Deschanel DIY
19 Jan 10:50
-
Melissa Beth favorited Metal Stamped Cuff
19 Jan 10:50
-
 Sandy B. added Metal Stamped Cuff to jewelry Creations
28 Jun 13:39
Sandy B. added Metal Stamped Cuff to jewelry Creations
28 Jun 13:39
-
Sandy B. favorited Metal Stamped Cuff
28 Jun 13:39
-
 PineconePrincess commented on Metal Stamped Cuff
09 Jun 22:54
PineconePrincess commented on Metal Stamped Cuff
09 Jun 22:54
-
PineconePrincess favorited Metal Stamped Cuff
09 Jun 22:52
- kzk favorited Metal Stamped Cuff 28 Nov 18:05
-
 Katelyn T. favorited Metal Stamped Cuff
03 Aug 20:55
Katelyn T. favorited Metal Stamped Cuff
03 Aug 20:55
You Will Need
-
 Step 1
Materials
-Metal stamps
-Hammer
-Flat Wire (Mine's 5x1mm)
-Hard surface to stamp on/ Bench Block
-Permanent Marker
-Masking Tape -
 Step 2
Additional Materials for flat wire
-Wire cutter
-File
-Sand paper (400 grit)
-Nail buffer -
 Step 3
For a cuff, take the exact measurement of your wrist and subtract 1/2 an inch. That will be the amount of flat wire needed. So since my wrist is 5.5inches, my wire needs to be 5 inches
-
 Step 4
Mark the middle of your cuff
-
 Step 5
Decide on your phrase and number each character, including spacing, to find the middle of your phrase. This is where the previously marked center should be
-
 Step 6
Lay out your stamps. I prefer to start with the second half of the phrase. If you start from the first half, start from the last letter of the first half ('I' for me) and go backwards.
-
 Step 7
Stamp away! It's hard to see in the photo but you should be able to see the reflection of the metal stamp in the metal. Use that reflection to guide you when you stamp.
Use masking tape or any tape really to make sure you stamp in a straight line.
-
 Step 8
This is what it should look like when it's done!
If you're curious, since I didn't buy a punctuation set, I improvised with a 1.4mm flat screwdriver as the apostrophe in "I've"
-
 Step 9
Ink up your letters! If you prefer how it looks au naturel, then great! But if you want your characters to stand out more, then you're gonna have to use a permanent marker to colour them in. Just make sure that you get ink into all the grooves
-
 Step 10
Inked
-
 Step 11
Use a tissue or a damp rag to wipe off the excess ink .
Most people use a sharpie but I find that sharpie ink is harder to get out. I used Cretacolor and this ink comes off with a tissue paper. I will admit that Sharpie's ink pops better though.
-
 Step 12
Cleaned
-
 Step 13
Since flat wire has to be manually cut, the edges are usually a little sharp and stabby. So the edges need to be rounded
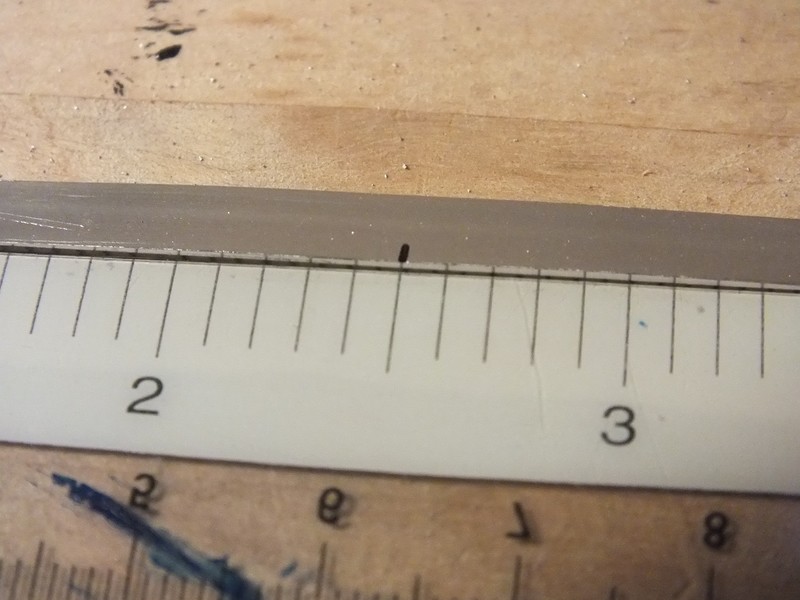
Start by snipping off the 90 edges
-
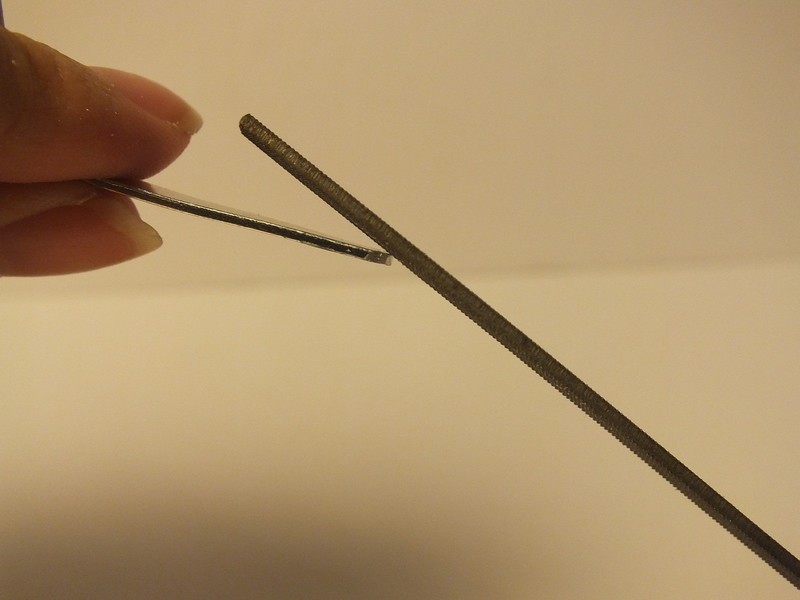
 Step 14
Round the edges by filing it in the depicted motion. I suggest holding your file in place and moving the flat wire against it.
-
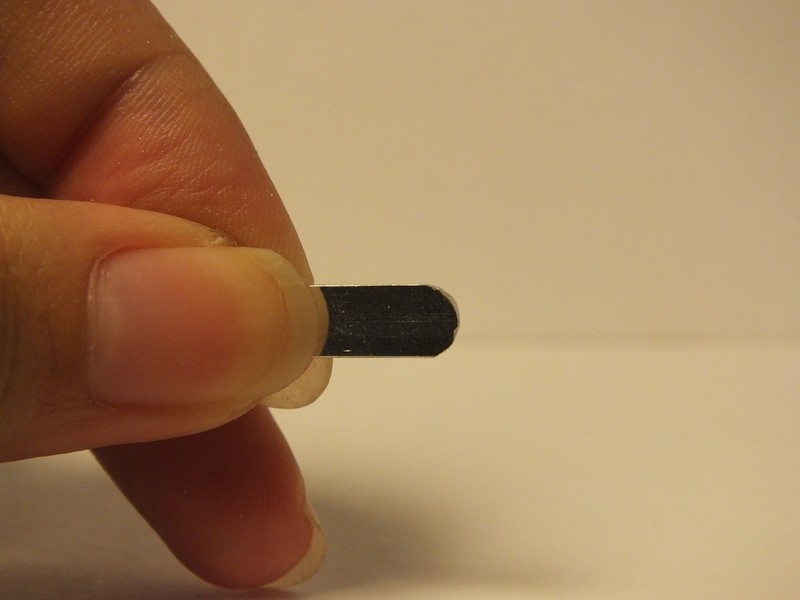
 Step 15
When you're done, it should look like this
-
 Step 16
This is optional but I find that filing this edge makes it less scratchy when the cuff is slid onto the wrist.
-
 Step 17
To make it smoother, sand it on 400 grit sand paper. Don't forget the edge that was filed in the previous step.
-
 Step 18
Lastly, buff it until it's shiny
-
 Step 19
Shiny!
-
 Step 20
Now, it's shaping the cuff. You could use a bracelet mandrel or nylon jaw bending pliers but those are about $15 and $20 respectively ie out of my price range.
First, wrap it around anything cylindrical to get the C shape in the second picture. Then hold it as depicted and apply pressure with your thumbs
-
 Step 21
And you should get this shape!
-
 Step 22
And voila, you're done! Now show off your bracelet to the world


CO + K User
CO + K User