


About
Learn to Use a Cording Foot and Wing Needle
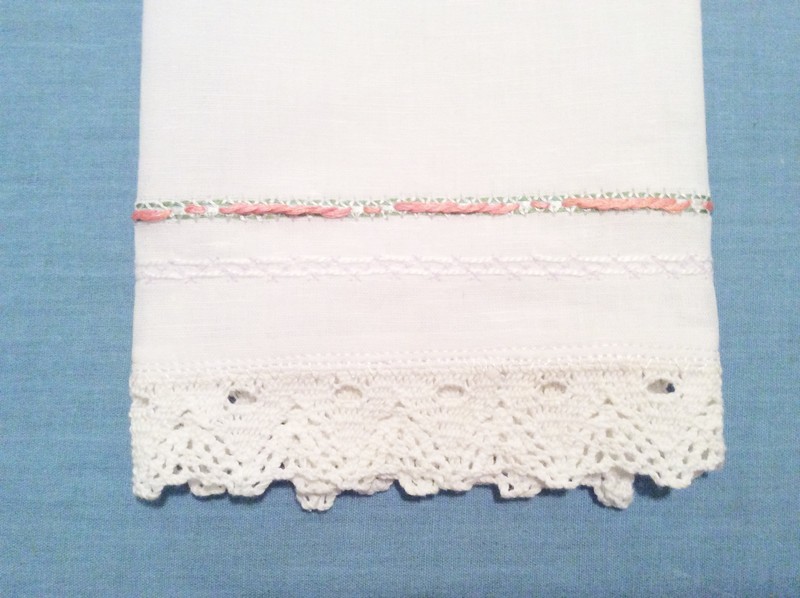
Making this Napkin will show you how to use a 5-Hole Cording Foot and a Wing Needle on your sewing machine to create a heirloom style decorative stitch.
I learned the basics of using these cool tool when I went to a Hope Yoder's Sip and Sew Event near me.
You can find one near you here
http://www.hopeyoder.com/sipandsew.asp
And I bought my foot and needle from my local Brother Dealer, Jones' Sew & Vac, who sponsored me to go to the event. :)
http://www.jonessewandvac.com/
-
 Pam published her project Linen Napkin
13 Aug 15:10
Pam published her project Linen Napkin
13 Aug 15:10
-
 Step 1
Prep your fabric by hand washing it or washing it on gentle in the machine, then laying it out on a large bath towel and rolling it up in the towel. Let it dry for a day, then take it our of the towel and press it using an iron and your spray starch.
Cut it into 18 inch squares.
Plan your design out on paper and test out your stitches on scrap linen. When you find a layout and stitches you like you can use your disappearing ink fabric pen to draw out your hem lines 1/2 inches from the edge and then I spaced mine out on the bottom of the napkin every 1/2 inch up from the hem.
-
 Step 2
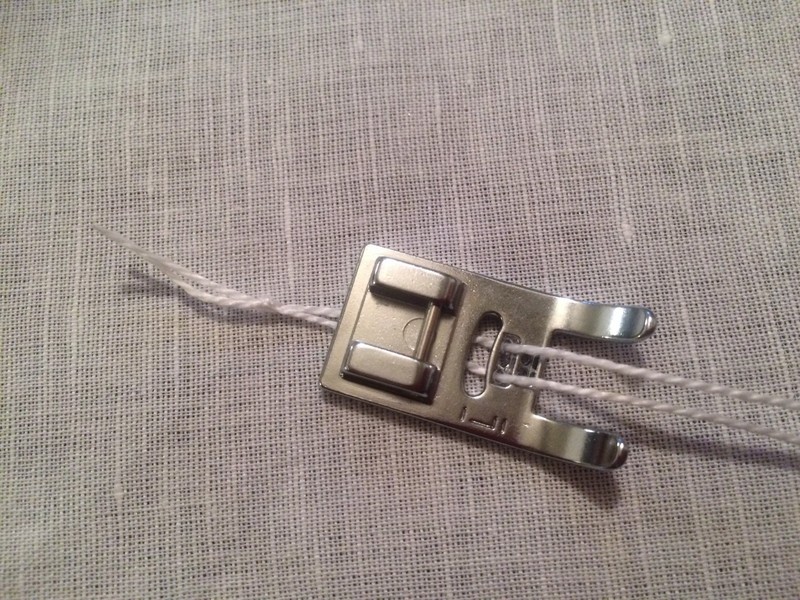
Thread your cording foot before placing in on your machine, it makes it easier, and tie a knot in the cording or floss your using behind the foot.
-
 Step 3
Attach your foot and needle.
Cut a piece of stabilizer and place it under your fabric when you are getting ready to start sewing.
-
 Step 4
With your foot and needle threaded, use your Heirloom stitch to lay down your first decorative stitch. You don't need to go back and forth over your beginning and end stitches, because you'll sew them up in the hem later. Just trim off your cord and tread to the fabrics edge.
-
 Step 5
Thread your embroidery needle with some floss and use any cross stitch or embroidery style you like to put a design on top of your stitching. The Wing Needle will have made a large hole in your fabric and stabilizer to make it easy to cross stitch on top of.
-
 Step 6
Next your can change your color of cord on your foot like I did, I changed mine to white with light purple thread on top, which doesn't show up well in the photo but looks very nice and dainty in person. I was planning on doing a decorative stitch on both sides of the heirloom stitch but I thought it might look too busy with all that on there so I just did one in the end.
-
 Step 7
Now you can finish up your edges by pressing each side under 1/4 inch, twice and sewing a straight seam all around the napkin.
-
 Step 8
To attach your trim, out on your regular needle and foot, iron your bottom edge under twice to get a nice clean edge, then use a Blind Hem Stitch to sew them together. Butt them right up against each other under the foot, not overlapping. And the stitch will come out looking like you hand sewed it on.
Now you just need to make 3 more and you'll have a set ^_^


 1
Home Accessories »
Diy Jewelry Box
1
Home Accessories »
Diy Jewelry Box

