

Kitchen Table Topper
Extract from Big Stitch Quilting • By Forster, Carolyn • Published by Search Press

About
Big Stitch Quilting
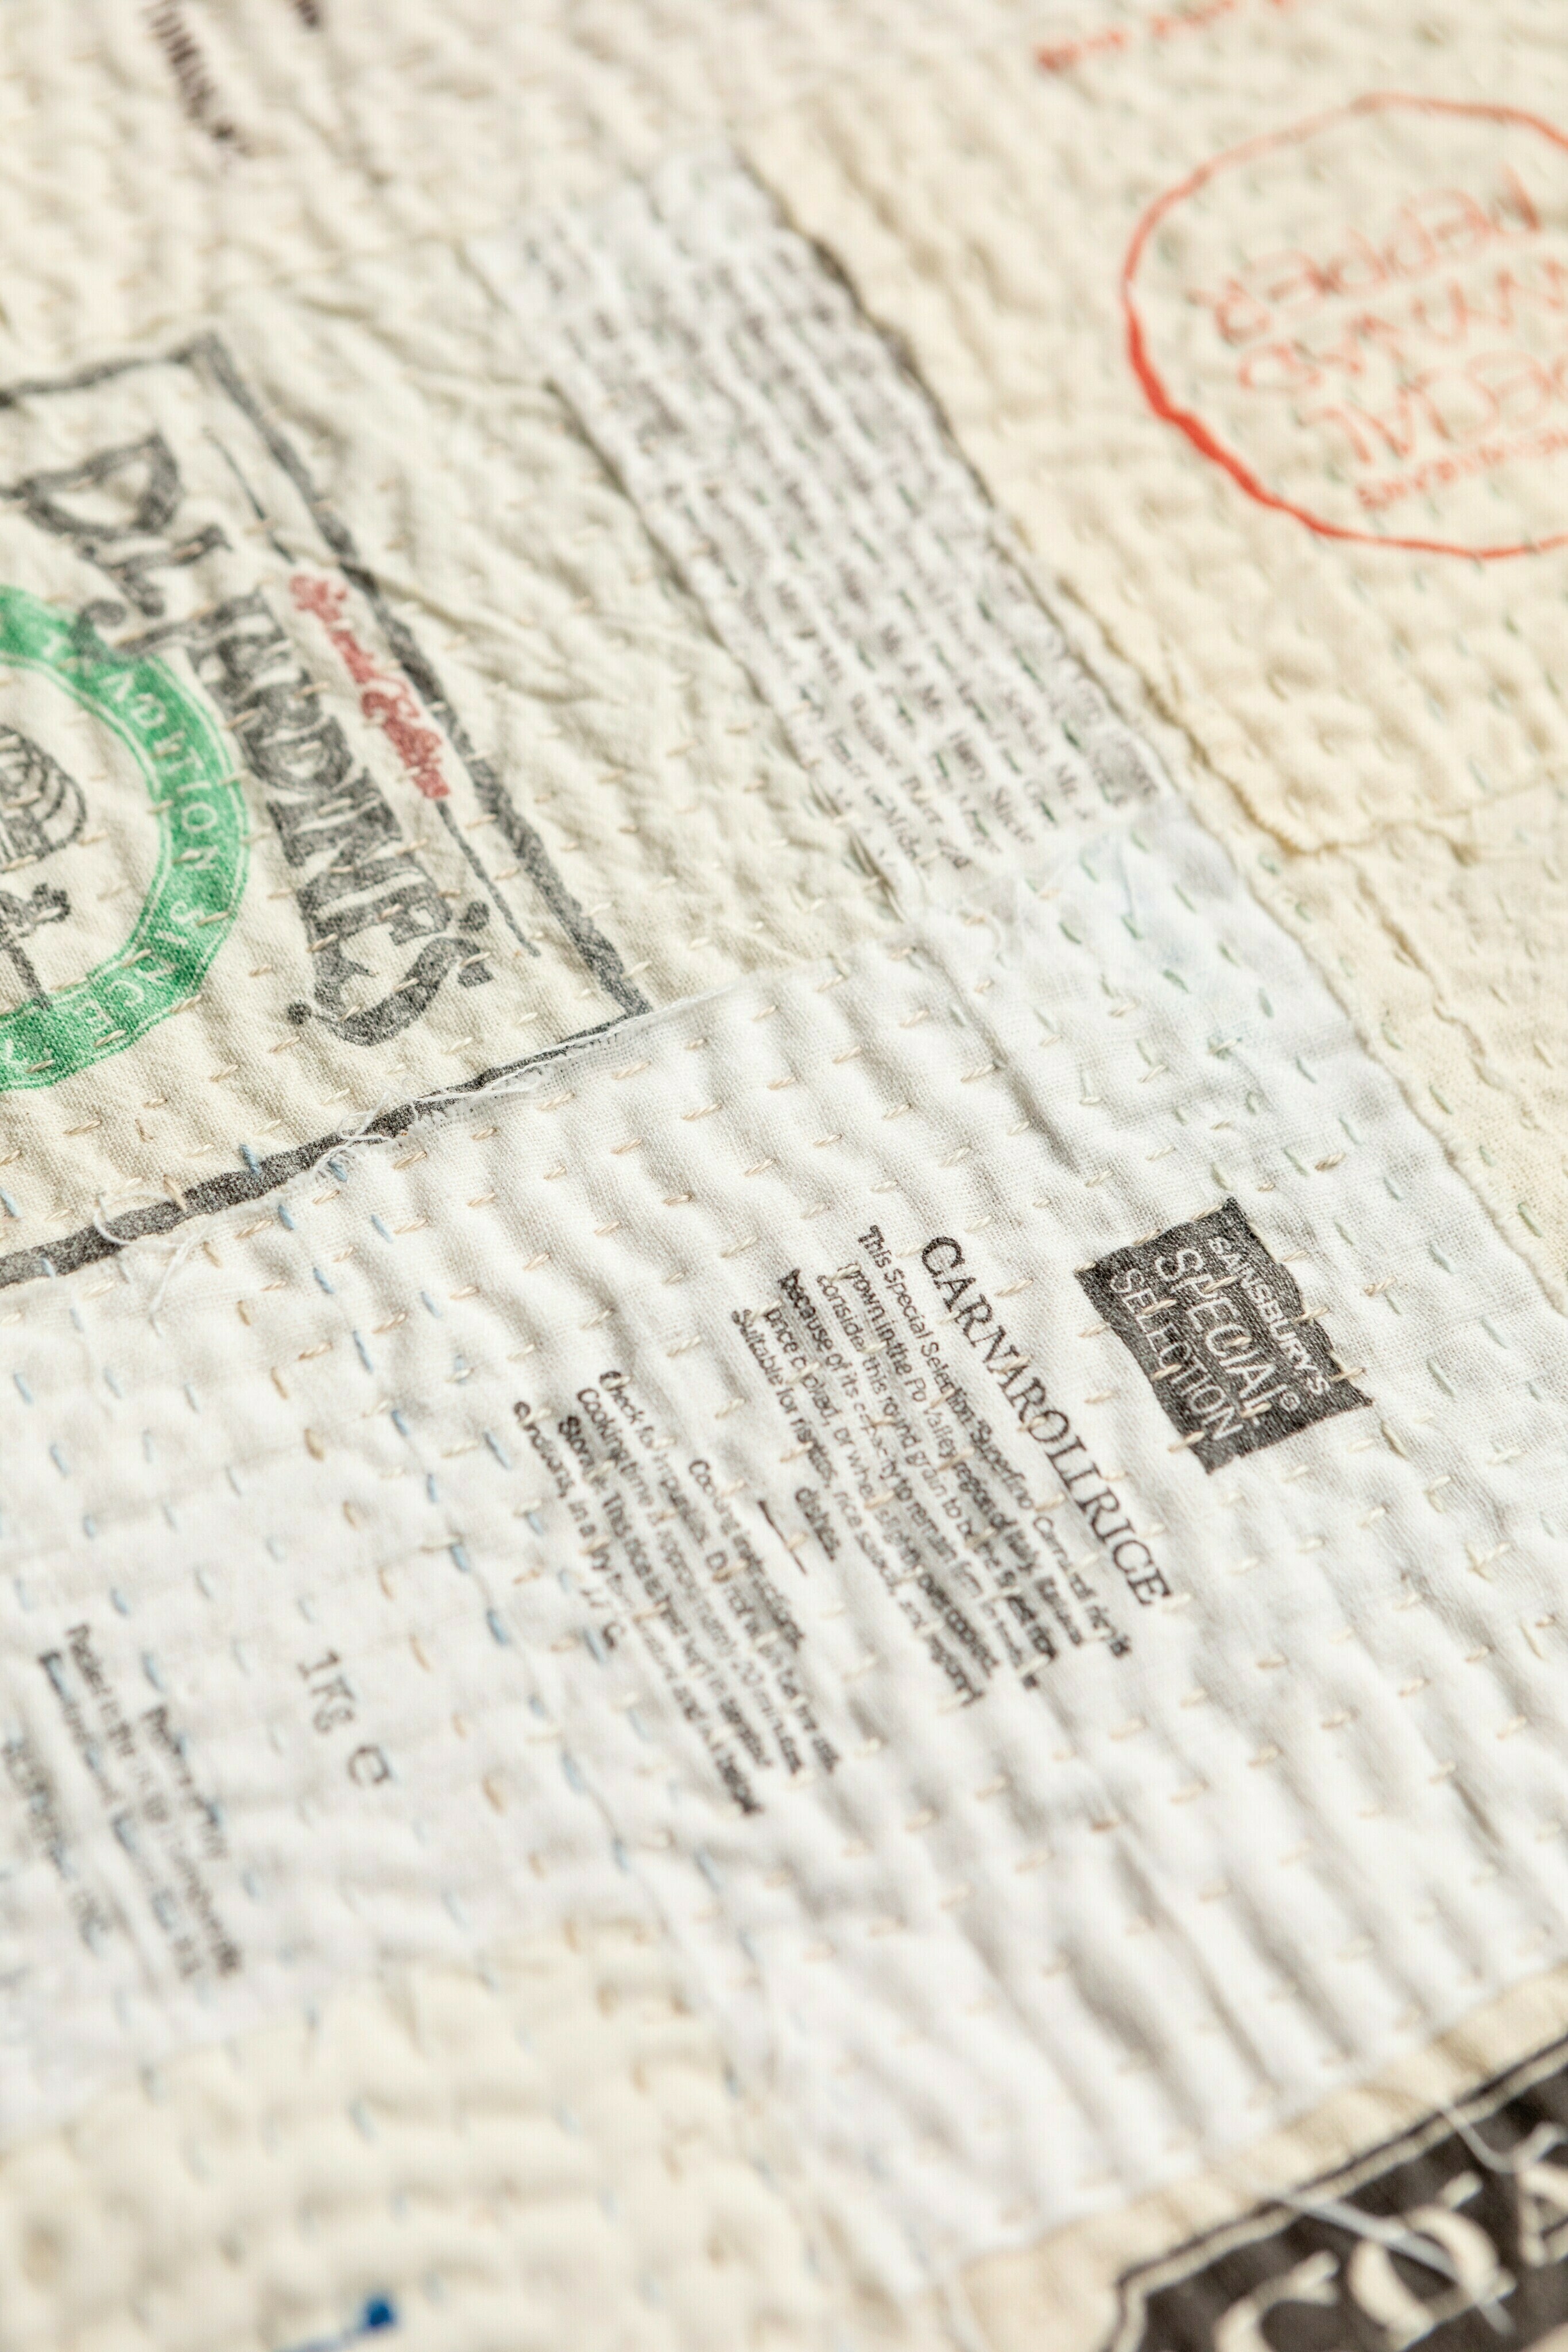
This fun, decorative table topper is right at home in the kitchen. It was inspired by Japanese boromono quilting and uses recycled calico bags – used to hold dried foodstuffs – and a worn-out calico shopping bag. The bags were all washed and the seams unpicked, then laid out to fit like a jigsaw puzzle. Traditionally in boromono, these would have been used to patch a base cloth, and you can work this way too, if you want to. Simply use a second calico shopping bag as a base cloth – you will need fewer small pieces, as it may not need to be completely covered.
Your finished table topper will inevitably look different to mine. If you don’t have calico bags, look out for cloth-type printed panels and use these instead. If you are lucky enough to have vintage flour sacks from the 1930s, these would be fun as the backing. The size of my mat was dictated by the size of my calico backing bag, but make yours whatever size works well with what you have to hand.
Measurements
Size: 12 x 25in (30.5 x 63.5cm)
Fabric cutting
If there is something interesting on both sides of
a bag, you can always cut it in two to suit your design.
-
 Crafterella featured Kitchen Table Topper
12 Aug 23:00
Crafterella featured Kitchen Table Topper
12 Aug 23:00
-
 C.J. M. added Kitchen Table Topper to Sew
11 Aug 12:50
C.J. M. added Kitchen Table Topper to Sew
11 Aug 12:50
-
C.J. M. favorited Kitchen Table Topper
11 Aug 12:50
-
 Search Press published her project Kitchen Table Topper
11 Aug 09:00
Search Press published her project Kitchen Table Topper
11 Aug 09:00
You Will Need
-
Step 1
Place the fabric bags RS up on top of the wadding/batting. If you are using fabric glue, you can dab this onto the WS of the fabric bags when you are happy with the layout. If you want to use Mistyfuse™, cut it to fit the wadding/batting, lay it on top and build up your design on top, ironing to fix everything when you are happy. If you use spray baste, spritz the wadding/batting and then arrange the fabrics, moving them about as needed. The fabric bags need to overlap so that the wadding/batting and glue is not exposed (see illustration below). You can always trim down the fabrics if they overlap too much, or make a patch if there is an exposed area.
-
Step 2
When you are happy with your arrangement, make sure that the fabrics are secured to the wadding/batting. Place the backing fabric RS down on top of the design.
-
Step 3
Pin around the outside edge, perpendicular to the raw edge. Start stitching in the centre of one of the long sides, securing the stitches at the start. Use a ¼in (5mm) SA and stitch around the edge. Pay special attention at the corners – sew a couple of diagonal stitches across each corner (see step 2, page 42). When you reach 2in (5cm) from your starting point, stop and secure the stitches. Snip away the excess fabric of the seam allowances at the corners, then turn RS out through the gap. Roll the edges between your fingers and thumbs to encourage them to lay flat, then tack/baste in place. Slipstitch the opening closed.
-
Step 4
Tack/baste the layers together to keep everything stable during the quilting process. Use diagonal lines, then quarters, then lines every 4in (10cm) in both directions to secure.
-
Step 5
Quilt around the outside edge of the mat, taking the tacking/basting out as you go.
-
Step 6
Next, quilt the different patches. To start with, you may like to mark some straight lines with a ruler and a Hera marker. You don’t need to mark every line. Perhaps every 1in (2.5cm). Quilt these and then fill in between them freehand. The areas will be different shapes and the quilting might overlap if you wish. It will also be going in different directions, but make sure that you are quilting all of the raw edges down. You can use different threads for different areas, and perhaps different colours as well as thread types. If you want to keep it more straightforward, use one thread in a variegated colour, as I did, as this will add interest but you won’t have to keep changing threads.
-
Step 7
Continue until the mat is fully covered and then remove the tacking/basting.


