

About
celebrate halloween with the appropriate expression of 'glee'!
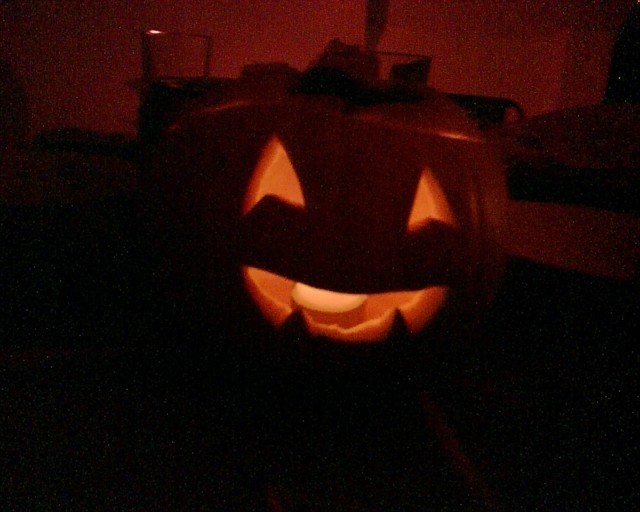
I carved this pumpkin as a table decoration for halloween, and looking at him always makes me smile :) (he's kinda dead now but good thing I took photos!)
One thing I learnt from doing this was not to cut straight accross the top to cut him open, but to stab in at an angle all around so that the lid is more of a 'cork' and doesn't slide off.
Also, to scoop away at the insides a lot longer than you'd think because there's lots that can be taken out and used later in yummy home cooking :)
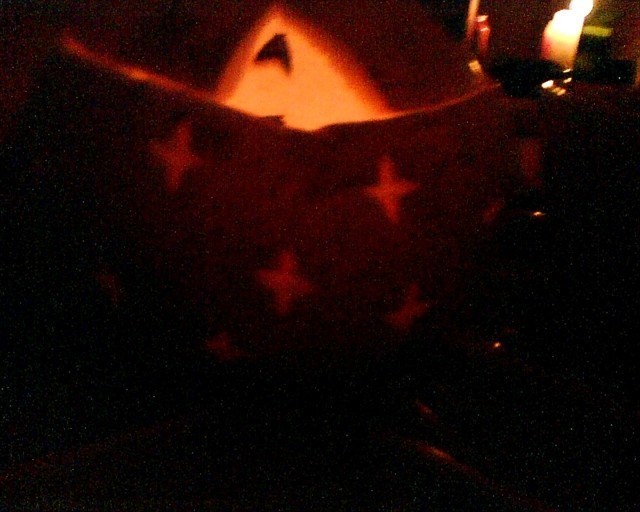
On the back of him (picture 2) I tried doing some little stars which came out alright, but next time I would try using a lino cutting tool instead of a big ol' kitchen knife for the small details.
Also on picture 2 you'll notice there's a triangle cut out of the lid; this is to act as a chimney and let the heat escape so the lid doesn't burn so easily.
A tip I would give to people new to pumpkin carving is to keep the design simple so you have a fighting chance of the outcome looking like you wanted it to (this applies to me too, pumpkin carving is not the most delicate of arts to begin with), and also to keep the cut out areas a bit small so that when it's lit up in the dark you have more areas of black than orange, otherwise it won't be as stunning, like stars drowned out by streetlights.
Anyway, enough of my rambling. Hope you enjoy it!
Tags
Britta J. posted this project as a creation without steps
Here are some similar tutorials to help you make this one!


 1
Home Accessories »
Diy Jewelry Box
1
Home Accessories »
Diy Jewelry Box

