


About
Don't you just LOVE Toast???
My friend and I, while bored in 8th grade Health class, years ago now, began to sketch random stuff in our books. Well, out of this came Happy Huggy Toast. We created at least 8 different toasts, all with there own personalities. Strawberry Jam Toast was always my favorite...
Well anyways, so one day spur of the moment, I decided to make one!
Sorry there arn't more pictures...this is something I made ages ago and I just found this site recently.
As I said...my friend and I worked on these babies. So half credit goes to my friend Gena! Crazy chick...gotta love her! <3
Tags
-
 Neko-San K. favorited Happy Huggy Toast
31 May 21:06
Neko-San K. favorited Happy Huggy Toast
31 May 21:06
You Will Need
-
 Step 1
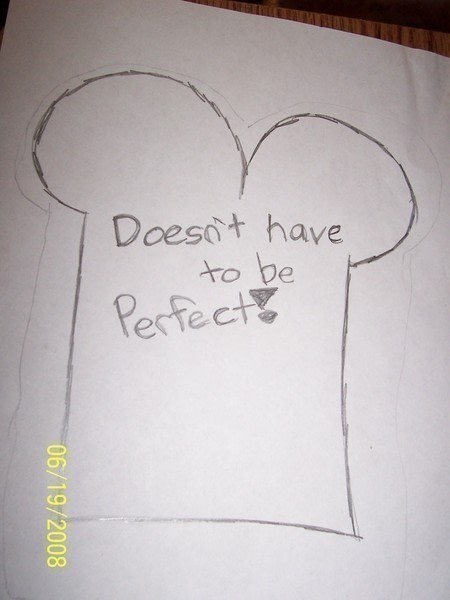
Take your cardboard and draw the outline of a piece of toast. Nothing fancy mind you. It can be any size you want really, but keep in mind the t-shirt/fabric you're working with. Once you've drawn the toast outline, cut it out.
-
Step 2
Now that you have your toast cut-out, take the shirt/fabric, using the tailors chalk to outline your toast. Go ahead and cut that baby out. Make sure you do that twice. You need two toast shaped fabric pieces.
-
Step 3
Using the measuring tape, find out how long the bottom, and sides of your toast are, then, cut out of your fabric a strip that is however long it needs to be. Make this strip about 1.5" wide.
It might be hard to measure the top of the toast, so instead of trying just guess and cut out another long stripe just for that part.
-
 Step 4
Now here's the exciting part! (Not really...it gets boring haha) You can try using a sewing machine...be my guest, but i'm not sure how well it will work out. It didn't for mine =(. So I hand stitched it up. Start by stitching up the long stripe to one of your toast pieces. To do this, it's best to put the sides of the fabric you want to be on the outside facing each other, then stitching it together (just in case you didn't know =/.) Really you can stitch this in any order. Stitch the top of the toast last! Because then, you can stuff it in between the bumps on top before closing up the whole thing. Depending on how much you stuff it, it'll be air light and soft or maybe stiff...
-
 Step 5
<--Random picture of a kitten!
Congrats! You now have a toast shaped plush/pillow/toy thing or whatever you want it to be! So now comes for the embellishments! You can put eyes and a smile (or a frown). You could make it clothes, dress it all up. If you want to try, you could make arms and legs for it. Personally, I prefer mine not to have limbs. Buttons make for good eyes. I put a skirt on my Leopard Printed Toast. My friend knit a sweater like wrap for hers. Be creative!
You can make yourself a whole loaf of Happy Huggy Toast!


 1
Home Accessories »
Diy Jewelry Box
1
Home Accessories »
Diy Jewelry Box


cuddly toast is ace
x