


About
heart shaped fabric keyholder.
I had to made a present for one of my friends, she loves my big heartshapes earrings, and she wants to have one, only not a earring, because she always were the same.
So we were agree that it must be a version for a keyholder. Its of fabric, only you can't see that no more and you can't feel it .
Its very solid and smooth. Because of the proces with i uses. Its me own proces, but there will be other solutions too.:-D
And of course you can use other things to clue on the shape or just paint him.
I hope that you will have fun with the making of this.:-D
Tags
-
 Jet H. entered their project Flying Heart Keyholder to The Ultimate DIY Competition
25 Aug 17:42
Jet H. entered their project Flying Heart Keyholder to The Ultimate DIY Competition
25 Aug 17:42
You Will Need
-
 Step 1
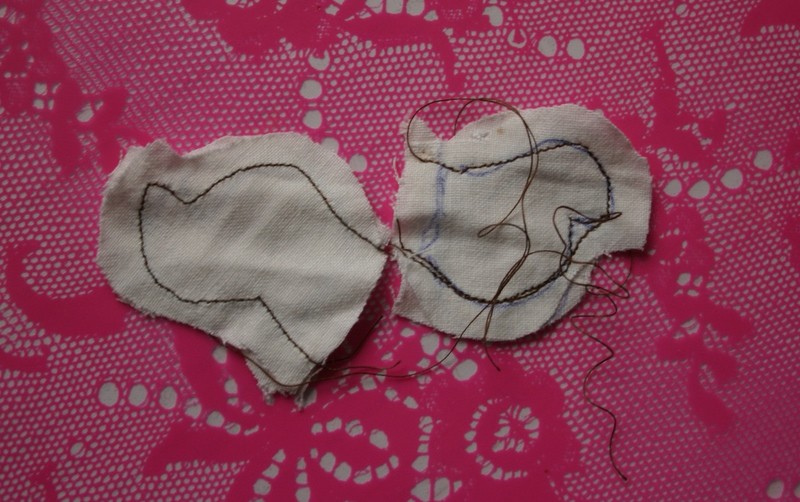
take a piece of paper and a pencil. draw wings and a heart or use my shapes.
-
 Step 2
put the heart shape and the wing on the fabric.
Outflank the pattern with the pencil.
You must outflank the heart 2 x and the wings 4 x. for one heart.
Attention you must add some seam, and then cut it this out the fabric. -
 Step 3
First begin with the wings, lay two part on each other and sew them togther. Let the side which is straight open.
cut of the seam small to the stiches, so you can easily turnoutside and you will behold the curves of the stiches.
You can do this by hand, but you can use a sewing machine too. -
 Step 4
Fill the wings with polyesther filling, Fill the wings still full. Use carefully the siccors for the filling.
-
 Step 5
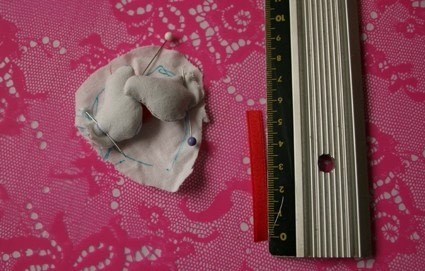
cut a piece of 2 inches or 5,5 cm of the ribbon .
Pin with the sewing pins the wings on one of the heart shape fabric, the wings must be look inside, Not outside.
I have sew them right down with the pins with the sewing machine, Thats awefull tricky, you can better sew them first by hand with some stiches on the heart and then sew them with the sewingmachine. -
 Step 6
Fold the ribbon in two and lay them precisely in the middell of the heart. and sew this together.
-
 Step 7
and sew this together.
And too, you must be carefull the fold of the bow is downside to the point of the heart. The open sides are against the seam of the heartpattern.
You can see i've you fold the wings outside, they must sit on the right position.
-
 Step 8
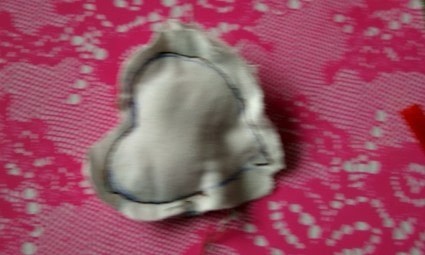
Lay the seccond heart shape fabric on the other, pin them together and sew it.
-
 Step 9
Let a piece open, i have done that just under the first wing and the to the point of the heart..
Cut of the seam and make a litlle cut in the middle of the heart near by the stiches.
And turn the inside out. -
 Step 10
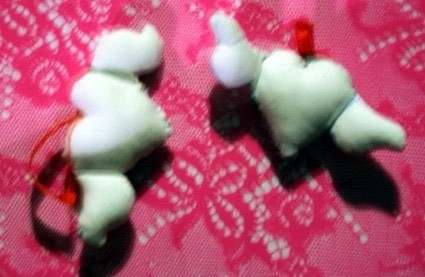
And turn the inside out.
Fill the heart. -
 Step 11
sew the gate closed by hand with a few stiches.
-
 Step 12
Now i haven't very good pict of this=S you must pick up a bruch and add with the bruch a thick layer of wood glue.
I use for this project allways the better ones.
I had before less expensive ones, but it wasn't so great after all. The fabric must be hard and smooth.
For the better marks that will work, the others less.
You must put three or four layers on both sides and the wings too.
so you have become a hard and smooth layer, and feel no more the structure of the fabric. -
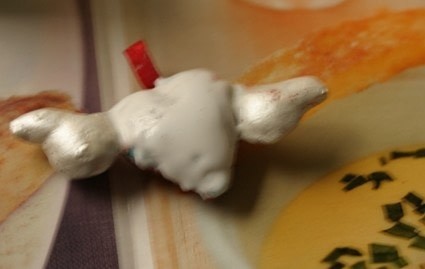
 Step 13
If you klick on the pict you see that the fabric is under a thick layer of several layers glue.
paint the wings on both side, i have used some peral shell paint. And too you must if you choose of this kind of paint add several layers.
Without is much less work -
 Step 14
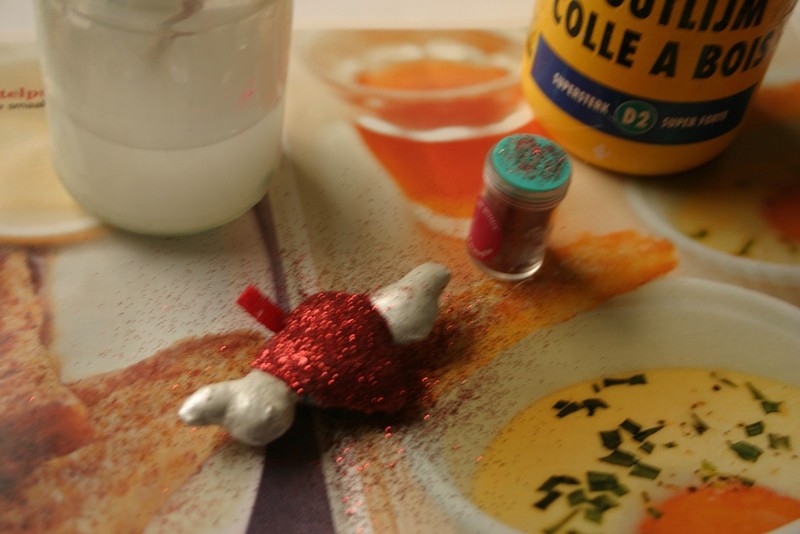
Now the fun part.
You see i have some old magazines under neat my project, to keep the floor clean, but too for the glitter part. If you uses glitter fold a paper in two and then you go one with your glitter work.
When you are finished you can fold carefuly the paper and put the left over glitter in the bottle .On this pict i have add again a thick layer of wood glue with a brush.
-
 Step 15
When the glue is still wet straw the glitters on the glue.
-
 Step 16
the layer of glitter must be thick too.
-
 Step 17
When its dry, you must seal the glitter layer with layers clear nailpolish.
-
 Step 18
So much layers that you have a thick smooth glossy surface.
Watch out your nailpolisch is at the end no longer clear.;-D You can see that on the pict.LOL -
 Step 19
In between i have made a pict for this project, i have put the ealy stage of it on this site so you can use it too i've you want, but you can of course use your one picts or drawing.
When i had made it on the right measures i printed it out.
-
 Step 20
with lots of sharpys and other stuff i make it more kitschy.;-D
-
 Step 21
just like this.;-D
Wehn you have done this, cut it out. -
 Step 22
glue the pict with some mod podge on the middle of the heart.
-
 Step 23
glue some fake rhinestones round the pict.
-
 Step 24
I had just bought some tin roses, with teaky stuff to glue, but i was ugly to see.
-
 Step 25
So i decided to remove them, see the pict and glue them with some clear glue rond the pict.
Let on the top some place empty. -
 Step 26
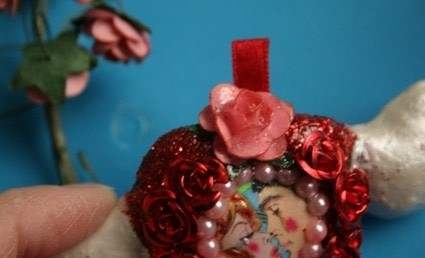
this is for a paper rose,
choose one rose and paint him with mod podge.
let him dry
Cut of the rose. -
 Step 27
Add him on the top with some glue. and let it dry.
-
 Step 28
I decided that it had more red needed, so with a permanent marker i make with the side of the pen red lines on the shapes.
After that seal evry thing with the nailpolish. -
 Step 29
draw with the 3d paint some feathers on both of the wings.
Okay when its dry you have finished one side, Now the other side.;-D
-
 Step 30
I had some fabric stikkers and i choose this one to stick on the middle of the heart.
-
 Step 31
add with some glue round the heart some pearl beads.
pay attention how you glue the beads, itsn't a pretty view to look in the holes.;-Dand added a heart shaped bead with glue on the bow.
-
 Step 32
In this step you must glue with a brush with mod podge the heart.
Let it dry.
After that give the heart some layers with clear nailpolish. So much layers, that you create a smooth and clossy surface.The wings: with some 3d paint you must draw feathers on both wings.
And let it dry. -
 Step 33
I had only this keyholder, and because i didn't like the chain on it, i had to remove it with some pliers.
-
 Step 34
Let the jumpring open.
-
 Step 35
On this jump ringchain put the ribbon of the heart in and close the ring.
-
 Step 36
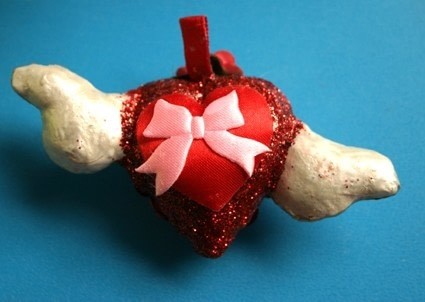
And now your finsihed, and you have a awesome kistschy flying heart keyholder which is on two sides a beauty.LOL
Have fun with the making proces and with using him.
My Friend has hung him at her bag, she found him to beautifull to use him like a keyholder.And don't be scared about the many steps, sometimes i have used more picts to show what you must do.


 1
Books & Journals »
Locking Box And Journal
1
Books & Journals »
Locking Box And Journal
 2
Babies & Kids »
A Toy Kitchen For A Child
2
Babies & Kids »
A Toy Kitchen For A Child
 3
Origami Flowers »
Origami Orchid
3
Origami Flowers »
Origami Orchid
 4
Office »
Pretty Sketchbooks
4
Office »
Pretty Sketchbooks
 5
Charms & Keyrings »
Shugo Chara Inspired Pop It
5
Charms & Keyrings »
Shugo Chara Inspired Pop It


Not the woodglue is damages but the layer of the paint or varnish or nailpolish is damaged . but please let me see your shapes and your versions.
again have a fun with this.