


About
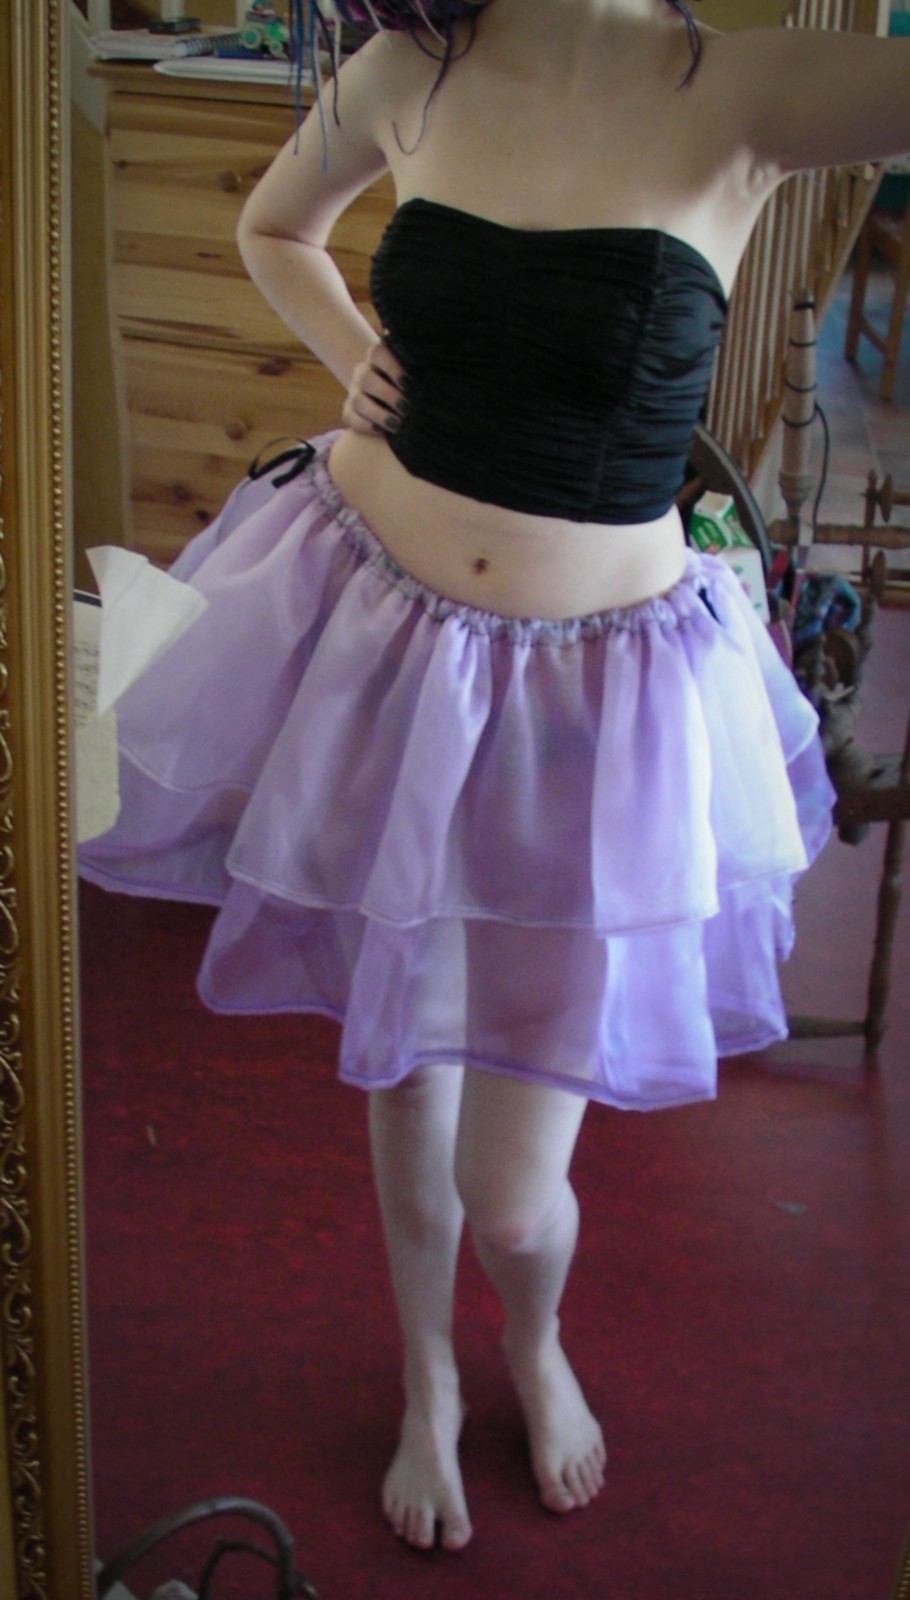
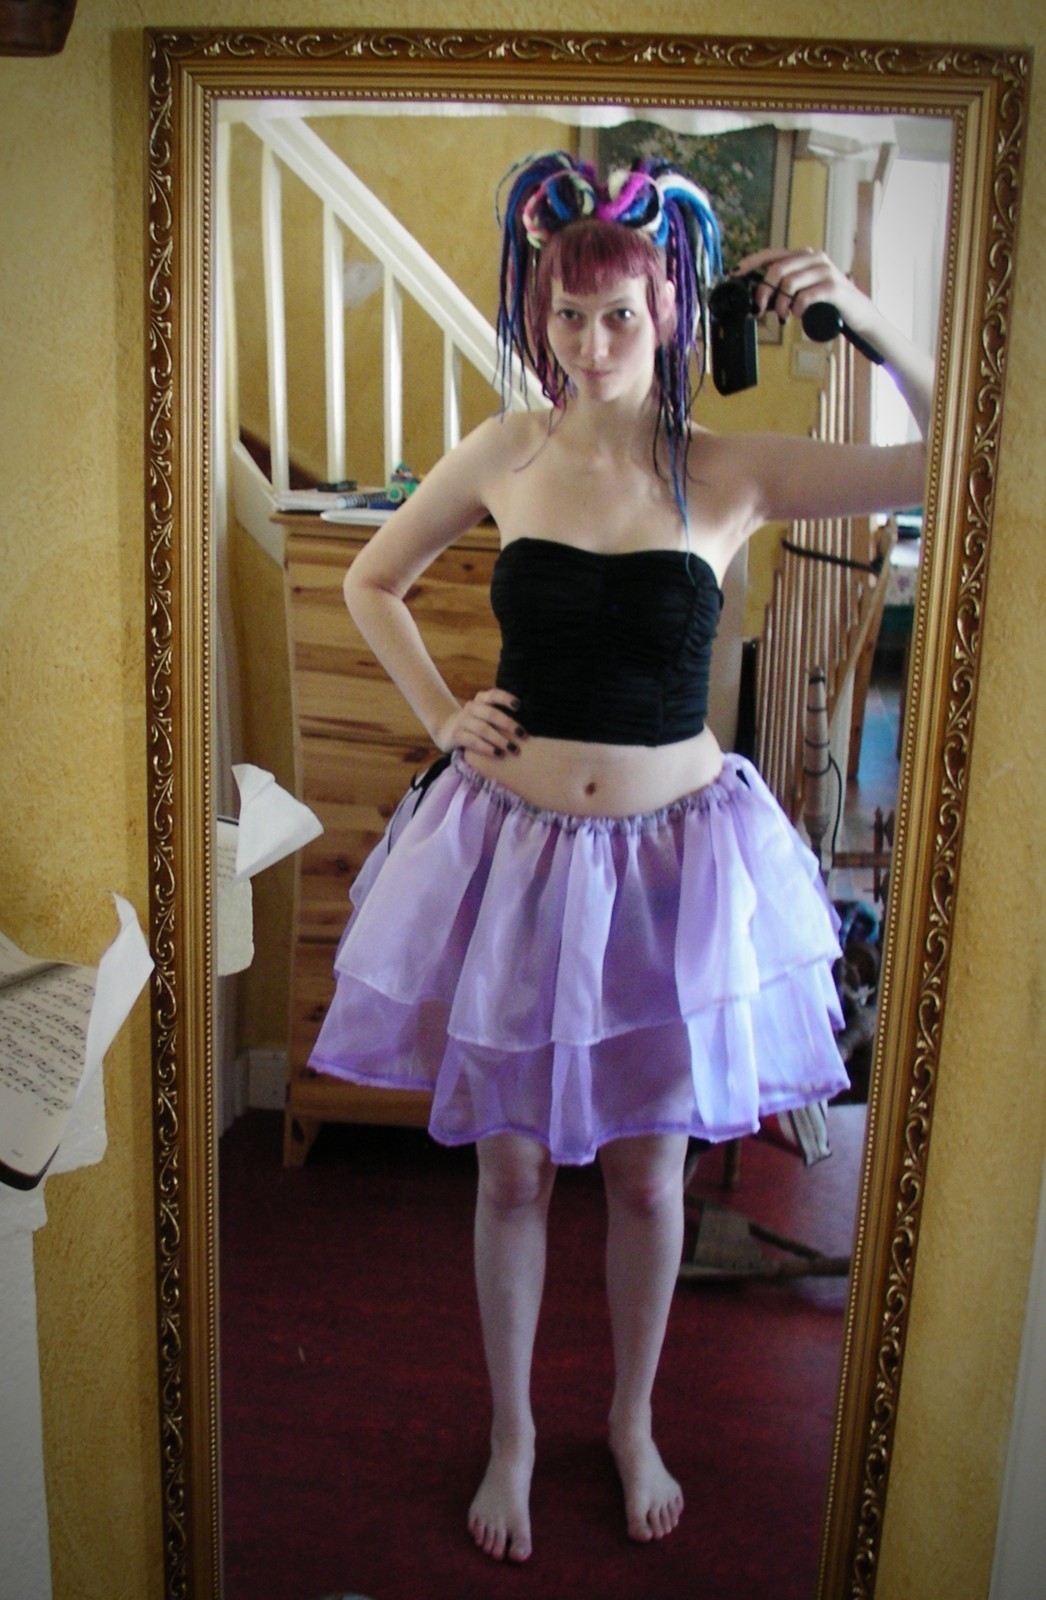
A pretty skirt made out of stuff I found at home
Oh, that's nice! And what a bargain!
That train of thought is the reason why my mom tries to keep me away from second hand stores and stores with sales. She rarely succeds. And let's face it, it's not fair of her, trying to stop me, since she's just the same. And due to that, we've got loads and loads of fabrics and stuff that is "nice and might come useful someday". But when is that someday? I decided that one of thoose somedays was to be yesterday, and therefore I took my latest bargain(a pretty lilac fabric) and occupied the sewing machine for a couple of hours.
I can't read patterns that well, and let's face it. It's boring knowing exactly how it will turn out. Well-well.
Enjoy!
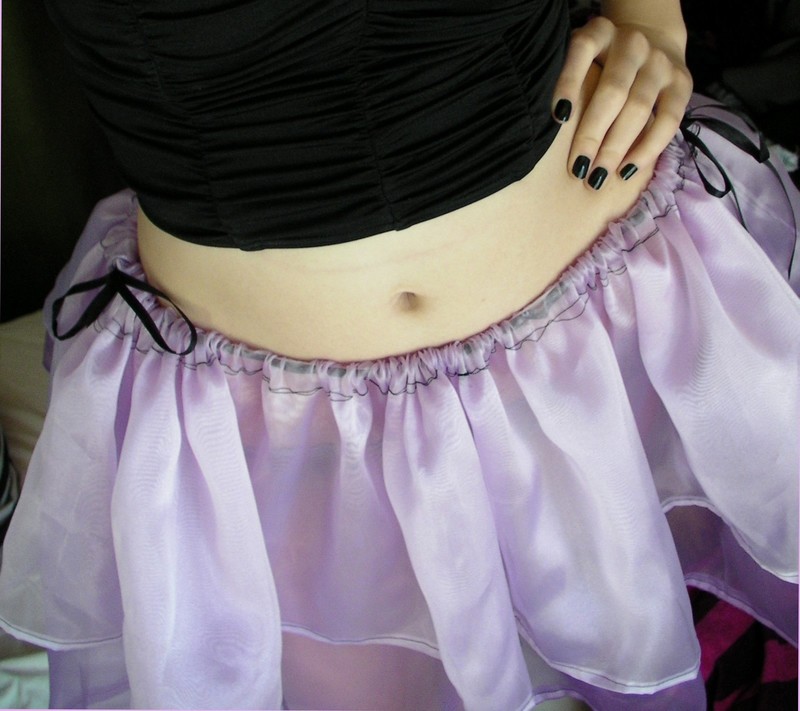
The top worn in the pictures above, I found in a second hand store several years ago. I usually wear it with a t-shirt or something underneath, but for the sake of showing off the skirt I wore it just like it is.
Tags
-
 Key West Witch favorited Fluffy Lilac Skirt
07 Aug 19:55
Key West Witch favorited Fluffy Lilac Skirt
07 Aug 19:55
-
 Miss_Fit favorited Fluffy Lilac Skirt
08 Jul 19:34
Miss_Fit favorited Fluffy Lilac Skirt
08 Jul 19:34
- kzk favorited Fluffy Lilac Skirt 28 Nov 18:08
-
 Morbid M. favorited Fluffy Lilac Skirt
19 Jun 21:00
Morbid M. favorited Fluffy Lilac Skirt
19 Jun 21:00
-
 The13thBlackCat favorited Fluffy Lilac Skirt
15 Jun 17:13
The13thBlackCat favorited Fluffy Lilac Skirt
15 Jun 17:13
-
 Crystal M. favorited Fluffy Lilac Skirt
08 Oct 17:36
Crystal M. favorited Fluffy Lilac Skirt
08 Oct 17:36
-
 EmmaThePrincess entered her project Fluffy Lilac Skirt to Kawaii Box
29 Sep 20:45
EmmaThePrincess entered her project Fluffy Lilac Skirt to Kawaii Box
29 Sep 20:45
-
 vermilia c. favorited Fluffy Lilac Skirt
17 May 20:21
vermilia c. favorited Fluffy Lilac Skirt
17 May 20:21
-
 Dona Monstra favorited Fluffy Lilac Skirt
27 Jun 16:53
Dona Monstra favorited Fluffy Lilac Skirt
27 Jun 16:53
-
 RainxFlower24 added Fluffy Lilac Skirt to Skirts
07 Jun 02:59
RainxFlower24 added Fluffy Lilac Skirt to Skirts
07 Jun 02:59
-
 Step 1
This was the size of my fabric, and yes, since I live in Sweden it's in centimeters.
The size doesn't really mather. I wen't to a store who sold scraps of fabric by the kilo and I bought one that was about 100 gram (0,1 kilo). It was a light fabric and it just happened to be this big.
-
 Step 2
I started of by ironing the fabric, since it had been folded and therefore was very rumpled.
I used a cotton fabric inbetween the flatiron and my fabric, so that I would not damage the flatiron. Yes, I know, I should be more worried about my fabric, but it's a brand new flatiron and my mom would, if not brutally kill me, at least try slowly suffocate me with a pillow, if I ruined the flatiron.
Well. Not true. But I would never forgive myself. I've already ruined one of her flatirons when sealing dreads. -
 Step 3
My piece of fabric had this nice color shifting. It was one of the reasons I bought it, actually, and I wanted to make the most out of it.
I divided the fabric in half. I kept the length of the fabric (210 cm) but I split the width (making it into two pieces of fabric, each 210x75 cm).
-
 Step 4
Then, you sew theese sides.
The short sides and the top one. -
 Step 5
Sew-how?
Like this.
You fold the fabric one time, and then over itself once more. Tricky to explain. But it looks nice in the end. You can pin the fabric in place before sweing. I did. But towards the end, I realised that it was easier to iron it in place. -
 Step 6
This is what it will look like so far. You can clearly see the color shifting in this picture. And you can also see what a terrible job I did at ironing the fabric back in step 2.
-
 Step 7
Now-now, don't scream like a crazy person in a horror movie. Yes, I've skipped to documentate how I sew the short sides together.
You see the pink circle in the left corner? A closeup of what I did there is in the next step.
-
 Step 8
I left a hole here, so that I would have an opening for the elastic. I made an opening like this on each short side.
-
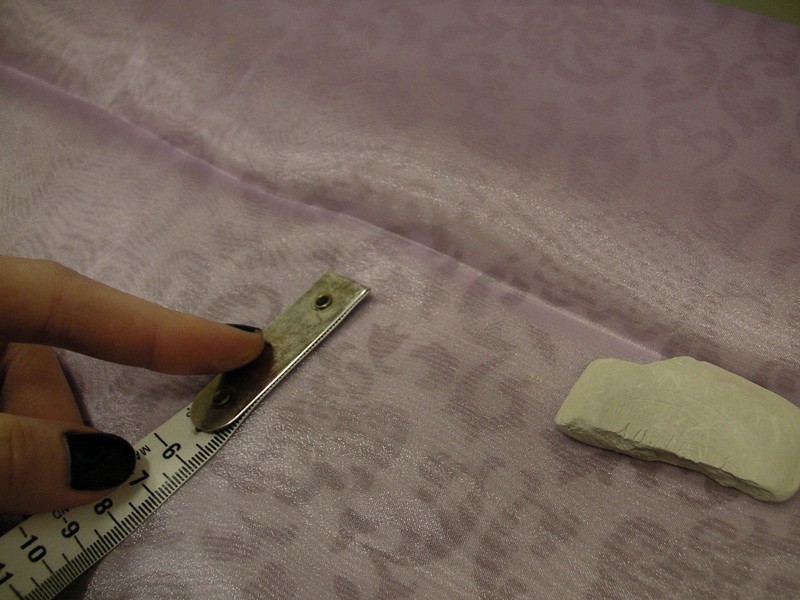
 Step 9
Then I measured up where to fold and sew the duct for the elastic.
Don't fold right in the middle, but let the piece of fabric in the back hang down a bit lower.
-
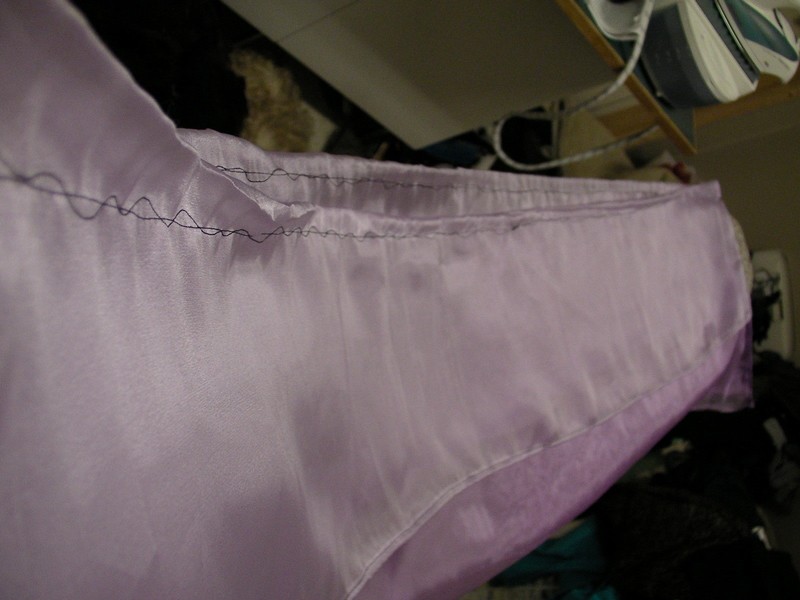
 Step 10
And since I can't sew straight, I decided to cover it up by pretending that it was meant to be like that. I did two laps, and the last one I exaggerated in curly-ness.
-
 Step 11
This is what it looked like when done. A looooong piece of fabric.
-
 Step 12
Repeat step five on the bottom part, the one shown on the picture.
-
 Step 13
Measure up an elastic that will fit around your waist.
Put your elastic on a safetypin (you can skip the safety pin, but it's easier if you don't) and drag it through the duct, then tie the two ends together with an awesome knot. An awesome knot? Yeah. A regular knot just do no cut it. -
 Step 14
After you've drawn through the elastic, you take a satin ribbon and draw it through the duct, just like the picture shows. I've made the satin ribbons in different colors, just to make in more clear. I used a black satin ribbon for both ribbon A and B.
-
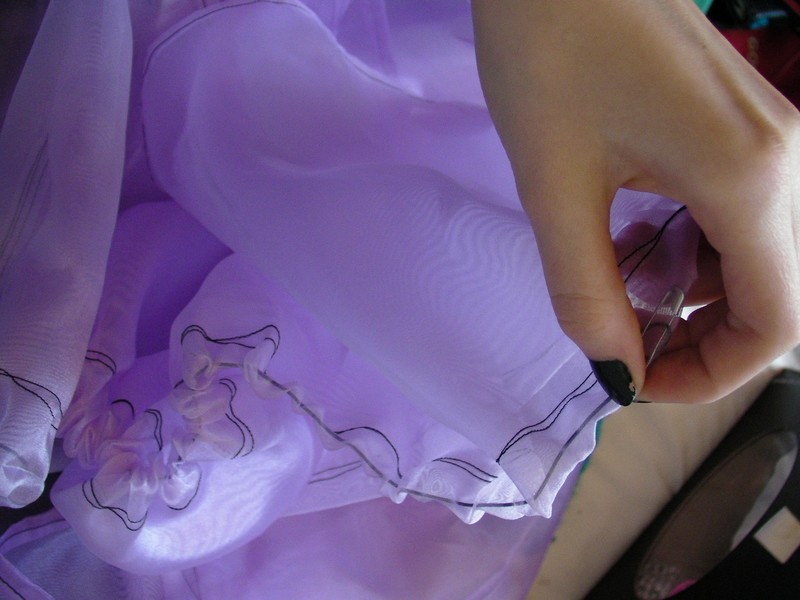
 Step 15
Tie the satin ribbons into a rosette/bow. And this is what it should look like!
This picture is focusing on the ribbons.
-
 Step 16
Yay! You're done!
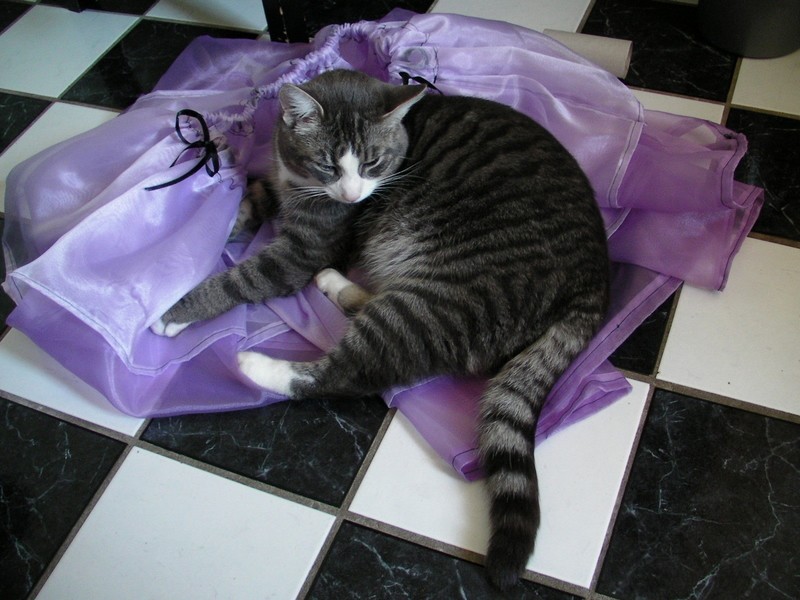
And if it turns out rubbish or you just don't feel like wearing it, you can use it as a cat bed.
My cat Hubert sure liked it.


Versions

Comments


 1
Home Accessories »
Diy Jewelry Box
1
Home Accessories »
Diy Jewelry Box
