Drilling Shavings Earrings
Extract from Creative Polymer Clay • By Helyard, Heidi • Published by David & Charles

About
Creative Polymer Clay
Reusing polymer clay scraps is a big part of how I work and this particular zero-waste technique yields some beautiful, unique and varied patterns. Don’t throw away even the smallest scraps! You can have lots of fun expanding on this basic technique. I have a drawer full of faulty cured pieces that I dig through when I want to make scrap granite in specific colours. I have also incorporated larger chopped up pieces of cured clay into the raw clay to get a more textural granite effect.
-
 Meghan E. favorited Drilling Shavings Earrings
21 Apr 02:46
Meghan E. favorited Drilling Shavings Earrings
21 Apr 02:46
-
 RareJewel favorited Drilling Shavings Earrings
10 Oct 07:33
RareJewel favorited Drilling Shavings Earrings
10 Oct 07:33
-
 CPL_JS favorited Drilling Shavings Earrings
11 Jul 22:52
CPL_JS favorited Drilling Shavings Earrings
11 Jul 22:52
-
 Crafterella featured Drilling Shavings Earrings
01 Jul 23:00
Crafterella featured Drilling Shavings Earrings
01 Jul 23:00
-
 C.J. M. added Drilling Shavings Earrings to Clay
29 Jun 08:39
C.J. M. added Drilling Shavings Earrings to Clay
29 Jun 08:39
-
C.J. M. favorited Drilling Shavings Earrings
29 Jun 08:38
-
 Sarah W. favorited Drilling Shavings Earrings
28 Jun 22:14
Sarah W. favorited Drilling Shavings Earrings
28 Jun 22:14
-
 FW Media published his project Drilling Shavings Earrings
28 Jun 09:00
FW Media published his project Drilling Shavings Earrings
28 Jun 09:00
-
 Step 1
Condition your translucent clay really well (see Clay Basics: Conditioning), then roll it flat.
-
 Step 2
Sprinkle on a good amount of drilling shavings over the translucent clay.
-
 Step 3
Fold and roll the clay with your acrylic roller to incorporate the drilling shavings.
-
 Step 4
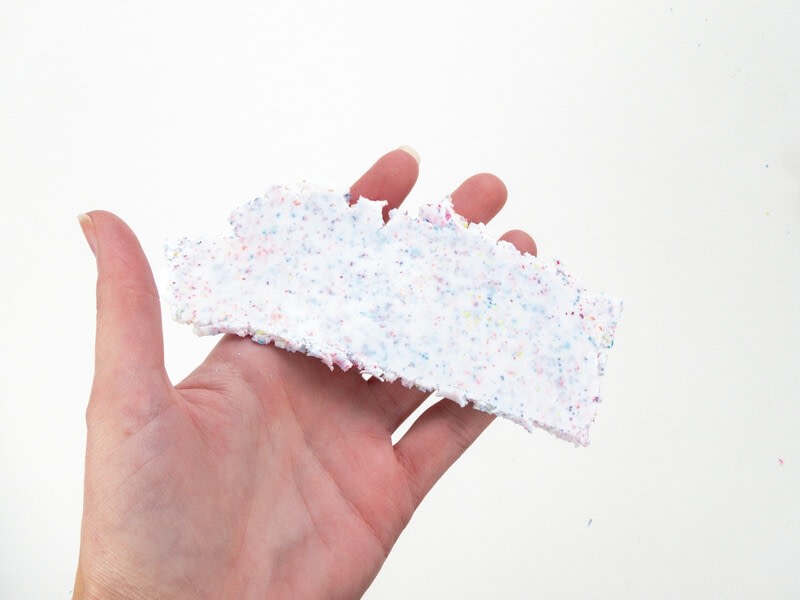
Repeat step 3 until the drilling shavings are evenly incorporated into the translucent clay. You can add more shavings if you wish.
-
 Step 5
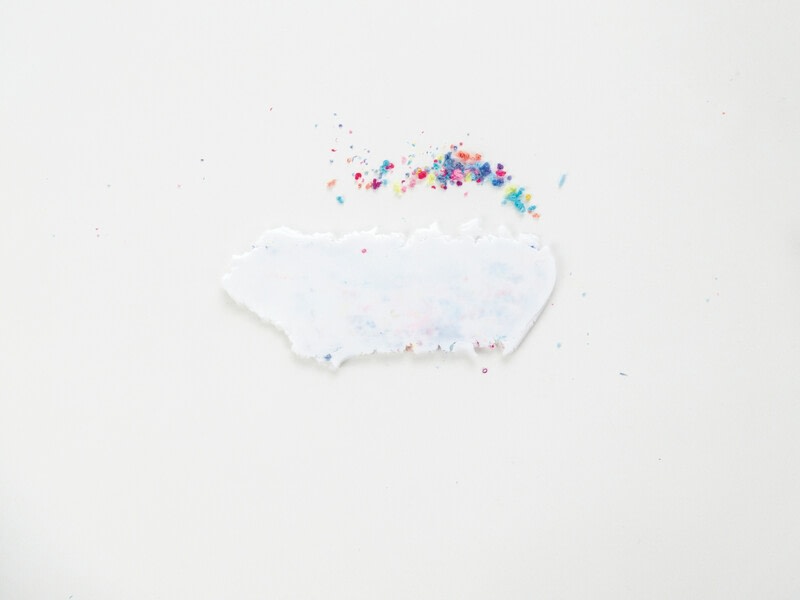
The final mixture should look nicely full of coloured shavings, evenly distributed throughout the clay.
-
 Step 6
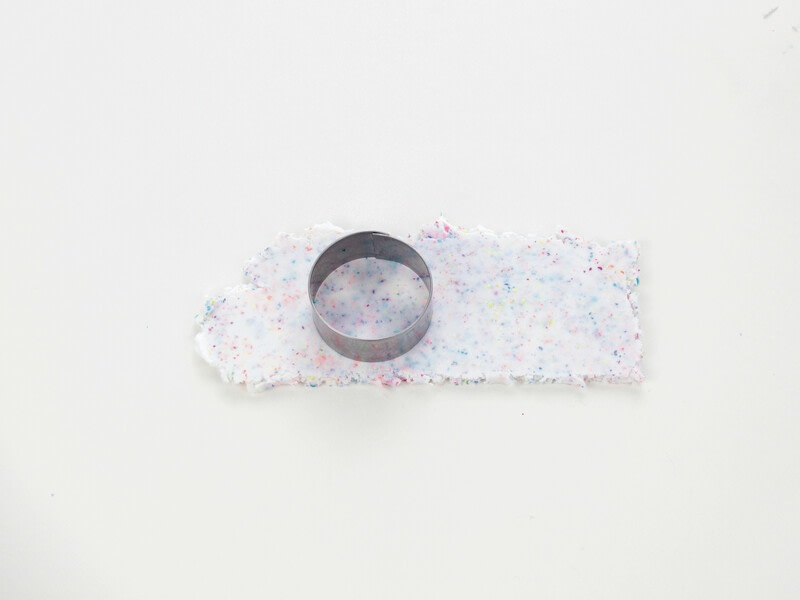
Roll the clay to around 3mm (1/8in) thick and cut out your earring shapes.
-
 Step 7
Cure your pieces following the manufacturer’s instructions for
the translucent clay you have chosen to use, then allow to cool. -
 Step 8
Sand the cured pieces both along the edges and on the top and back surfaces, preferably wet sanding with a variety of grits (see Clay Basics: Sanding): start with 300-grit to help reveal some of the colour under the surface of the clay, then a 600-grit, finishing with 1000-grit for a super-smooth finish. For a little extra shine, polish with Renaissance wax or petroleum jelly if you wish.
-
 Step 9
Drill the holes for the jewellery findings using a hand drill or a rotary tool with a 1.5mm drill bit, then assemble each earring.
-
 Step 10
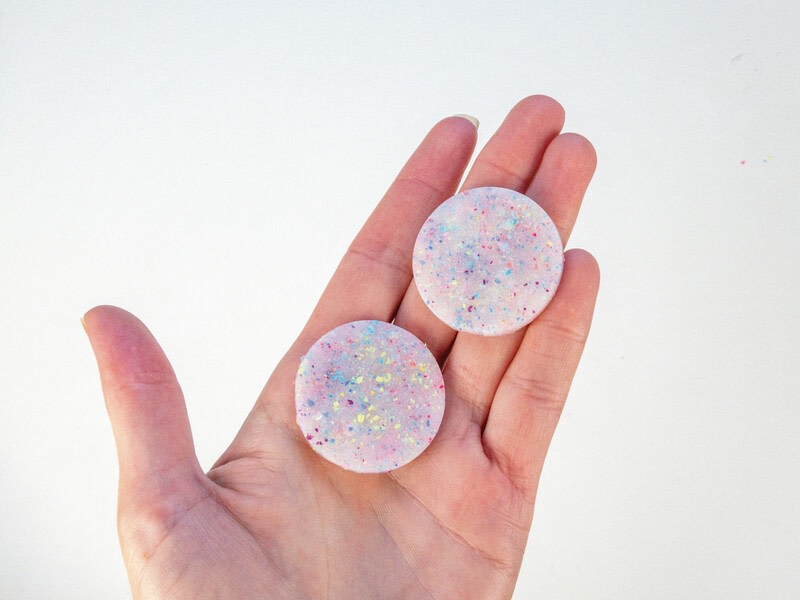
These granite samples have been made by repurposing drilling shavings and/or finely chopped up, imperfect cured clay. By experimenting with the type of clay (translucent, opaque or metallic) as well as the colours of the clay and inclusions, all kinds of different patterns can be created.