


About
Hammers, and Nails, and Paint, Oh My!
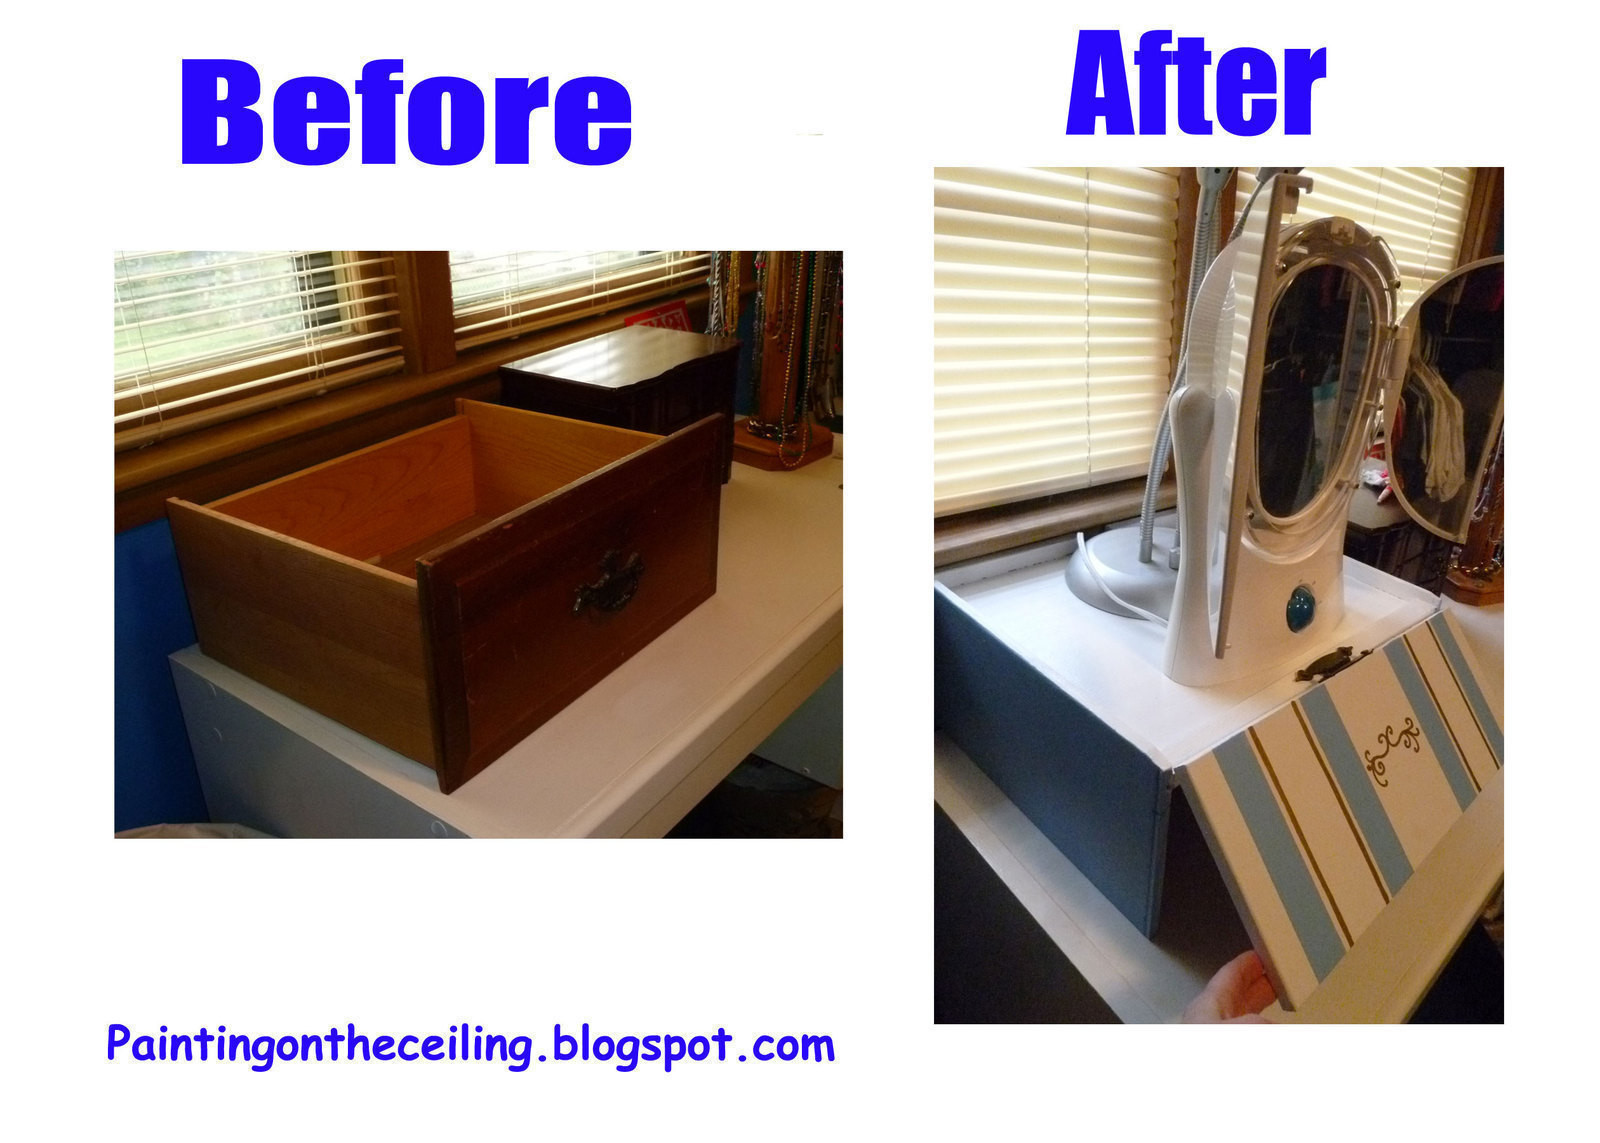
I turned an old dresser drawer into a stand for my mirror and light. I didn't have to buy a thing, thanks to Dad's scrap wood pile and my husband's Bin of Miscellaneous Bits.
Plus I got to use power tools! I love power tools.
I'd posted it on my blog, but I wanted to also share it with my CO+K friends. Enjoy!
-
 susan s. favorited Dresser Drawer => Lampstand
05 May 03:22
susan s. favorited Dresser Drawer => Lampstand
05 May 03:22
-
 keely.mikulenka added Dresser Drawer => Lampstand to Organization Ideas/Projects
09 Jan 19:00
keely.mikulenka added Dresser Drawer => Lampstand to Organization Ideas/Projects
09 Jan 19:00
-
keely.mikulenka added Dresser Drawer => Lampstand to Furniture Upcycle/Recycle
09 Jan 19:00
-
 craftylilred favorited Dresser Drawer => Lampstand
04 Jan 21:22
craftylilred favorited Dresser Drawer => Lampstand
04 Jan 21:22
-
 J. Pario entered her project Dresser Drawer => Lampstand to Secret Santa
21 Dec 02:04
J. Pario entered her project Dresser Drawer => Lampstand to Secret Santa
21 Dec 02:04
-
 HylianWriter534 favorited Dresser Drawer => Lampstand
19 Dec 20:39
HylianWriter534 favorited Dresser Drawer => Lampstand
19 Dec 20:39
-
J. Pario published her project Dresser Drawer => Lampstand
07 Dec 23:40
You Will Need
-
 Step 1
This is what I was using to elevate my lampstand. (The only other option was applying make-up only to my chin.)
I wanted something with storage underneath.
-
 Step 2
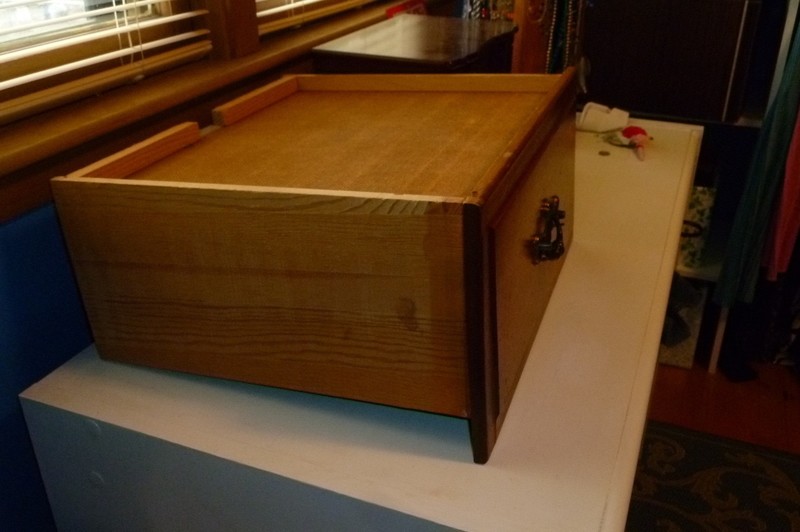
First, I found a drawer that would fit in the space.
-
 Step 3
The dresser is long-gone, but I saved the drawers. The front plate on the drawer is bigger than the sides, so it doesn't rest flat on the desk. Plus the front plate blocked me from storing anything underneath.
-
 Step 4
First I took off the handle....
-
 Step 5
Then I got a hammer. The side were just glued (I thought). At any rate, there weren't any of the those lovely dovetail joints, so I figured taking a hammer might work. I could always resort to the saw if it didn't.
-
 Step 6
Next, we cut a thin piece of wood from the scrap-wood-to-burn pile (thanks, Dad!) and glued it across the front of the side where the front plate had been.
-
 Step 7
We nailed the piece down so it wouldn't float away on the glue.
-
 Step 8
Some more glue, and then clamps.
-
 Step 9
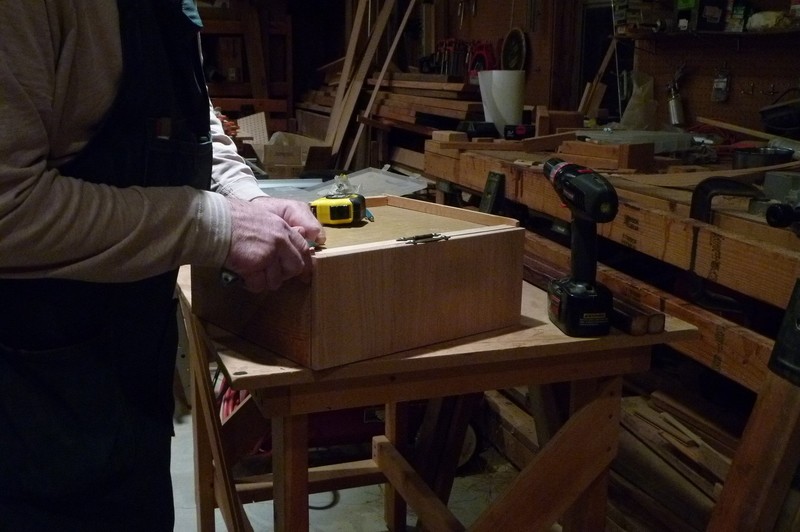
The wood for the front was scrap wood from my father's workshop. I think it was a cabinet door gone horribly wrong.
We cut the misshapened, almost cabinet door to size.
-
 Step 10
We used a router to soften up the edges.
Then we sanded it using an orbital sander and two increasingly fine types of sandpaper.
-
Step 11
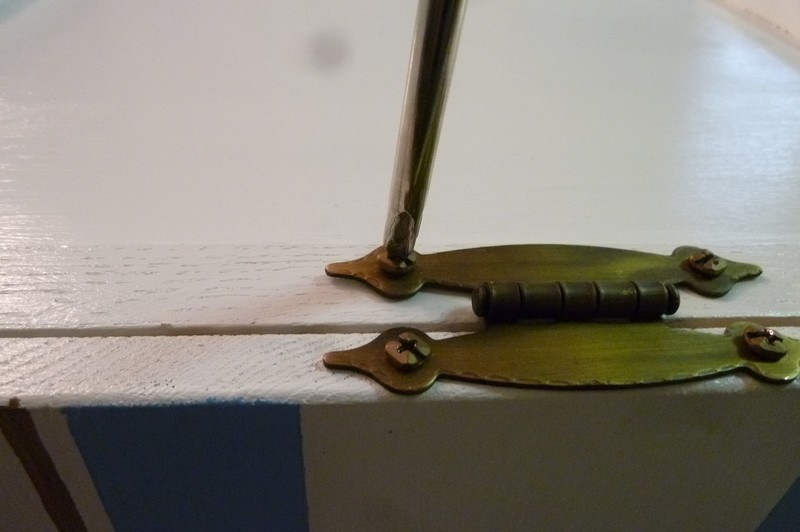
We put the hinge on, which involved a good deal of measuring and hesitation on my part.
-
 Step 12
We discovered that because of the sides of the drawer being higher than the piece of wood to which the hinge was fixed the door would not open as far as I had wanted. Dad got out a utility knife and whittled down the soft pine a little bit to help with this problem.
-
 Step 13
This is what it looked like undecorated
-
 Step 14
Decorating meant removing the swinging door, then priming.
-
 Step 15
Painting the front panel involved carefully placing tape.
I had to think backwards--wherever there was blue tape, there would be white, and whatever was left white would be covered in blue paint...
-
 Step 16
I used blue paint plus a gold paint pen, and I painted right over the primer.
-
 Step 17
The paint was left over from when I painted the ceiling in the computer room. (Wasn't my husband surprised!)
-
 Step 18
I used a gold Sharpie pen paint for the gold stripes. The black tape is "artists' tape" and it didn't work all that hot, but then, I didn't use it for its intended purpose. I ended up having to touch up the gold stripes because I didn't use painters' tape.
-
 Step 19
Removing the tape is always fun!
-
 Step 20
I free-handed the center flourish, and then had to add more flourishes to disguise the fact that it wasn't quite centered!
You can see my practice attempts on the scrap cardstock. I was most worried about this step but I'm really pleased with how it came out.
-
 Step 21
Finally, I screwed the hinge back in place....
-
 Step 22
And I got to enjoy my new lamp stand!
You'd never guess it was a beat-up old dresser drawer without a dresser to call home.
I hope you enjoyed this tutorial!


 1
Home Accessories »
Diy Jewelry Box
1
Home Accessories »
Diy Jewelry Box
