


About
Womantoanother.com
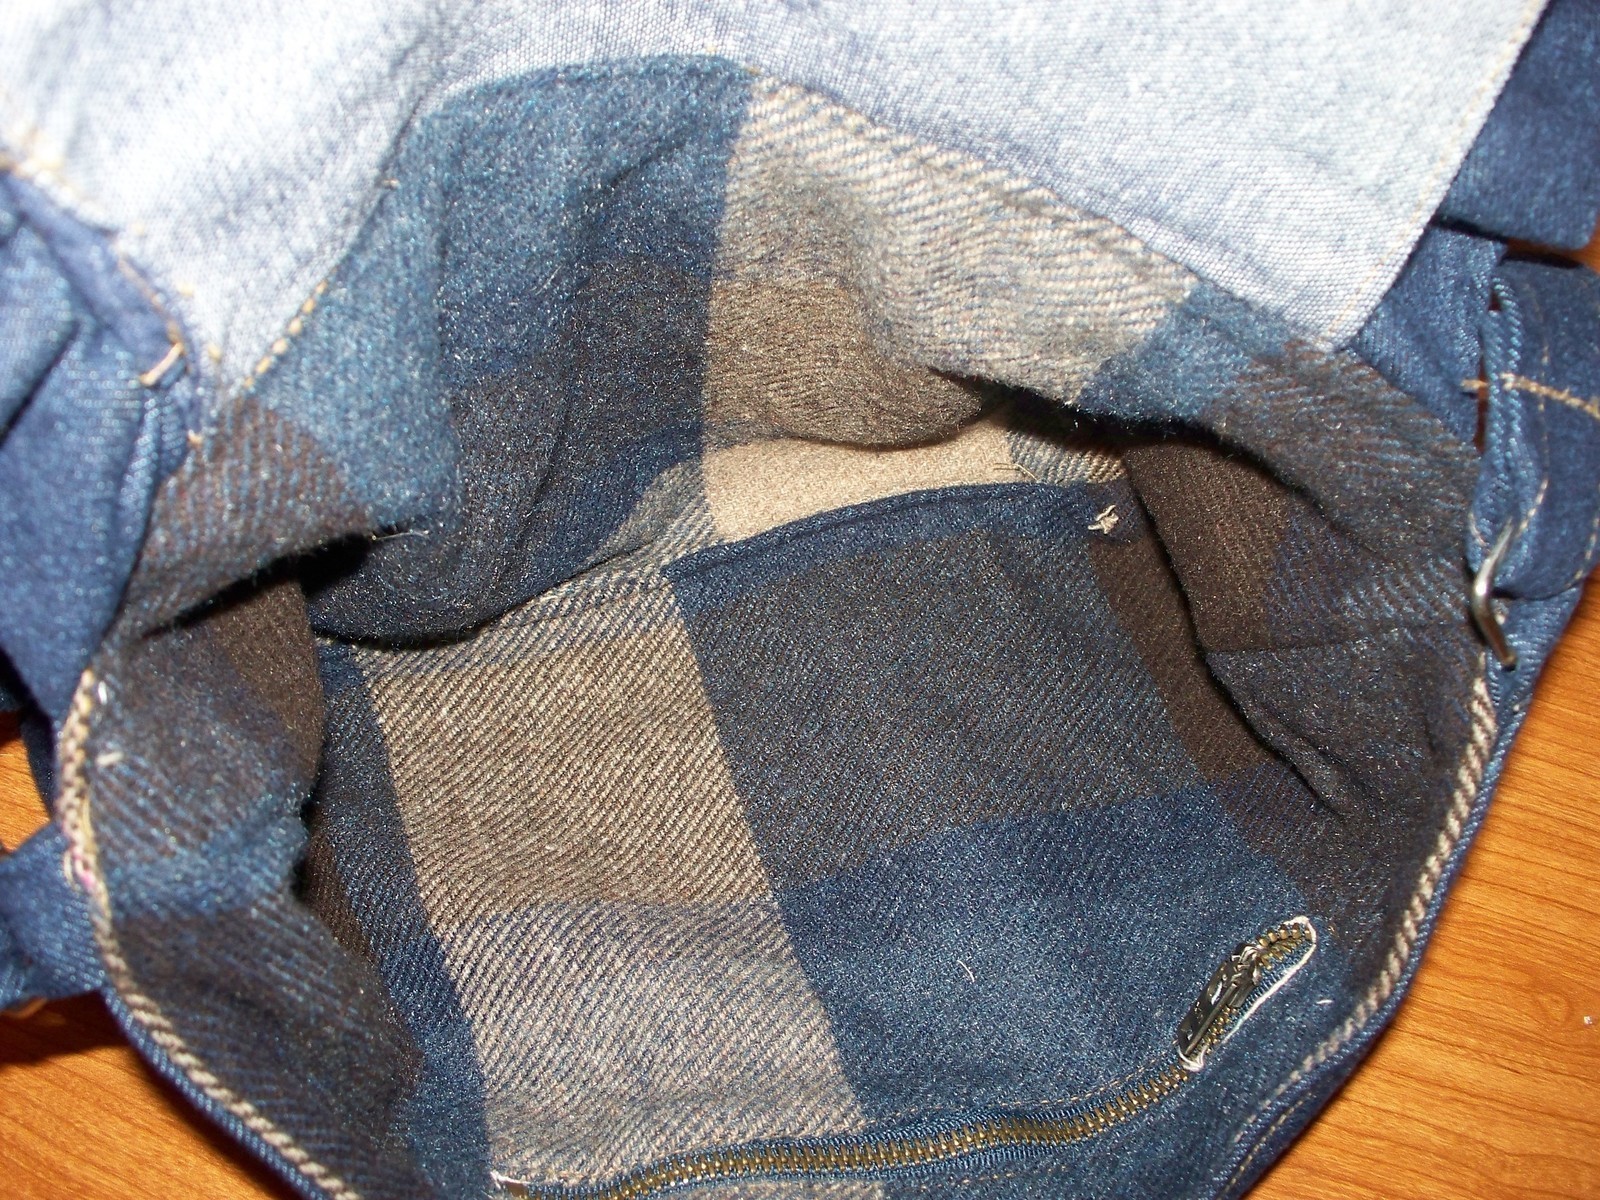
I saw this bag on Net-a-Porter and I just had to try it out for myself. Like the other bags I recreate, this too was overpriced ($225). So what if it's leather, $225 is still a bit much for a handbag (in my opinion anyway).
Instead of leather, I used denim. I also used tartan fleece for the lining and to accent the ruffles on the front. This will be one of my fall/winter bags. It didn't turn out exactly as I wanted, but overall, I'm pleased with the results. I also made a matching cape http://www.cutoutandkeep.net/projects/chic-fall-cape-2.
This bag can be made as a cross body bag, a hand bag, or a clutch. It's all up to you. I hope you guys enjoy making this bag. I look forward to seeing all of your fabulous versions. ^_^
So...lets get started!!
Tags
-
 Batiste favorited Dkny Inspired Bag
30 Dec 19:27
Batiste favorited Dkny Inspired Bag
30 Dec 19:27
-
 Aiemethyst O. favorited Dkny Inspired Bag
17 Sep 14:19
Aiemethyst O. favorited Dkny Inspired Bag
17 Sep 14:19
-
 Miss_Fit favorited Dkny Inspired Bag
08 Jul 21:14
Miss_Fit favorited Dkny Inspired Bag
08 Jul 21:14
-
 CYDNEY W. added Dkny Inspired Bag to Unbreakable Kimmy Schmidt
12 May 01:24
CYDNEY W. added Dkny Inspired Bag to Unbreakable Kimmy Schmidt
12 May 01:24
-
 Kathy Gregson added Dkny Inspired Bag to Weihnachten
07 Dec 03:02
Kathy Gregson added Dkny Inspired Bag to Weihnachten
07 Dec 03:02
-
 pittysoares commented on Dkny Inspired Bag
26 Aug 12:10
pittysoares commented on Dkny Inspired Bag
26 Aug 12:10
-
pittysoares favorited Dkny Inspired Bag
26 Aug 12:10
-
 Babalodious X. favorited Dkny Inspired Bag
05 Feb 18:09
Babalodious X. favorited Dkny Inspired Bag
05 Feb 18:09
-
 Claire C. favorited Dkny Inspired Bag
20 Nov 17:13
Claire C. favorited Dkny Inspired Bag
20 Nov 17:13
-
 Eliza C. favorited Dkny Inspired Bag
11 Sep 10:25
Eliza C. favorited Dkny Inspired Bag
11 Sep 10:25
-
 Step 1
I used a 1/4" seam allowance. But you can use whatever size seam allowance you'd like.
-Cut two rectangles that are 13" by 8" plus your seam allowance out of both your outer fabric and your lining.
-
 Step 2
Starting with the lining...
If you're adding pockets to your bag, do this before proceeding to the next step. I learned how to sew a zip pocket here:http://www.craftpassion.com/2010/04/sewing-tutorial-internal-zipper-pocket-for-bag.html
So, if you want to try it out go ahead and hop over there and come right back...I'll wait ^_^
-
 Step 3
After you've gotten all of your pockets and what not sewn in. Place and pin them right sides together.
-Sew them together but leave an opening in the bottom for turning.
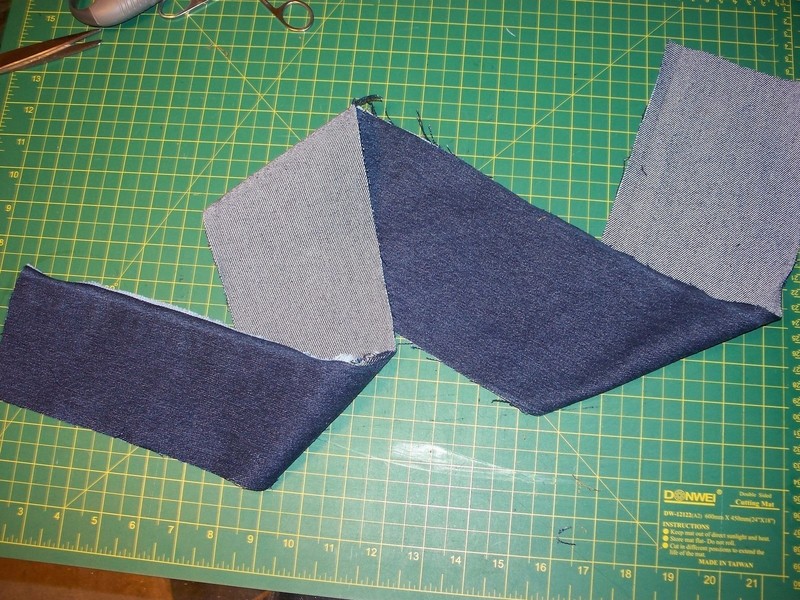
-Measure 1" from the corner. Place the side seam against the bottom seam and stitch across (as illustrated) This will give you a flat bottom.
-Clip the excess
Set the lining aside for now
-
 Step 4
Let's work on the outer part...
-Place your outer pieces right sides together. Pin and sew.
-Repeat step 3 on the bottom for this as well.
-
 Step 5
Snaps...
On the lower center of the front of the outer piece, attach one of the snap pieces (as illustrated)
-
 Step 6
**If you want your bag to be a clutch, you can skip this step**
Grab your rings for the handles...
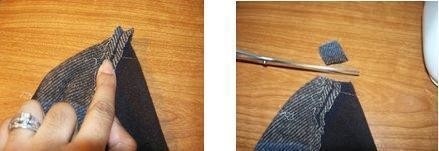
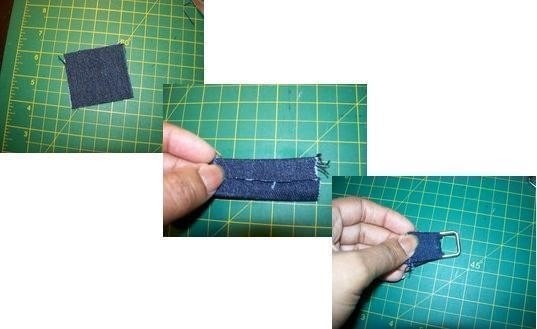
-Cut two square pieces that are 2" by 2"
-Fold 2 of the sides in .5" so the strip is now 1" by 2"
-Thread it through the ring and fold in half. You want two of these.
-
 Step 7
-Line each piece up with the side seams of the outer bag. Sew them in place with the rings pointing downward. (As illustrated)
-You can set this aside for now
-
 Step 8
Now lets work on the flaps...
-Cut two pieces that are 8" by 9 1/2"
-Fold them in half and round the corners of the longer sides. (As illustrated)
-
 Step 9
-Add the other snap piece to the right side of one of the flaps. To get it in the right spot, place the flap on top of the outer part but allow it to stick up from the bag about an inch.
-
 Step 10
Now for the ruffles...
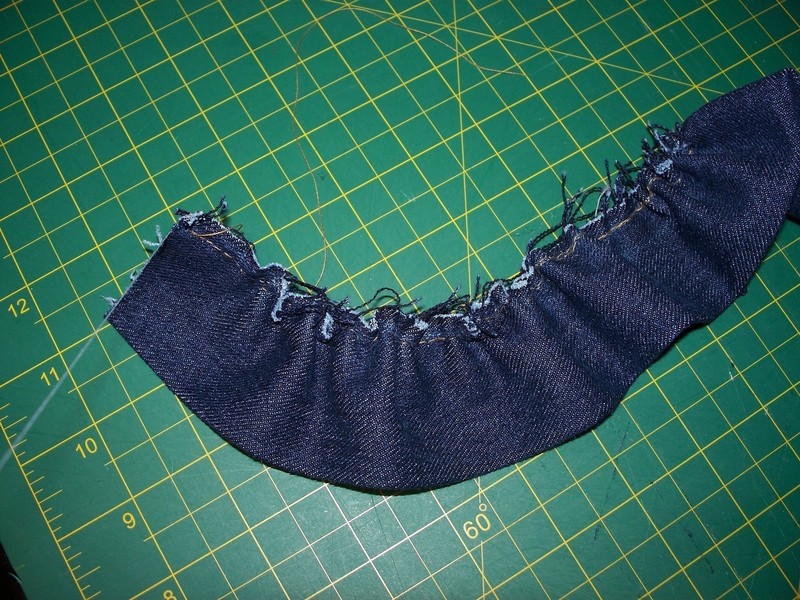
-You want to cut a really long strip of fabric that is 4" wide. You want the strip to be at least 40" or longer.
Fold it in half and sew a baste stitch all the way down.
Pull the bottom thread to gather the fabric.
-
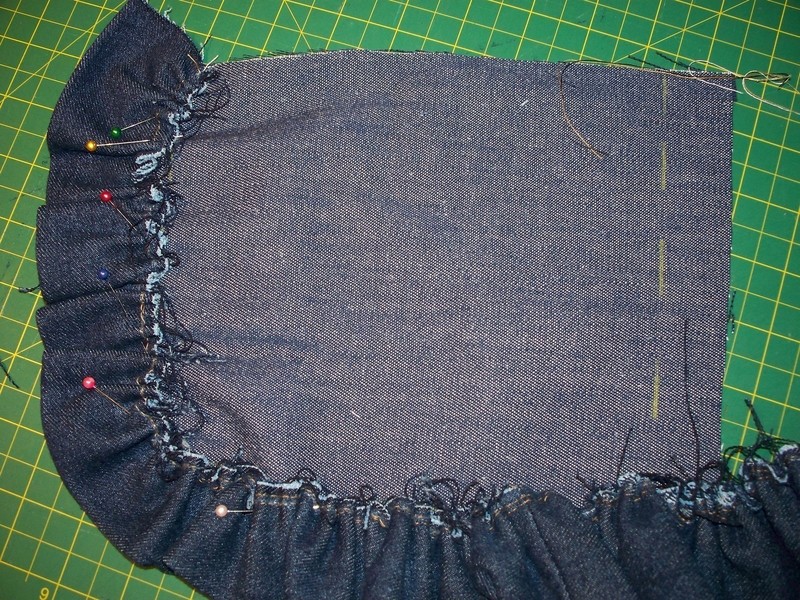
 Step 11
-Measure and mark 1" away from the outer edge of the flap piece (as illustrated)
-
 Step 12
-Line the raw edge of the ruffles up with this line. carefully pin and sew them in place.
-
 Step 13
-Continue this process two more times until you have three rows of ruffles. Make sure the ruffles overlap to hide your raw edges.
-
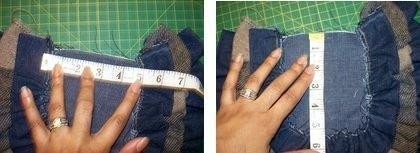
 Step 14
-Measure the space uncovered by ruffles (as illustrated.) Be sure to start measuring about 1/4" past the raw edges of the ruffle.
-Adding an inch to this measurement, cut out a rectangle.
-
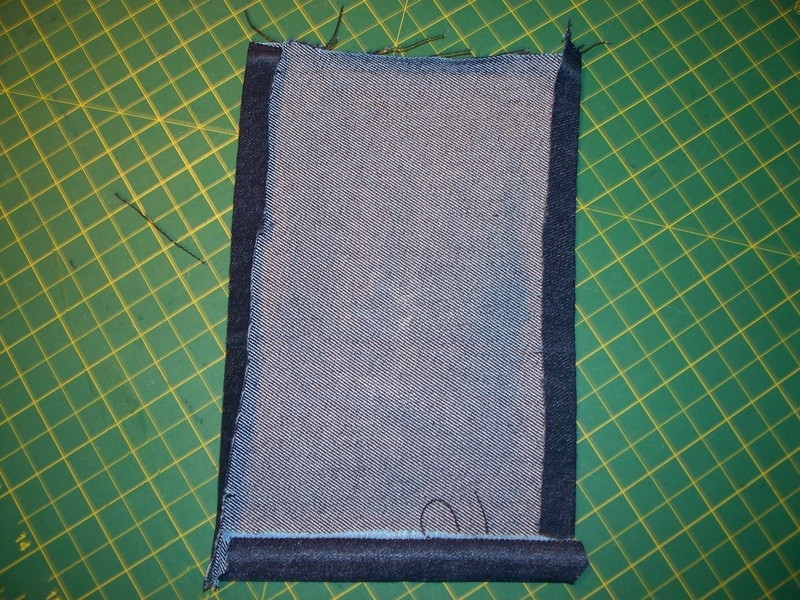
 Step 15
-Fold the longer sides in 1/2" inch and press
-Pin and sew in place using a 1/4" seam allowance.
-
 Step 16
-Place the two flap pieces right sides together and carefully pin them in place.
-You'll have to raise the ruffles up to do this. It was tricky for me. But if you take your time, you should be ok ^_^
-
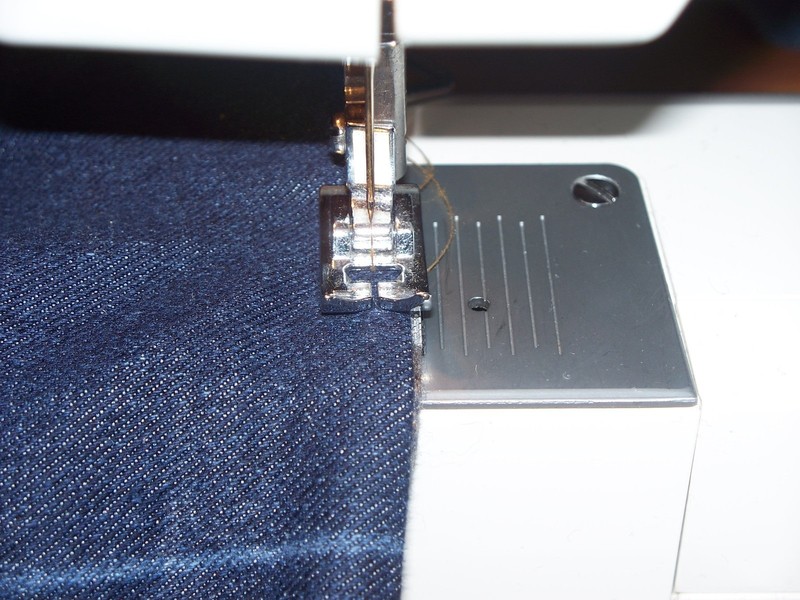
 Step 17
-Sew the pieces together with a 1/4" seam allowance
-Top stitch along the outer edge of the flap using a 1/8" seam allowance.
-
 Step 18
Put it all together...
-Pin the completed flap to the outer part of your bag. The ruffled side should be facing the backside (side with out the snap) of the bag. The raw edge of the flap should be just above the raw edge of the bag opening. (as illustrated)
-Sew a baste stitch to hold it in place
-
 Step 19
-Place the outer part of the bag inside of the lining. Making sure the flap is facing down and the right sides of the bag are facing the right side of the lining.
-Pin and sew in place using a 1/2" seam allowance
-
 Step 20
-Use the opening in the lining to turn the bag right side out.
-
 Step 21
-Straighten the bag out and press it flat.
-Top stitch along the entire top edge of the bag using a 1/8" seam allowance
-Don't forget to sew up the lining.
If your bag is a clutch, you're all done!! If not, proceed to the next steps to create the straps.
-
 Step 22
Last but not least, let's create the strap...
Cut a piece in the following measurements:
For a crossbody bag: 5" by 40"
For a handbag: 5" by 22"
-
 Step 23
Fold and press the edges in 1/2" then, fold the entire strap in half so you have a strap that is 2" wide.
Fold and press the ends in as well.
-
 Step 24
Stitch along both side of the strap for a finished look
-
 Step 25
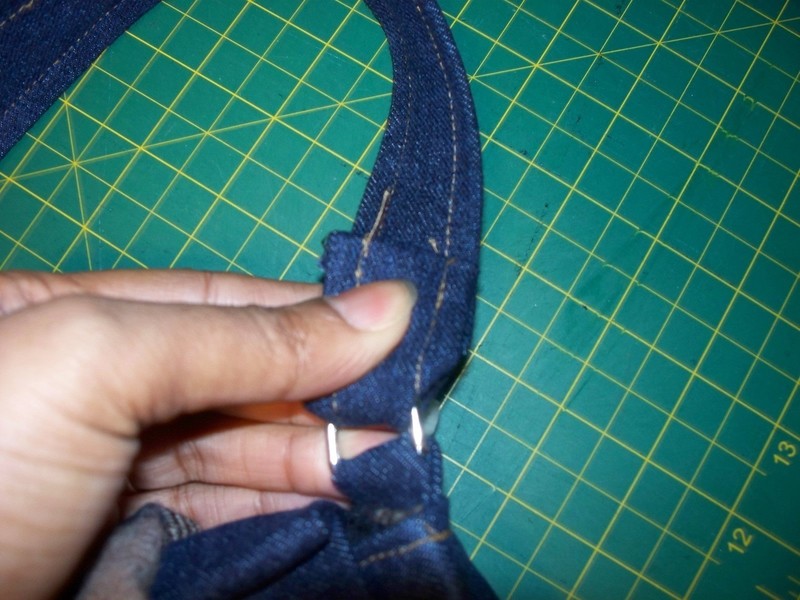
Thread the end of the strap through the rings on your bag.
-
 Step 26
Top stitch in place.
-
 Step 27
You're all done!!!
Be sure to post your super cute version below.
If you have any questions feel free to message me and I'll get back to you ASAP.
Alright...hop to it!! ^_^


 1
Home Accessories »
Diy Jewelry Box
1
Home Accessories »
Diy Jewelry Box


I think that I try to make a version!