


About
Creepy crawlies can be cute too!
Halloween is right around the corner! And it's the perfect time to get those creepy crafty brains working. We worked on making papercraft candy boxes this week. Meet Bert and Martha!
Tags
-
 Petra v. commented on Diy Spider Candy Boxes
06 Jan 21:50
Petra v. commented on Diy Spider Candy Boxes
06 Jan 21:50
-
 Lilly1977 added Diy Spider Candy Boxes to Halloween
21 Nov 14:27
Lilly1977 added Diy Spider Candy Boxes to Halloween
21 Nov 14:27
-
Lilly1977 favorited Diy Spider Candy Boxes
21 Nov 14:24
-
 AlterEgo Designs favorited Diy Spider Candy Boxes
02 Nov 05:43
AlterEgo Designs favorited Diy Spider Candy Boxes
02 Nov 05:43
-
 Alex Z. added Diy Spider Candy Boxes to Интересное
01 Nov 13:38
Alex Z. added Diy Spider Candy Boxes to Интересное
01 Nov 13:38
-
 The Craftables published their project Diy Spider Candy Boxes
31 Oct 15:58
The Craftables published their project Diy Spider Candy Boxes
31 Oct 15:58
You Will Need
-
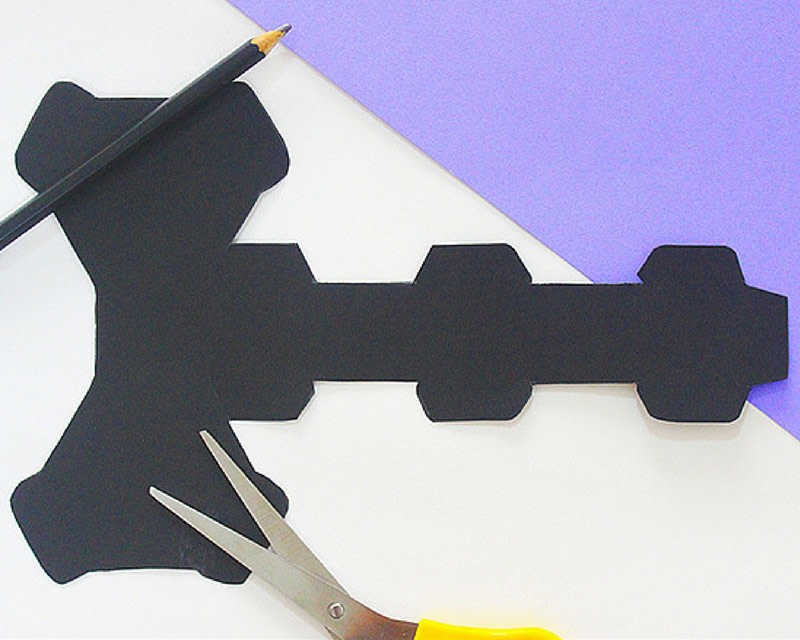
 Step 1
Trace the design onto black paper and cut it out.
-
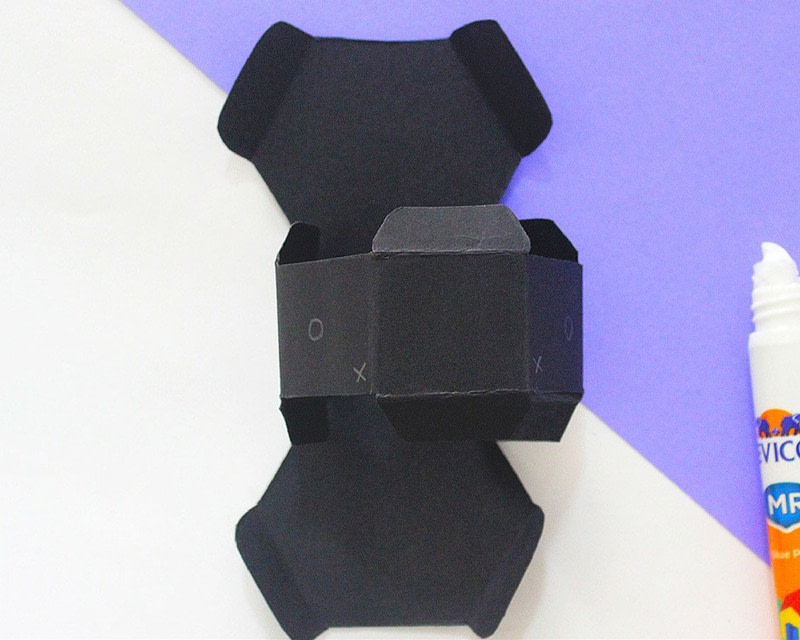
 Step 2
Crease the edges and make markings on the sides for the legs and fangs. We left the 4th square blank and drew 3 circles on the sides for the legs. The fangs are on the edge of the 3rd and 5th side.
-
 Step 3
Paste the flap on the last side to the first side.
-
 Step 4
Fold the sides in to see if the edges fit in properly. If there are gaps, then cut the flaps slightly and slide them in the spaces.
-
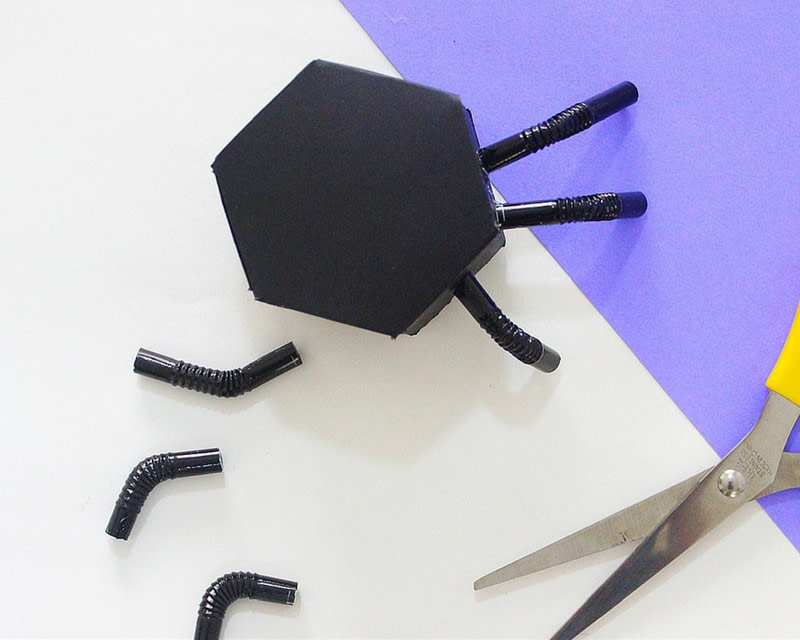
 Step 5
Cut the upper halves of 6 straws and paint them black.
-
Step 6
While the straws are drying, you can cut out 2 fangs and 2 eyes from white paper. We took markers and made outlines for more details. An easy trick for the eyes, is to draw half eyes and fold the bottom portion upwards, making a base that can be stuck.
-
 Step 7
Shorten the straws as needed and paste them on the markings made earlier. You can increase the length of the legs as you move backwards.
-
Step 8
Dab a little glue on the upper edge of the fangs and paste them onto the flaps of the box. The eyes can be pasted at slight angles on top of the box.


Comments

 1
Home Accessories »
Diy Jewelry Box
1
Home Accessories »
Diy Jewelry Box
