


About
Turn an ordinary eraser into a custom rubber stamp!
You don't need fancy supplies to make your own rubber stamps, simply raid your pencil case for an unwanted eraser and start carving.
Tags
-
 Key West Witch added DIY Rubber Stamps to Crafts General
19 Mar 15:14
Key West Witch added DIY Rubber Stamps to Crafts General
19 Mar 15:14
-
 Sofia favorited DIY Rubber Stamps
12 Mar 14:53
Sofia favorited DIY Rubber Stamps
12 Mar 14:53
-
 Chudames favorited DIY Rubber Stamps
02 Feb 18:58
Chudames favorited DIY Rubber Stamps
02 Feb 18:58
-
 CraftyCat favorited DIY Rubber Stamps
21 Jan 20:00
CraftyCat favorited DIY Rubber Stamps
21 Jan 20:00
-
 Supernova's Child favorited DIY Rubber Stamps
20 Jan 05:24
Supernova's Child favorited DIY Rubber Stamps
20 Jan 05:24
-
 Cat Morley published her project DIY Rubber Stamps
20 Jan 03:48
Cat Morley published her project DIY Rubber Stamps
20 Jan 03:48
You Will Need
-
 Step 1
Trace out your design onto a piece of tracing paper using a pencil.
-
 Step 2
Place the design over your eraser and rub.
-
 Step 3
Remove the tracing paper to reveal the design on your eraser.
-
 Step 4
Use a carving tool to whittle away the blank space around the design.
-
 Step 5
I used a cutting knife to get tricky small areas.
-
 Step 6
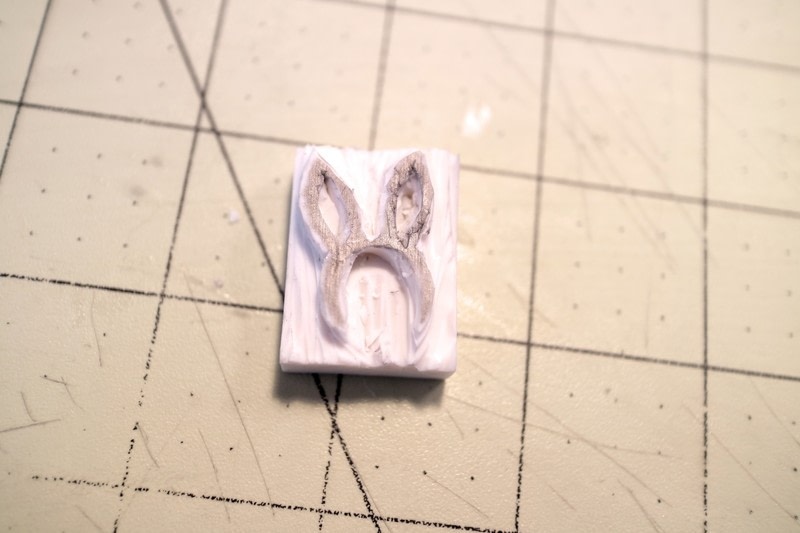
Keep going until you've finished carving out the blank space.
-
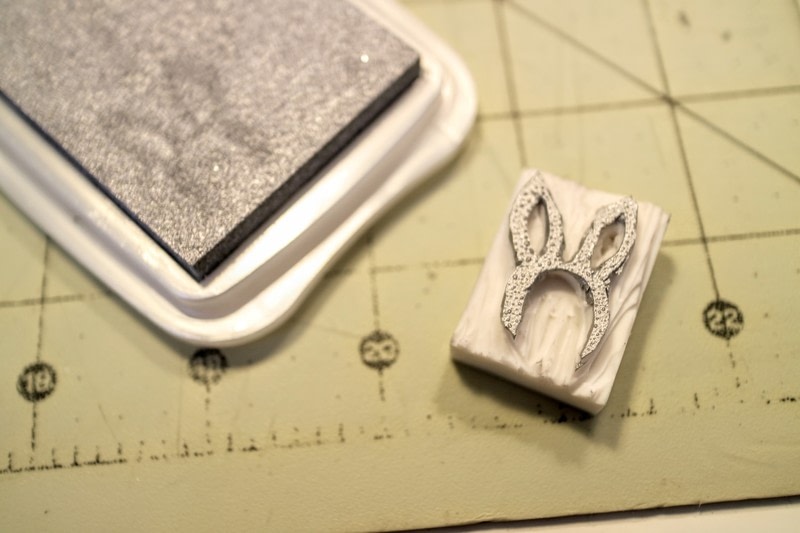
 Step 7
When you're happy, try out a test stamp with ink.
-
 Step 8
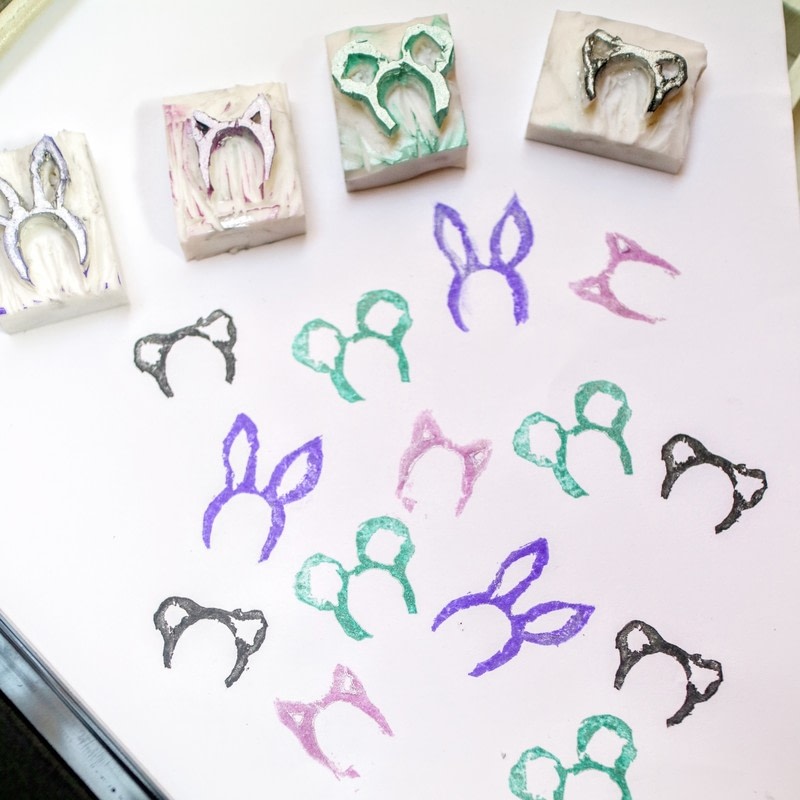
Touch up your stamp until you've got the perfect print.
-
 Step 9
Make lots and lots of different designs.


 1
Watercolor Art »
Watercolor Paints Made From Make Up
1
Watercolor Art »
Watercolor Paints Made From Make Up

