


About
A Crafty Way To Show Your Love For The USA
Tags
-
 risa w. favorited Beaded American Flag
29 Dec 04:22
risa w. favorited Beaded American Flag
29 Dec 04:22
-
 prusakcornell favorited Beaded American Flag
30 Jun 21:28
prusakcornell favorited Beaded American Flag
30 Jun 21:28
-
 jen s. favorited Beaded American Flag
06 Oct 12:20
jen s. favorited Beaded American Flag
06 Oct 12:20
-
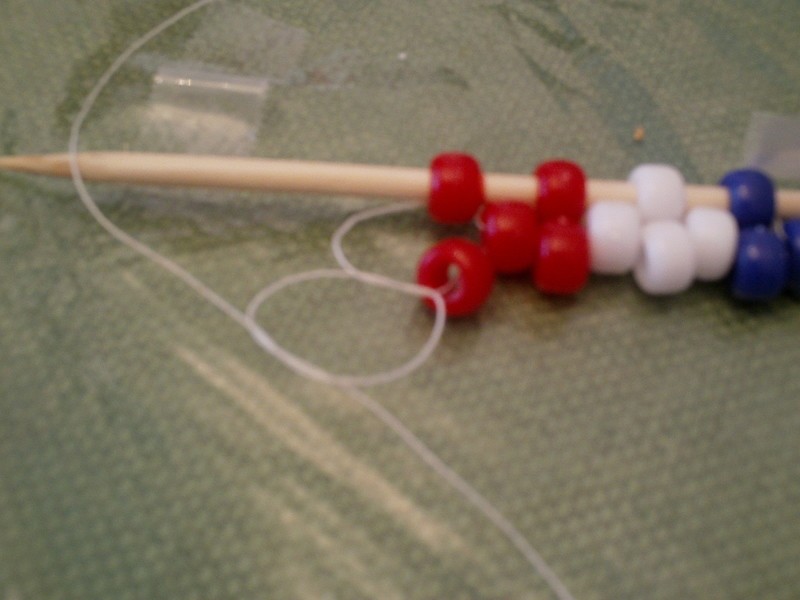
 Step 1
Gather a wooden rod, plenty of red, white and blue beads, upholstery thread or heavy duty twine and a plastic yarn needle or a regular needle.
-
 Step 2
Unravel about a yard and a half of the twine or thread. Tape one end down leaving about six inches of thread on the left hand side.
-
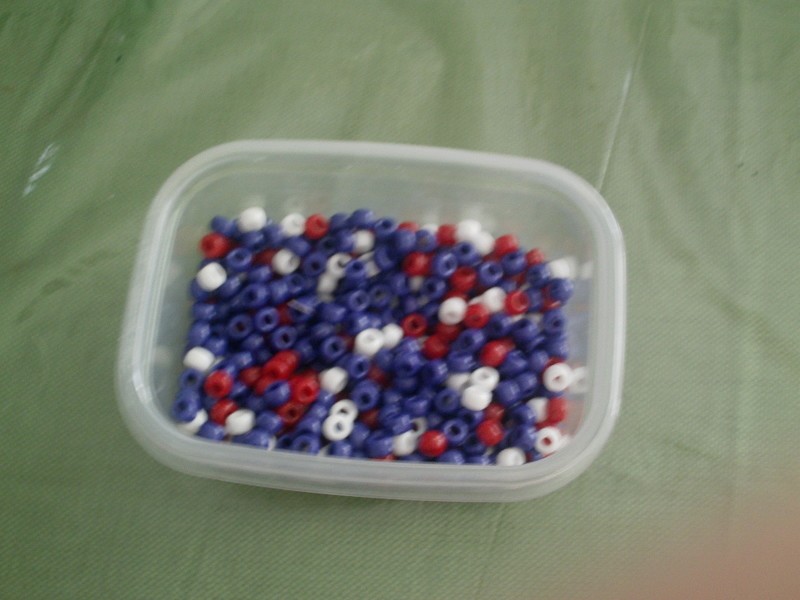
 Step 3
String your beads on in this pattern-Red,red,red, White,white,white x3
Blue x21
You should have an approximate total of 39 beads when you are finished. -
 Step 4
Take your wooden or metal rod and slide it through every other bead from right to left. Both the first red bead and last blue bead should be on the rod. We will call the beads on the rod row one and the beads not on the rod row two.
-
 Step 5
If you do have endcaps that fit on your rod slip them on and tape the rod down to your flat surface. (Pretend it has the right ammount of beads on it)
-
 Step 6
1. String a new blue bead on to your string.
2. Slip your needle through the second to last blue bead in row 2.
3. String a white bead on and pull your needle through the next bead in row 2.
4. Continue with the sequence blue, white, blue until you come to the first white bead.
5. Slip the needle through the white bead in row two but do not add a bead. -
 Step 7
Add a new white bead and slip needle through next bead in row two. Continue in the same fashion as the blue and white beads but the pattern is now white, red,red, white. Continue this way until you come to the first RED bead.
-
 Step 8
Take the six inches you left on the left hand side of the tape and tie it to the thread on the needle using a square knot. Add glue to knot for extra security. YOU HAVE NOW FINISHED ROW THREE!!!
-
 Step 9
Slide needle back through first red bead on row three, add a red bead on to the string. You get the picture, same procedure. But now the pattern is Red, white,white, red. Continue until you get to the blue beads.
-
 Step 10
In the blue section all beads are white. Continue till the end of row four.
-
 Step 11
At the end of this row there is no fancy procedure. Just add a blue bead and loop the needle through the last white bead in row four. Kindalike step the pattern is once again blue,white, blue. Continue until you reach the reds and whites.
-
 Step 12
Do I really still need to tell you how to do the red and white beads. NO, Ok.
-
Step 13
At the end of Row Five Right?, Do the normal procedure add the last bead slide the needle up through the first bead in row four but this time bring the needle back down through the strings where we made the square knot. Then slide theneedle back through the first red bead in row five and continue the pattern. You're on your way to the end of row six!
-
 Step 14
Do you see the pretty Stars!!!
-
 Step 15
Well, now that I've taught you all the basics I'm gonna give you a review and set you loose. The pattern for blue goes Seventh row all blue, next row blue,white,blue, third row all white and repeat for all rows for quite some time. Soon You'll be Where I am!!!
-
 Step 16
Once you're done with row thirty nine (which means you have 36 stars) you're done with the blues. AT LAST!!!!!
-
Step 17
Back and Forth Back And Forth Red WHite White. White Red Red!!!!
-
 Step 18
FInally you're DONE!!! 83 rows wasn't too hard was it!! Ok I know what you're thinking "What? You're Not Telling Us How To Finish It!!!" Well Never Fear I'm going to tell you. To create the end knot repeat step 13 but do knot (Ha Ha get my pun) add another bead. Simply slip it through the thread from the previous row and tie a normal knot twice and add glue for extra security. VOILA YOU HAVE A BEAUTIFUL NEW BEADED AMERICAN FLAG!!!


 1
Home Accessories »
Diy Jewelry Box
1
Home Accessories »
Diy Jewelry Box

That's a lot of work, it looks nice.