
![Looks as delicious as the real thing =] . Free tutorial with pictures on how to make a clay ring in under 60 minutes by jewelrymaking and molding with embellishments, ring base, and wax paper. How To posted by Scarlet. Difficulty: 3/5. Cost: Cheap. Steps: 9](https://images.coplusk.net/project_images/46436/image/IMG_0709_1267908545.jpg)
![Looks as delicious as the real thing =] . Free tutorial with pictures on how to make a clay ring in under 60 minutes by jewelrymaking and molding with embellishments, ring base, and wax paper. How To posted by Scarlet. Difficulty: 3/5. Cost: Cheap. Steps: 9](https://images.coplusk.net/project_images/46437/image/IMG_0707_1267908571.jpg)
![Looks as delicious as the real thing =] . Free tutorial with pictures on how to make a clay ring in under 60 minutes by jewelrymaking and molding with embellishments, ring base, and wax paper. How To posted by Scarlet. Difficulty: 3/5. Cost: Cheap. Steps: 9](https://images.coplusk.net/project_images/46438/image/IMG_0708_1267908570.jpg)
![Looks as delicious as the real thing =] . Free tutorial with pictures on how to make a clay ring in under 60 minutes by jewelrymaking and molding with embellishments, ring base, and wax paper. How To posted by Scarlet. Difficulty: 3/5. Cost: Cheap. Steps: 9](https://images.coplusk.net/project_images/46439/image/IMG_0714_1267908579.jpg)
![Looks as delicious as the real thing =] . Free tutorial with pictures on how to make a clay ring in under 60 minutes by jewelrymaking and molding with embellishments, ring base, and wax paper. How To posted by Scarlet. Difficulty: 3/5. Cost: Cheap. Steps: 9](https://images.coplusk.net/project_images/46440/image/IMG_0716_1267908609.jpg)

About
Looks as delicious as the real thing =]
Disclaimer: there are some funky chemicals in most home repair products, so as always, do this in a well-ventilated area and wear gloves.
Happy crafting!
-
 Rachel D. favorited Whipped Cream Rings
19 Nov 13:32
Rachel D. favorited Whipped Cream Rings
19 Nov 13:32
-
 elaina.nattrass added Whipped Cream Rings to Misc
25 Aug 22:31
elaina.nattrass added Whipped Cream Rings to Misc
25 Aug 22:31
-
 Vany Wundersam favorited Whipped Cream Rings
14 Mar 11:18
Vany Wundersam favorited Whipped Cream Rings
14 Mar 11:18
-
 elarablair favorited Whipped Cream Rings
23 Feb 19:15
elarablair favorited Whipped Cream Rings
23 Feb 19:15
-
 Gabriela M. favorited Whipped Cream Rings
01 Dec 03:22
Gabriela M. favorited Whipped Cream Rings
01 Dec 03:22
-
 Nagore favorited Whipped Cream Rings
10 Oct 21:38
Nagore favorited Whipped Cream Rings
10 Oct 21:38
-
George S. favorited Whipped Cream Rings
06 Sep 21:47
-
 Scarlet entered their project Whipped Cream Rings to Crunchy Granola Charm Contest
09 Mar 23:11
Scarlet entered their project Whipped Cream Rings to Crunchy Granola Charm Contest
09 Mar 23:11
You Will Need
-
Step 1
Get your area ready! Put wax paper over the area that you'll be using, set up the caulk, etc.
I just used a tube of white kitchen and bath silicone caulk. You can get it at any hardware store pretty cheaply
-
Step 2
*OPTIONAL*
Squeeze some caulk out into a piping bag and mix in a few drops of food coloring.
I didn't do this because I just wanted a "whipped cream" look. Also, most caulks are paintable once they've dried. Check the instructions on yours!
-
 Step 3
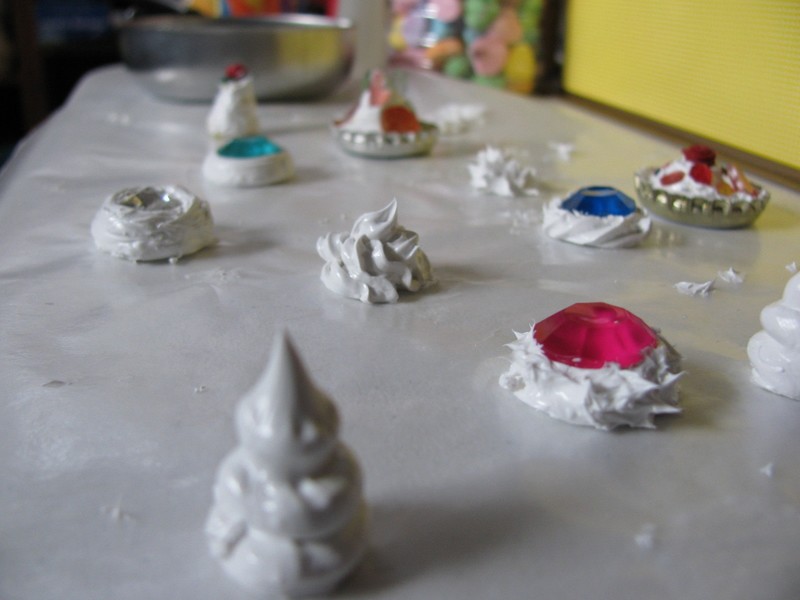
You can squeeze the caulk through an icing tip, or just out of the tube for different textures.
-
 Step 4
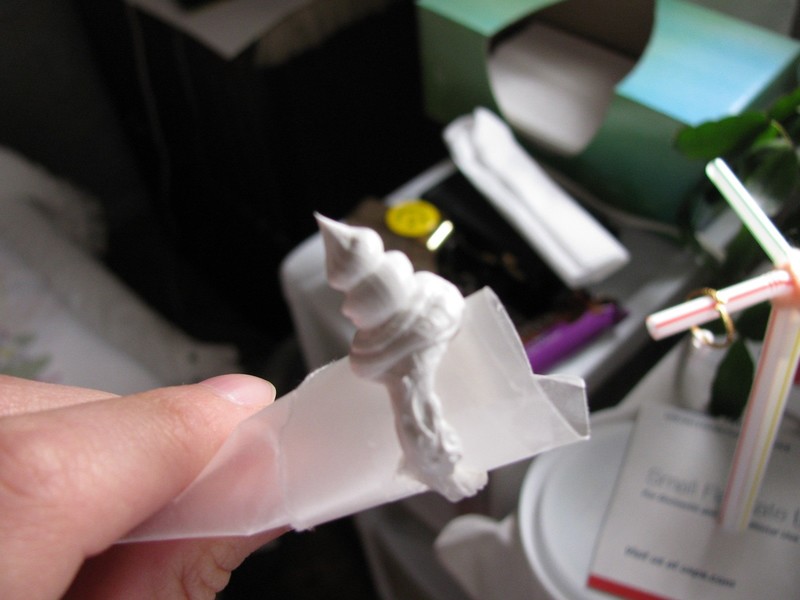
To make the ring in the fourth photo, roll some wax paper around your finger, tape it together, and then squeeze caulk around that. Let it hang to dry.
-
 Step 5
To make the spiky ones, squeeze out a blob of caulk, and then take a toothpick and poke it in, and quickly pull it out, making little peaks.
-
Step 6
If you have any embellishments, stick them on now while the caulk is still soft.
-
Step 7
Let it sit for 24-48 hours! Do not be tempted to poke at them while they dry, because you could leave fingerprints in them!
-
Step 8
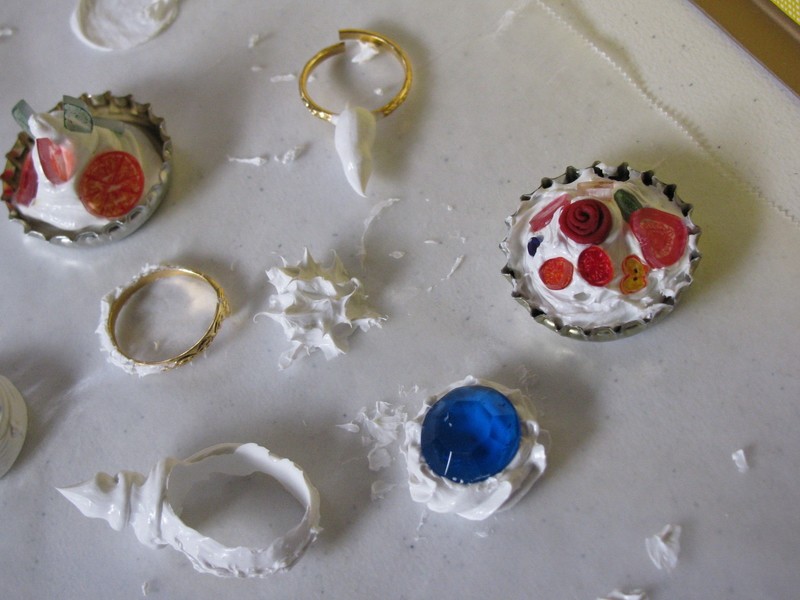
Now you may carefully peel them off the paper! You can use scissors to trim off any stray pieces.
Then, use hot glue to attach them to ring bases.
-
 Step 9
Note: I also used this method to "ice" my polymer clay cake....
...and I found a bottle cap which I filled with caulk, and then stuck mini fruit slices in =]


 1
Home Accessories »
Diy Jewelry Box
1
Home Accessories »
Diy Jewelry Box
