


About
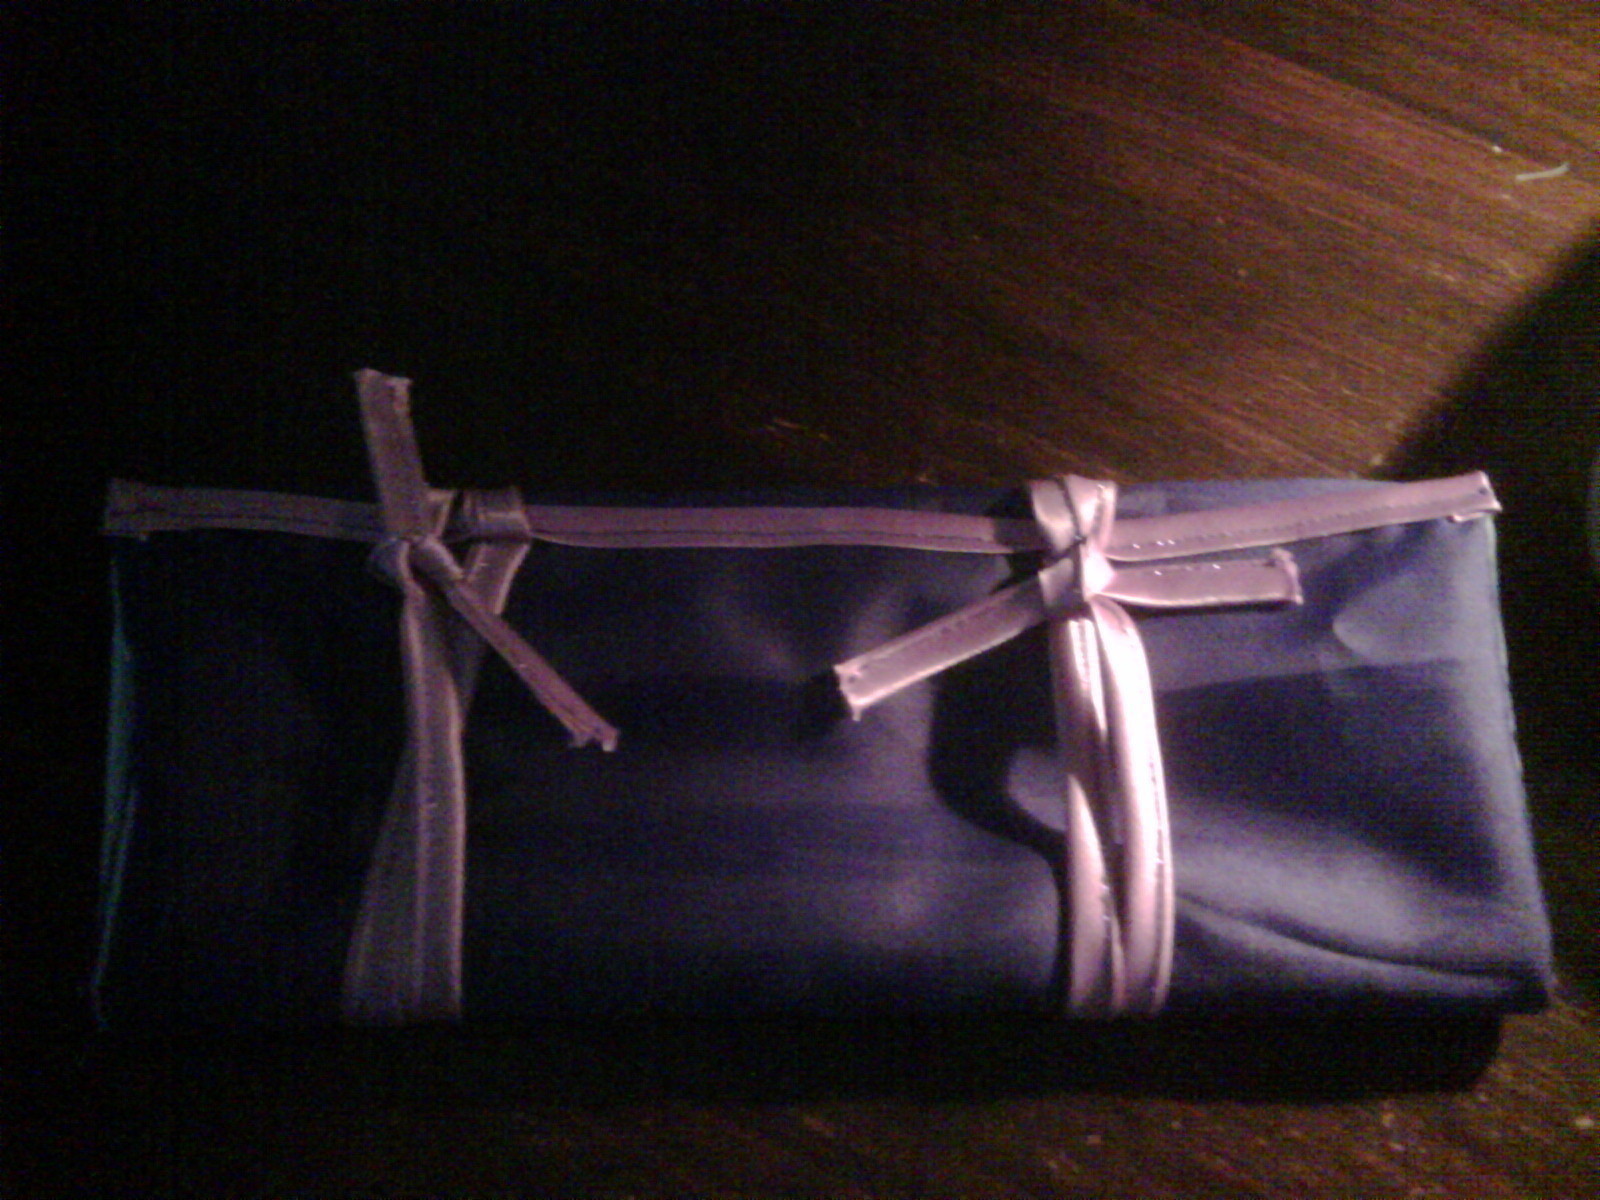
Travel Jewlery Roll / Bag
An easy to do project that won't cost you a fortune.
It can be used for many different items. I have chosen to use it for jewelry.
It can be made as big or small as you wish and have as many pockets as you need.
It won't take up much space in your hand luggage or travel case.
I have made another one using zip fastenings to hold the items in the pockets.
-
 Super Madcow entered their project Travel Jewlery Roll / Bag to The Little Bullet Book
20 Jan 07:36
Super Madcow entered their project Travel Jewlery Roll / Bag to The Little Bullet Book
20 Jan 07:36
-
Super Madcow entered their project Travel Jewlery Roll / Bag to Mum's
20 Mar 23:08
-
Super Madcow entered their project Travel Jewlery Roll / Bag to Secret Santa
27 Dec 16:17
-
 Trina G. favorited Travel Jewlery Roll / Bag
25 Jun 16:18
Trina G. favorited Travel Jewlery Roll / Bag
25 Jun 16:18
-
 SilverSnake S. favorited Travel Jewlery Roll / Bag
12 Apr 20:43
SilverSnake S. favorited Travel Jewlery Roll / Bag
12 Apr 20:43
-
Super Madcow published their project Travel Jewlery Roll / Bag
03 Mar 11:52
-
 Step 1
Cut out two of everything.
You will need a back and front to the roll, as many pockets as you wish and you will also need tops for the pockets to close.
-
 Step 2
Sew the pockets and lining together on three sides.
Do this with all pockets & top closing parts.
Pull them all right side out.
-
 Step 3
Pin to the inside of the roll.
Use the open end of the pocket at the bottom and turn under.
Pin in place and sew around all three sides of the pocket.
-
 Step 4
Add the top part of the pocket to the inside of the roll, making sure there is enough of the fabric covering the pocket to add the Velcro.
Add the Velcro to the top & bottom of the pockets.
-
 Step 5
Once your happy with the amount of pockets, Place the front side of the roll on top of the sewn part and pin in place.
Sew three sides of this together leaving the top side open to turn through.
-
 Step 6
Fold in the raw edges and add a ribbon fastener to the top edge.
-
 Step 7
The roll is now complete and ready to use.


