About
A little charm for anyone loosing teeth or gaining braces!
This is a small keyring charm I made for my little sister, who has just qualified as a dental nurse, but it would be a great gift for anyone who has lost their first tooth, or is getting braces. Or anyone who is just fascinated by teeth.
Originally posted on my blog at http://amiguruthi.tumblr.com/post/26996125073/tooth-fairy
Tags
-
 itisi m. favorited Tooth Fairy Amigurumi
30 Nov 22:47
itisi m. favorited Tooth Fairy Amigurumi
30 Nov 22:47
-
 Caz.McCarrell added Tooth Fairy Amigurumi to cool
12 Apr 20:57
Caz.McCarrell added Tooth Fairy Amigurumi to cool
12 Apr 20:57
-
 caffeineaddict4life favorited Tooth Fairy Amigurumi
09 Sep 03:52
caffeineaddict4life favorited Tooth Fairy Amigurumi
09 Sep 03:52
-
Megan D. favorited Tooth Fairy Amigurumi
03 Jul 13:44
-
Caroline W. favorited Tooth Fairy Amigurumi
05 Apr 22:02
-
 Gabrielle H. favorited Tooth Fairy Amigurumi
27 Oct 23:26
Gabrielle H. favorited Tooth Fairy Amigurumi
27 Oct 23:26
-
 CazSteele favorited Tooth Fairy Amigurumi
26 Jul 12:35
CazSteele favorited Tooth Fairy Amigurumi
26 Jul 12:35
-
 Step 1
Tooth body
Ch2
Round 1: 6sc in 2nd ch from hook (6)
Round 2: 1sc in each (6)
Round 3: 1sc in each (6)Finish, leave a long tail for sewing. Repeat so that you have two numbs (or roots).
-
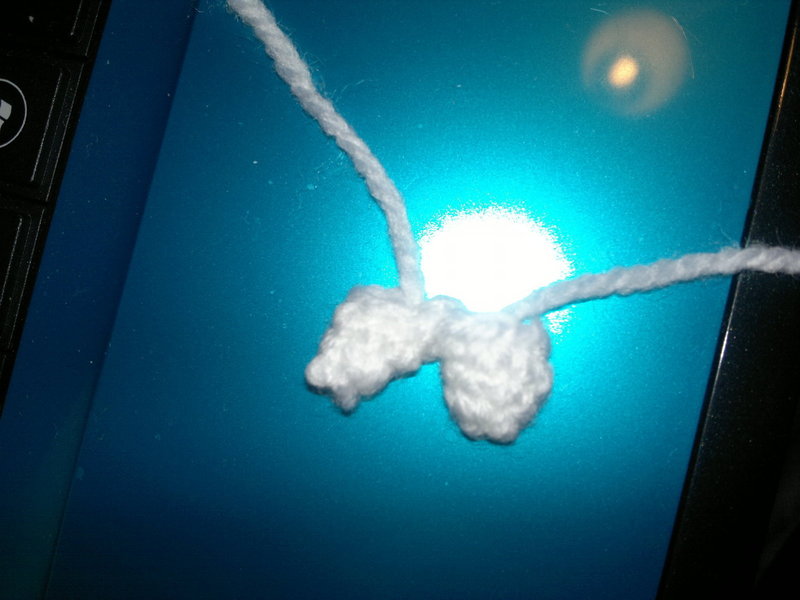
 Step 2
Sew together through one stitch. I also tied the spare tails at the top for security then trimmed them off.
-
 Step 3
To continue the tooth, insert your hook into any stitch and CH1.
Round 1: Sc around the outside edge of the roots (12sc)
(NB: The count gets dodgy, but try get 12sc to carry on following this pattern)
Round 2: INC around, 2sc in each stitch (24sc)
Round 3: Sc around (24sc)
Round 4: Sc around (24sc)
Round 5: DEC around (12sc)
STUFF
Round 6: DEC around (6sc)Finish off and sew closed. Leave a long tail to create a loop if you want to make this into a keyring as I will be doing, or you can make it just a tiny pocket buddy.
-
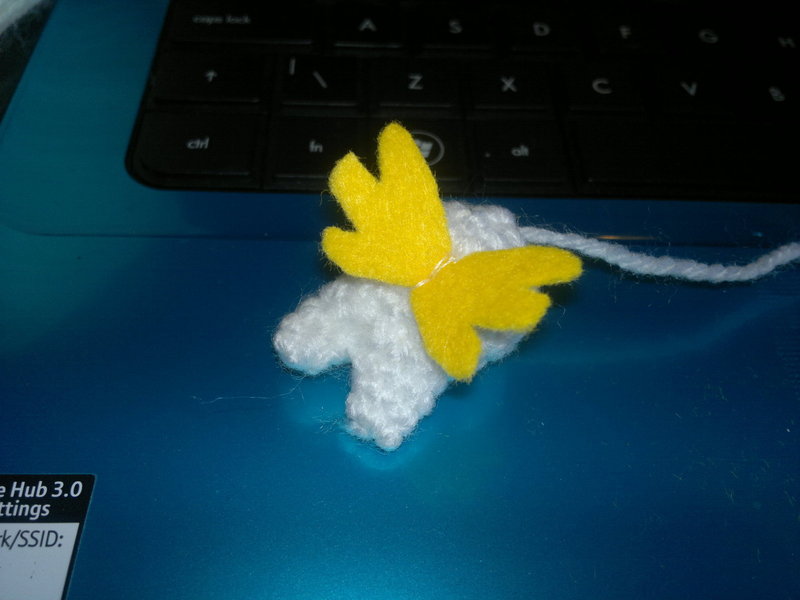
 Step 4
Wings
Cut the shape to the left out of yellow felt.
Tip: Fold in half and cut three rounded points on the non-folded egde. Unfold and you’ll have symmetrical wings.
Sew to the back of your tooth.
-
 Step 5
Halo
Ch15.
Join ends with SL ST and tie off leaving long tail for sewing.Sew to head using the tail - I secured it at just one point at the back of the head. If you’re making a loop, remember to slip the halo over the white tail.
-
 Step 6
Finishing
Embroider your face using the black thread.
Create your loop if you want one, and enjoy your Tooth fairy!