


About
Surpise receiver with your creativity!♥
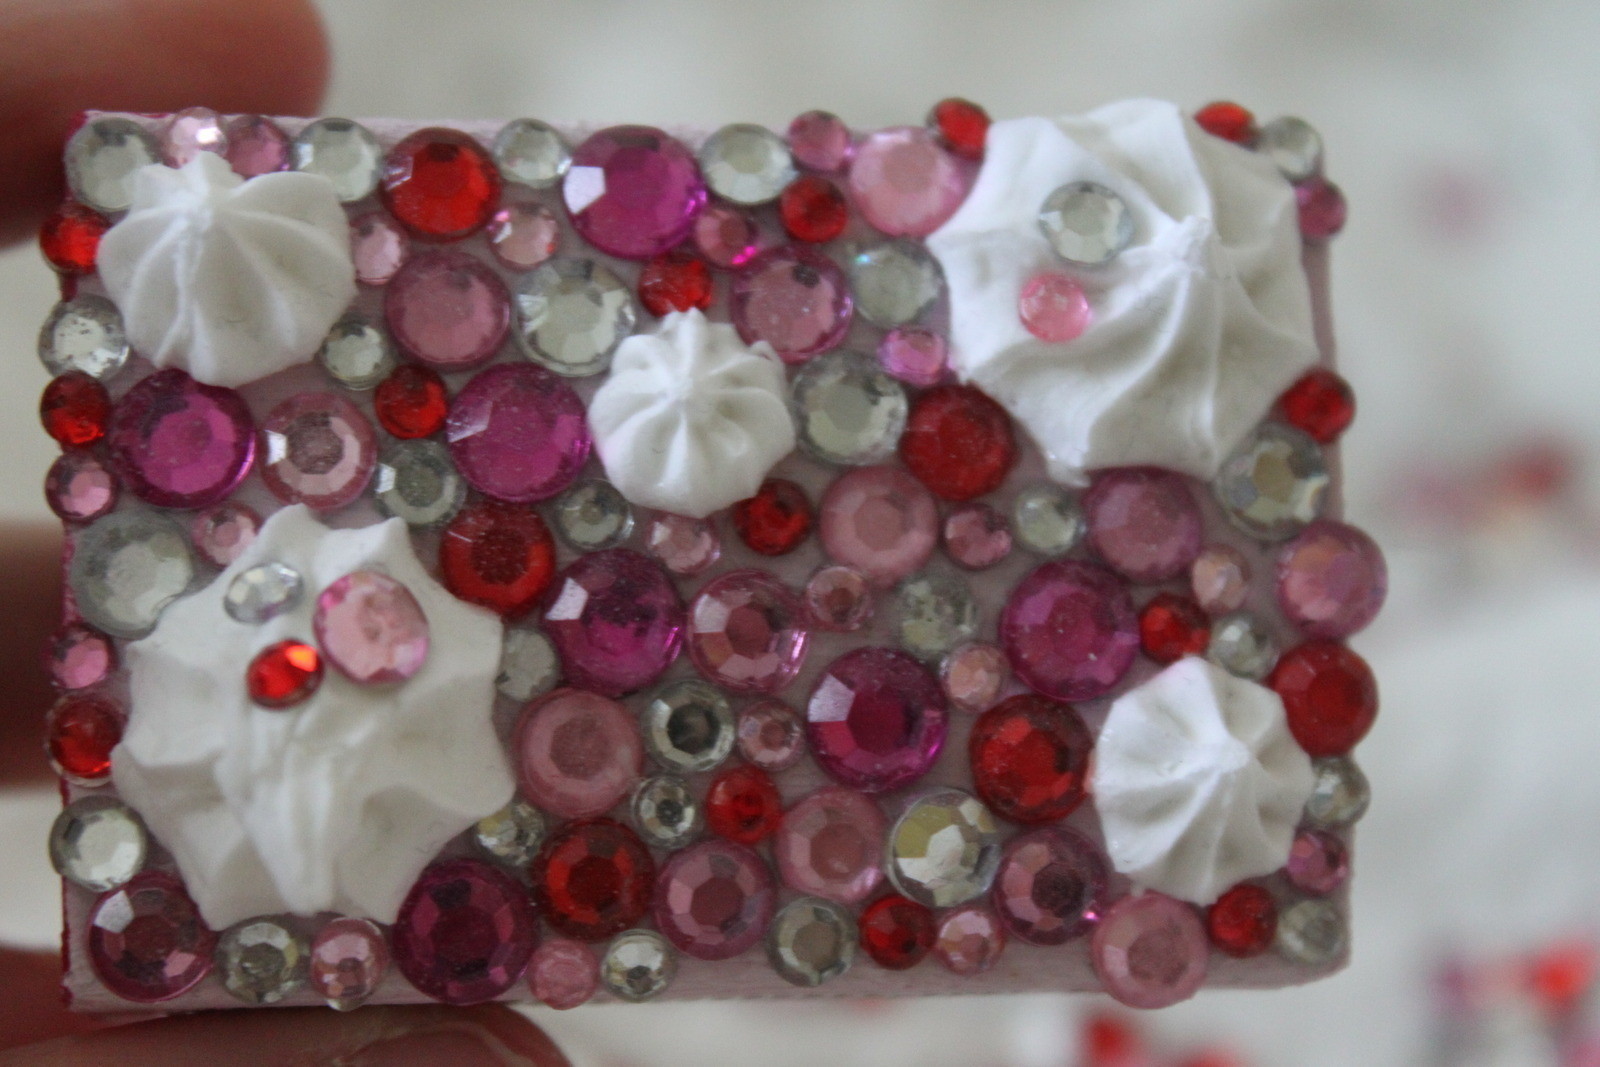
This is project made in art class. Task was to create something new from matchbox. My idea was to make beautiful gift box, where you could give jewellry or some kind of small present for your friend, mom, sister, whoever you can think of.. or maybe for yourself! But be sure that person likes sickeningly sweet stuff.. :D I had lots of pink, clear and red rhinestone leftovers so I decided to make princess themed box! :3
Every box is unique and you can play with colours and decoration materials as much as you can! Be creative. :]
Pau♥
-
 Selene favorited Tiny Princess Deco Gift Box
15 Mar 10:13
Selene favorited Tiny Princess Deco Gift Box
15 Mar 10:13
-
 Mai added Tiny Princess Deco Gift Box to House Stuffs
20 Jan 05:09
Mai added Tiny Princess Deco Gift Box to House Stuffs
20 Jan 05:09
-
Mai added Tiny Princess Deco Gift Box to House Stuffs
20 Jan 05:09
-
 Step 1
Paint your matchbox with desired colours. For "outer" parts I used light pink acrylic paint. For the "inside" parts I used purple wine acrylic paint. Let dry. Paint the top of matchbox first because next we move on that.
-
 Step 2
Here's all I used for decorating. *click click* First I suggest to do whipped cream parts. I made them of Fuwa mousse paper clay. You can buy it from etsy.com! When they're done attach small rhinestones on them if you want. Next we have to wait for them to dry. They dry by themself, but tips of cream can break easily even when fully dry. But this soft clay looks more realistic than silicon. I suggest to wait drying over night, but I think hour or two is enough for them to dry on top. But be careful because they dry slowly, and can get messed up if you touch them!
I didn't count the time of clay drying to the clock, because it depends!
-
 Step 3
While waiting you can finish inside box. Cut satin ribbon about 17cm so it's enough to go all around the box. Glue it.
Cut lace trim to the base of box and glue it.
-
 Step 4
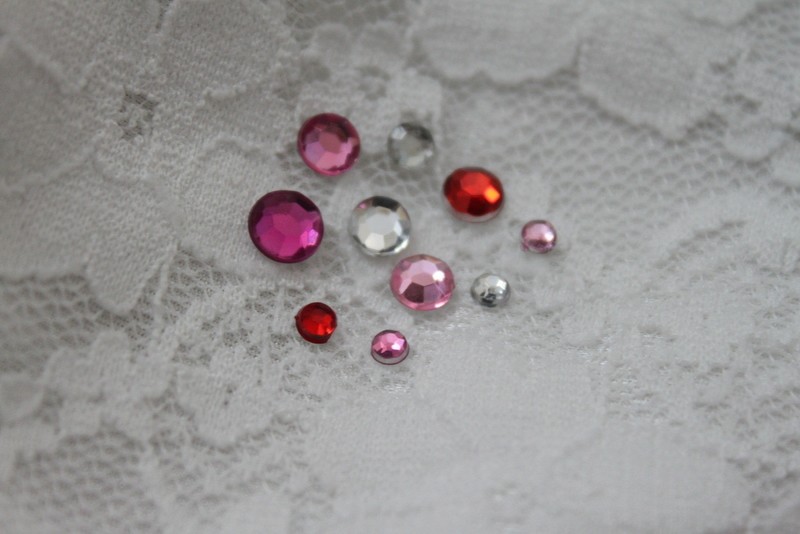
When "whipped creams" are dry it's time to start attach rhinestones. I had 4 differend sizes of them, with 5 differend colours. Start from corner adding little amount of glue and pressing them on it. You can use hands (like I did) or tweezers(makes working easier). Try to get them as close as possible and avoid getting same colours next to each others.
-
 Step 5
Final step is to glue lace trim (same as used for the base) to the sides of box. And your supercute gift box should be done!


http://www.etsy.com/listing/54472602/new-item-kawaii-fuwa-fuwa-mousse?ref=sr_gallery_13&ga_search_query=japanese+fuwa+clay&ga_search_type=all&ga_page=1&order=&includes[0]=tags&includes[1]=title
I hope the link works. :]
You could actually make it on your own, just get piping tube and add there white silicon. :]