


About
A lovely little tidy, for your lovely little things
I made this handy little tidy for my mum's birthday and it went down a treat! She now uses it on a daily basis, and is hanging rather proudly just outside the kitchen. One of the good things about the project is that you can really personalise it. You could change the fabric to the user's taste, make the pockets smaller or larger to contain certain things (e.g cooking equipment or jewellery) or even stitch words like 'notes' and 'trinkets' onto the pockets. Another good thing about this project is that it's giving a use to all those worn tea towels lying around...and also gives you an excuse to go looking for vintage ones too!
Anyway I hope you enjoy this project!
Tags
-
 Meena R. favorited Tea Towel Tidy
07 Apr 10:08
Meena R. favorited Tea Towel Tidy
07 Apr 10:08
-
Step 1
First cut your tea towel to the desired size and hem it.
I find that when you're hemming something it helps to iron the edge you're going to hem to keep it flat. Sometimes you can find a tea towel the right size which can save a lot of time and trouble. If thats the case, then you can skip this step - yay! -
Step 2
Next decide what fabric you're going to use for the pockets. You could use ordinary fabric but for one its not strong and for two it kind of defeats the object of recycling tea towels..But anyway its up to you!
Measure and mark your fabric to a suitable size. Once happy with this, cut out as many pockets as you want.
-
Step 3
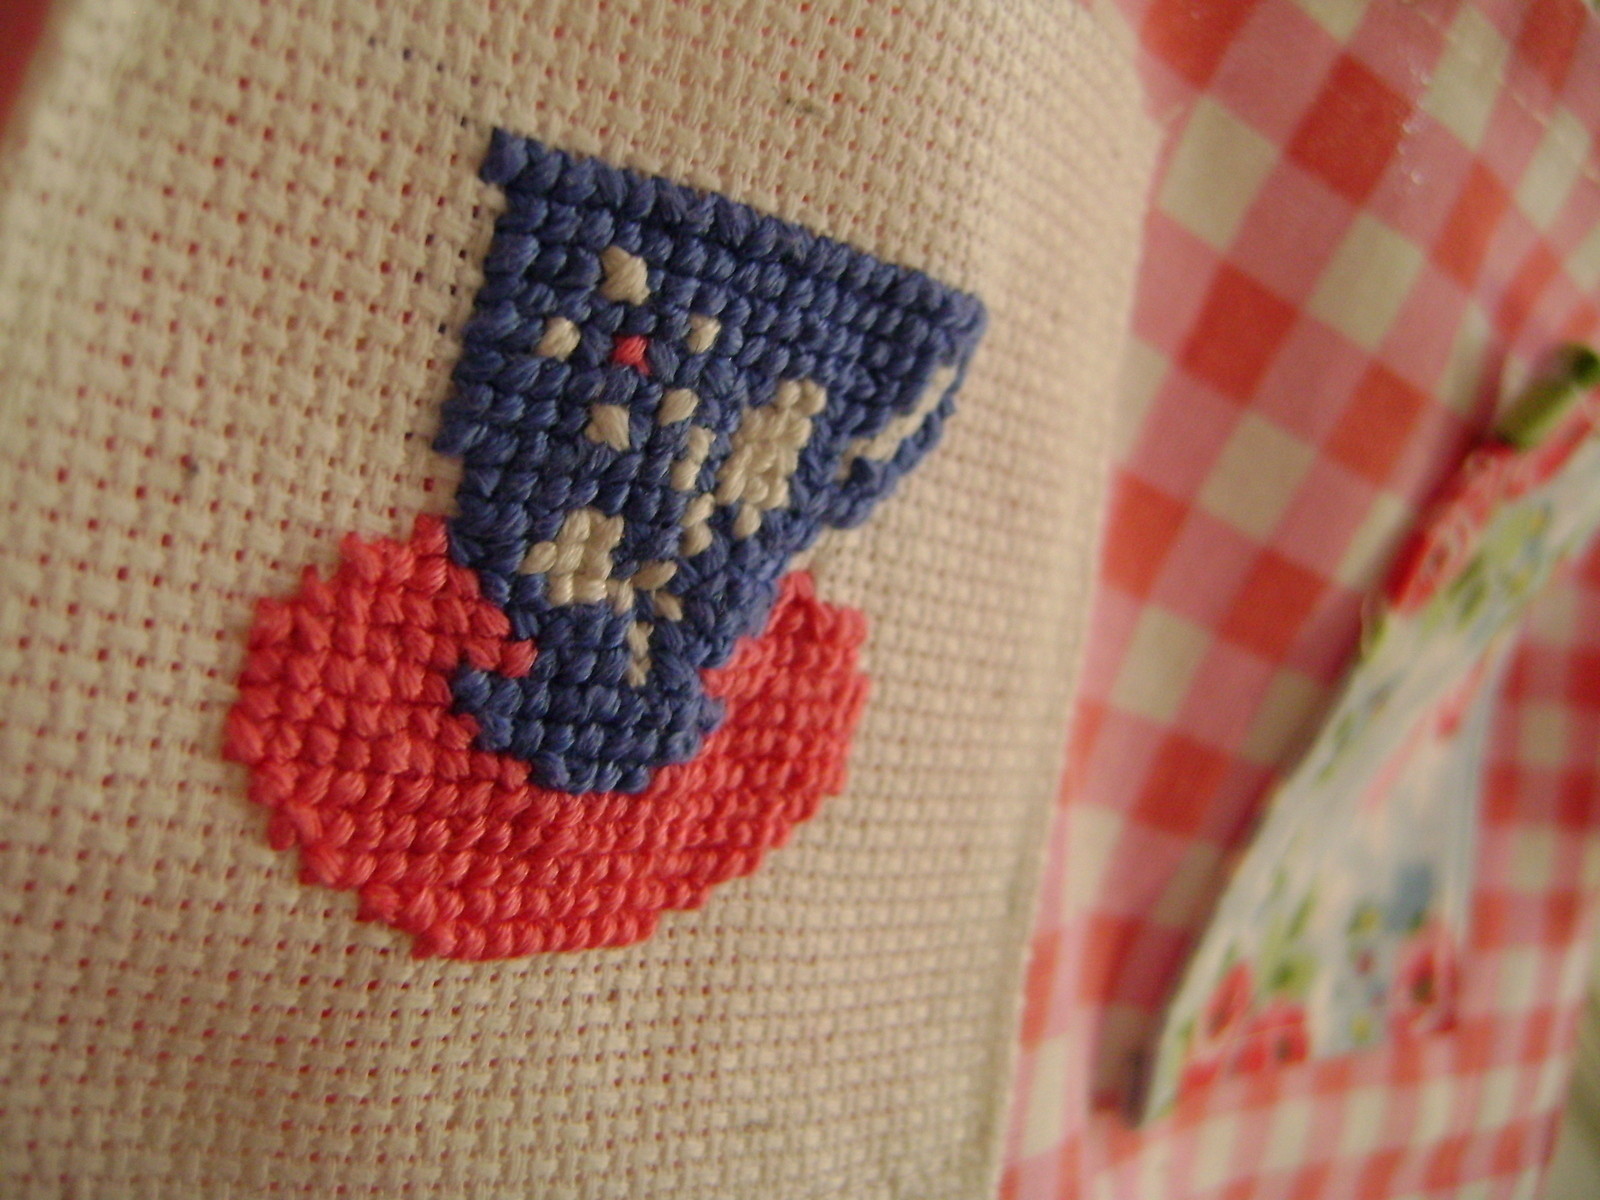
Once you've cut out your fabric, think about any decorations that you might want to put on the pockets because they will need to be applied before you sew them to the tea towel. For example: appliques, embellishments or even cross-stitched cupcakes!
-
Step 4
Next, pin each pocket onto the tea towel using dressmaking pins. I use dressmaking pins because it means that the sewing machine will 'hop' over them!
-
Step 5
Start sewing! Take your time carefully sewing each pocket and remove the needles after each pocket has been sewn.
-
Step 6
Finally, if you want to you can use grommets to give a professional finish and to allow you to hang it up with ribbon. Or you can just hang it up with pegs like I've done in the first image.
Et voila! You've finished!
