Statement Piece Bouquet
Extract from Flower Market • By Michelle Mason • Published by Pimpernel Press


About
Flower Market
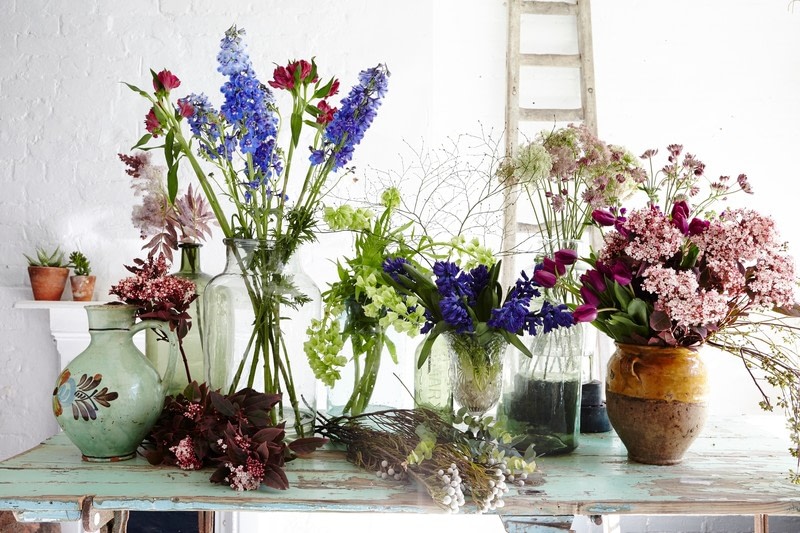
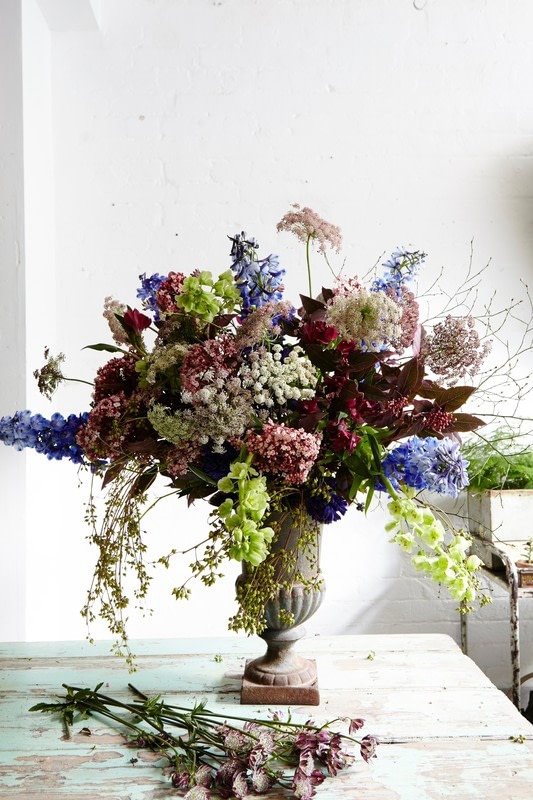
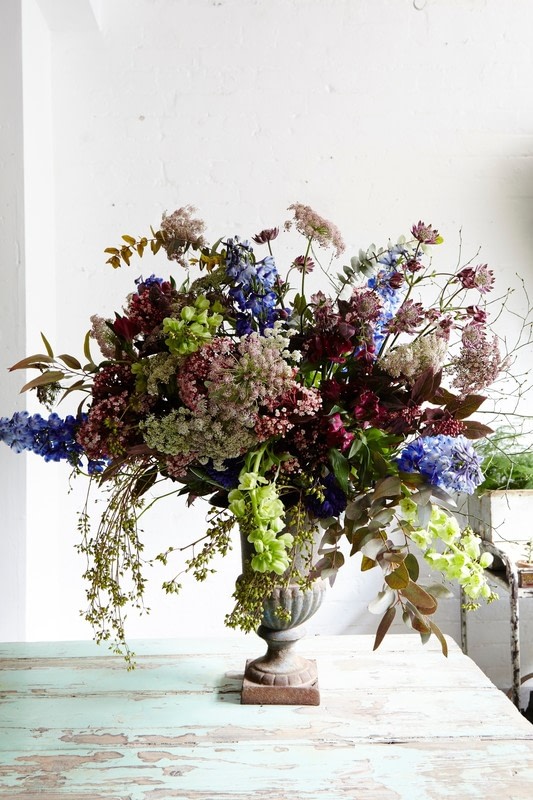
We used a selection of seasonal flowers and leaves ranging in colour from dark clarets through to blues and pale greens for accents, with paler tones of soft pink and cream. These included burgundy alstroemeria and astrantia, blue delphiniums and hyacinths, soft green Fritillaria ‘Ivory Bells’, eucalyptus, viburnum and rose-tinted cow parsley.
-
 Crafterella featured Statement Piece Bouquet
11 Jun 23:00
Crafterella featured Statement Piece Bouquet
11 Jun 23:00
-
 Dorothy M. added Statement Piece Bouquet to Things I Like
10 Jun 17:23
Dorothy M. added Statement Piece Bouquet to Things I Like
10 Jun 17:23
-
Dorothy M. favorited Statement Piece Bouquet
10 Jun 17:23
-
 jolene r. favorited Statement Piece Bouquet
03 Jun 12:01
jolene r. favorited Statement Piece Bouquet
03 Jun 12:01
-
 Pimpernel Press published her project Statement Piece Bouquet
31 May 09:00
Pimpernel Press published her project Statement Piece Bouquet
31 May 09:00
-
 Step 1
Arranging Flowers at Home
Whether it’s putting flowers together for the shop, the kitchen table or to style a photograph the experience is always a treat and a pleasure that I tend to approach as I would an illustration or painting; starting with an idea, then choosing a colour palette and lastly checking what’s available at the flower market or my local flower shop. I studied art and design, not floristry, so I asked my friend
Therese, a professional florist, to show how to create three
different arrangements. I’ve also shown you how to create
small winter posies. -
 Step 2
Before you buy your flowers consider the colours and think about the setting. Are you creating the bouquet for a special occasion?
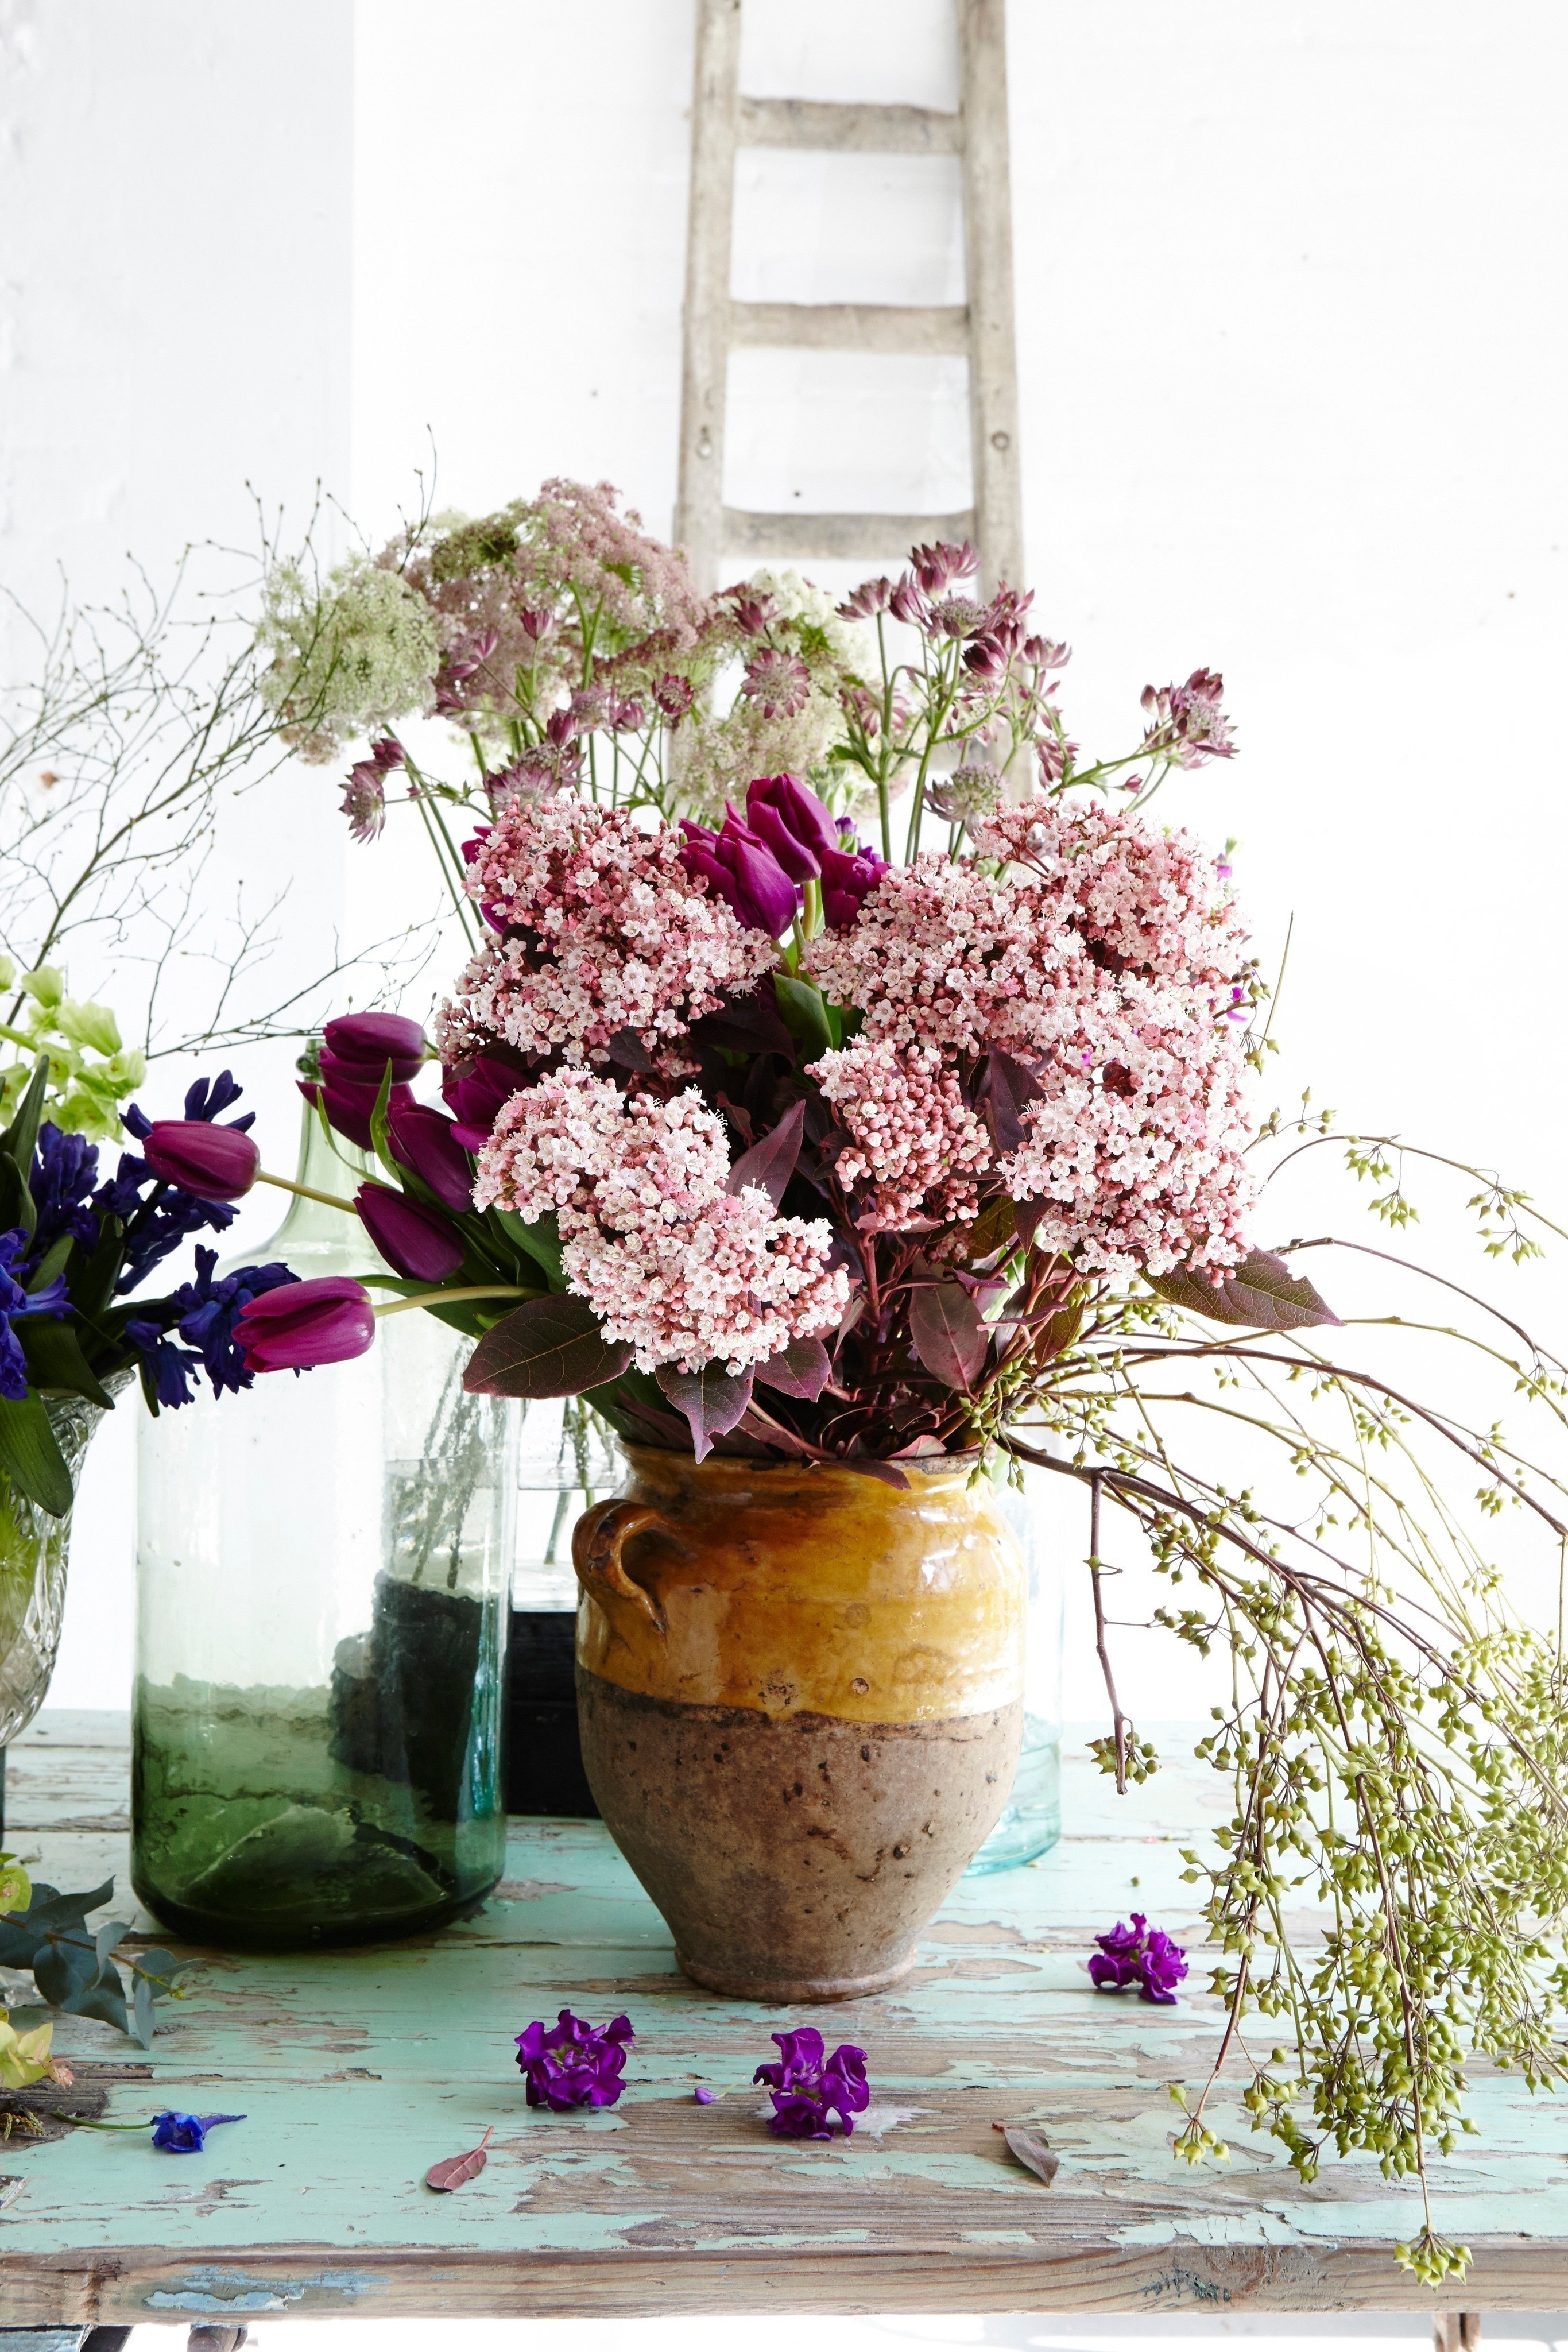
Look out for colours and shapes that sit well together, depending on the season and what’s available to you, and take into account the vessel that your arrangement will sit in. For the largest display we used a vintage cast-iron garden urn, approximately 30cm (12in) tall. You could use a large ceramic jug, vase or clear glass pickle jar
like the ones shown left.After choosing your flowers and foliage spread them out on a table to make it easier when selecting the individual pieces. I always have a pair of secateurs or scissors to hand, and depending on the arrangement, floristry wire or garden twine and florists’ oasis or a small jar or another container to place inside the vase.
-
 Step 3
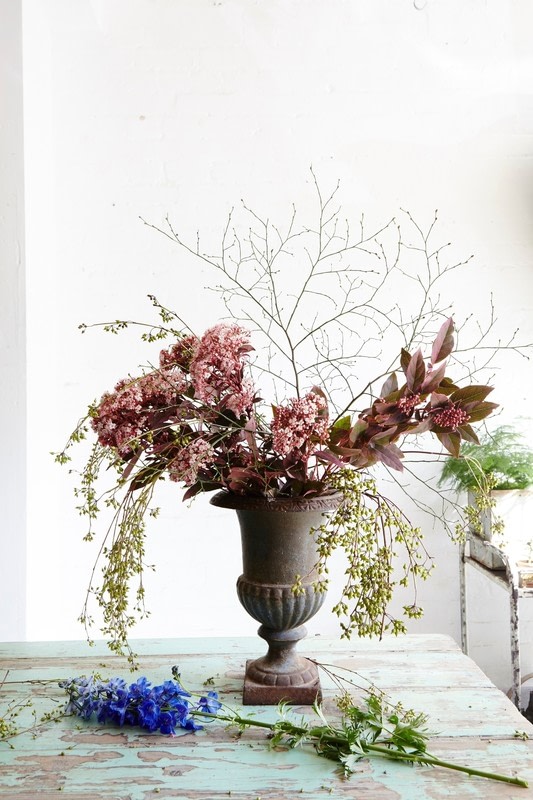
Start with a statement piece of foliage in the urn. Trim away any leaves that will sit below the water line as these will decay and limit the longevity of your display.
-
 Step 4
Let tendrils flow and spill over the sides, keeping the flowers natural and organic.
-
 Step 5
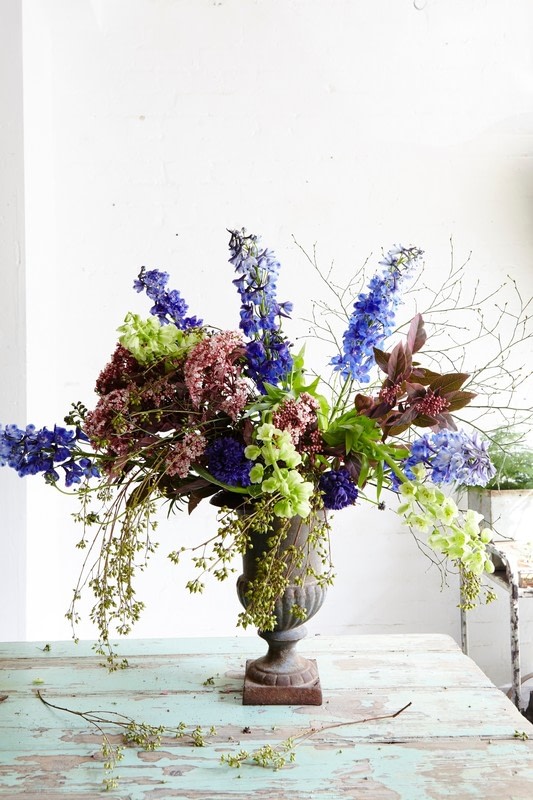
Form the main frame of the display by adding height in the centre and width on both sides. Start to add in your colour palette with the blues, greens and clarets.
-
 Step 6
Add piece by piece to build the silhouette. Use the green fritillary and blue delphiniums to balance out the colour interest.
-
 Step 7
Periodically walk round your display to check for gaps and add
in any extra pieces for weight. Use fillers such as the cow parsley
and foliage to fill any spaces. -
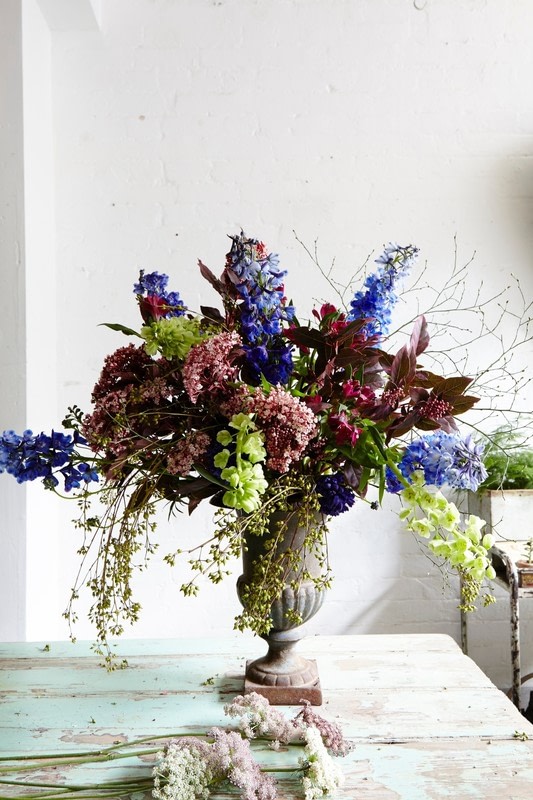
 Step 8
The finished arrangement, left, has a
good mix of colour and height. See how the colours are balanced
throughout: the pale pinks are spread evenly around the top and
middle, with darker shades through the centre. The delphiniums
provide pops of blue across the arrangement and the light green
fritillary takes the eye diagonally across the display, from top left to
bottom right. The astrantia is added, top right, for tone and shape. -
 Step 9
Once you’re happy, top up the urn with water if needed.