Square Stitch
Extract from 350 Beading Tips, Techniques and Trade Secrets (350 Tips, Techniques & Trade Secrets) • By Jean Power • Published by Search Press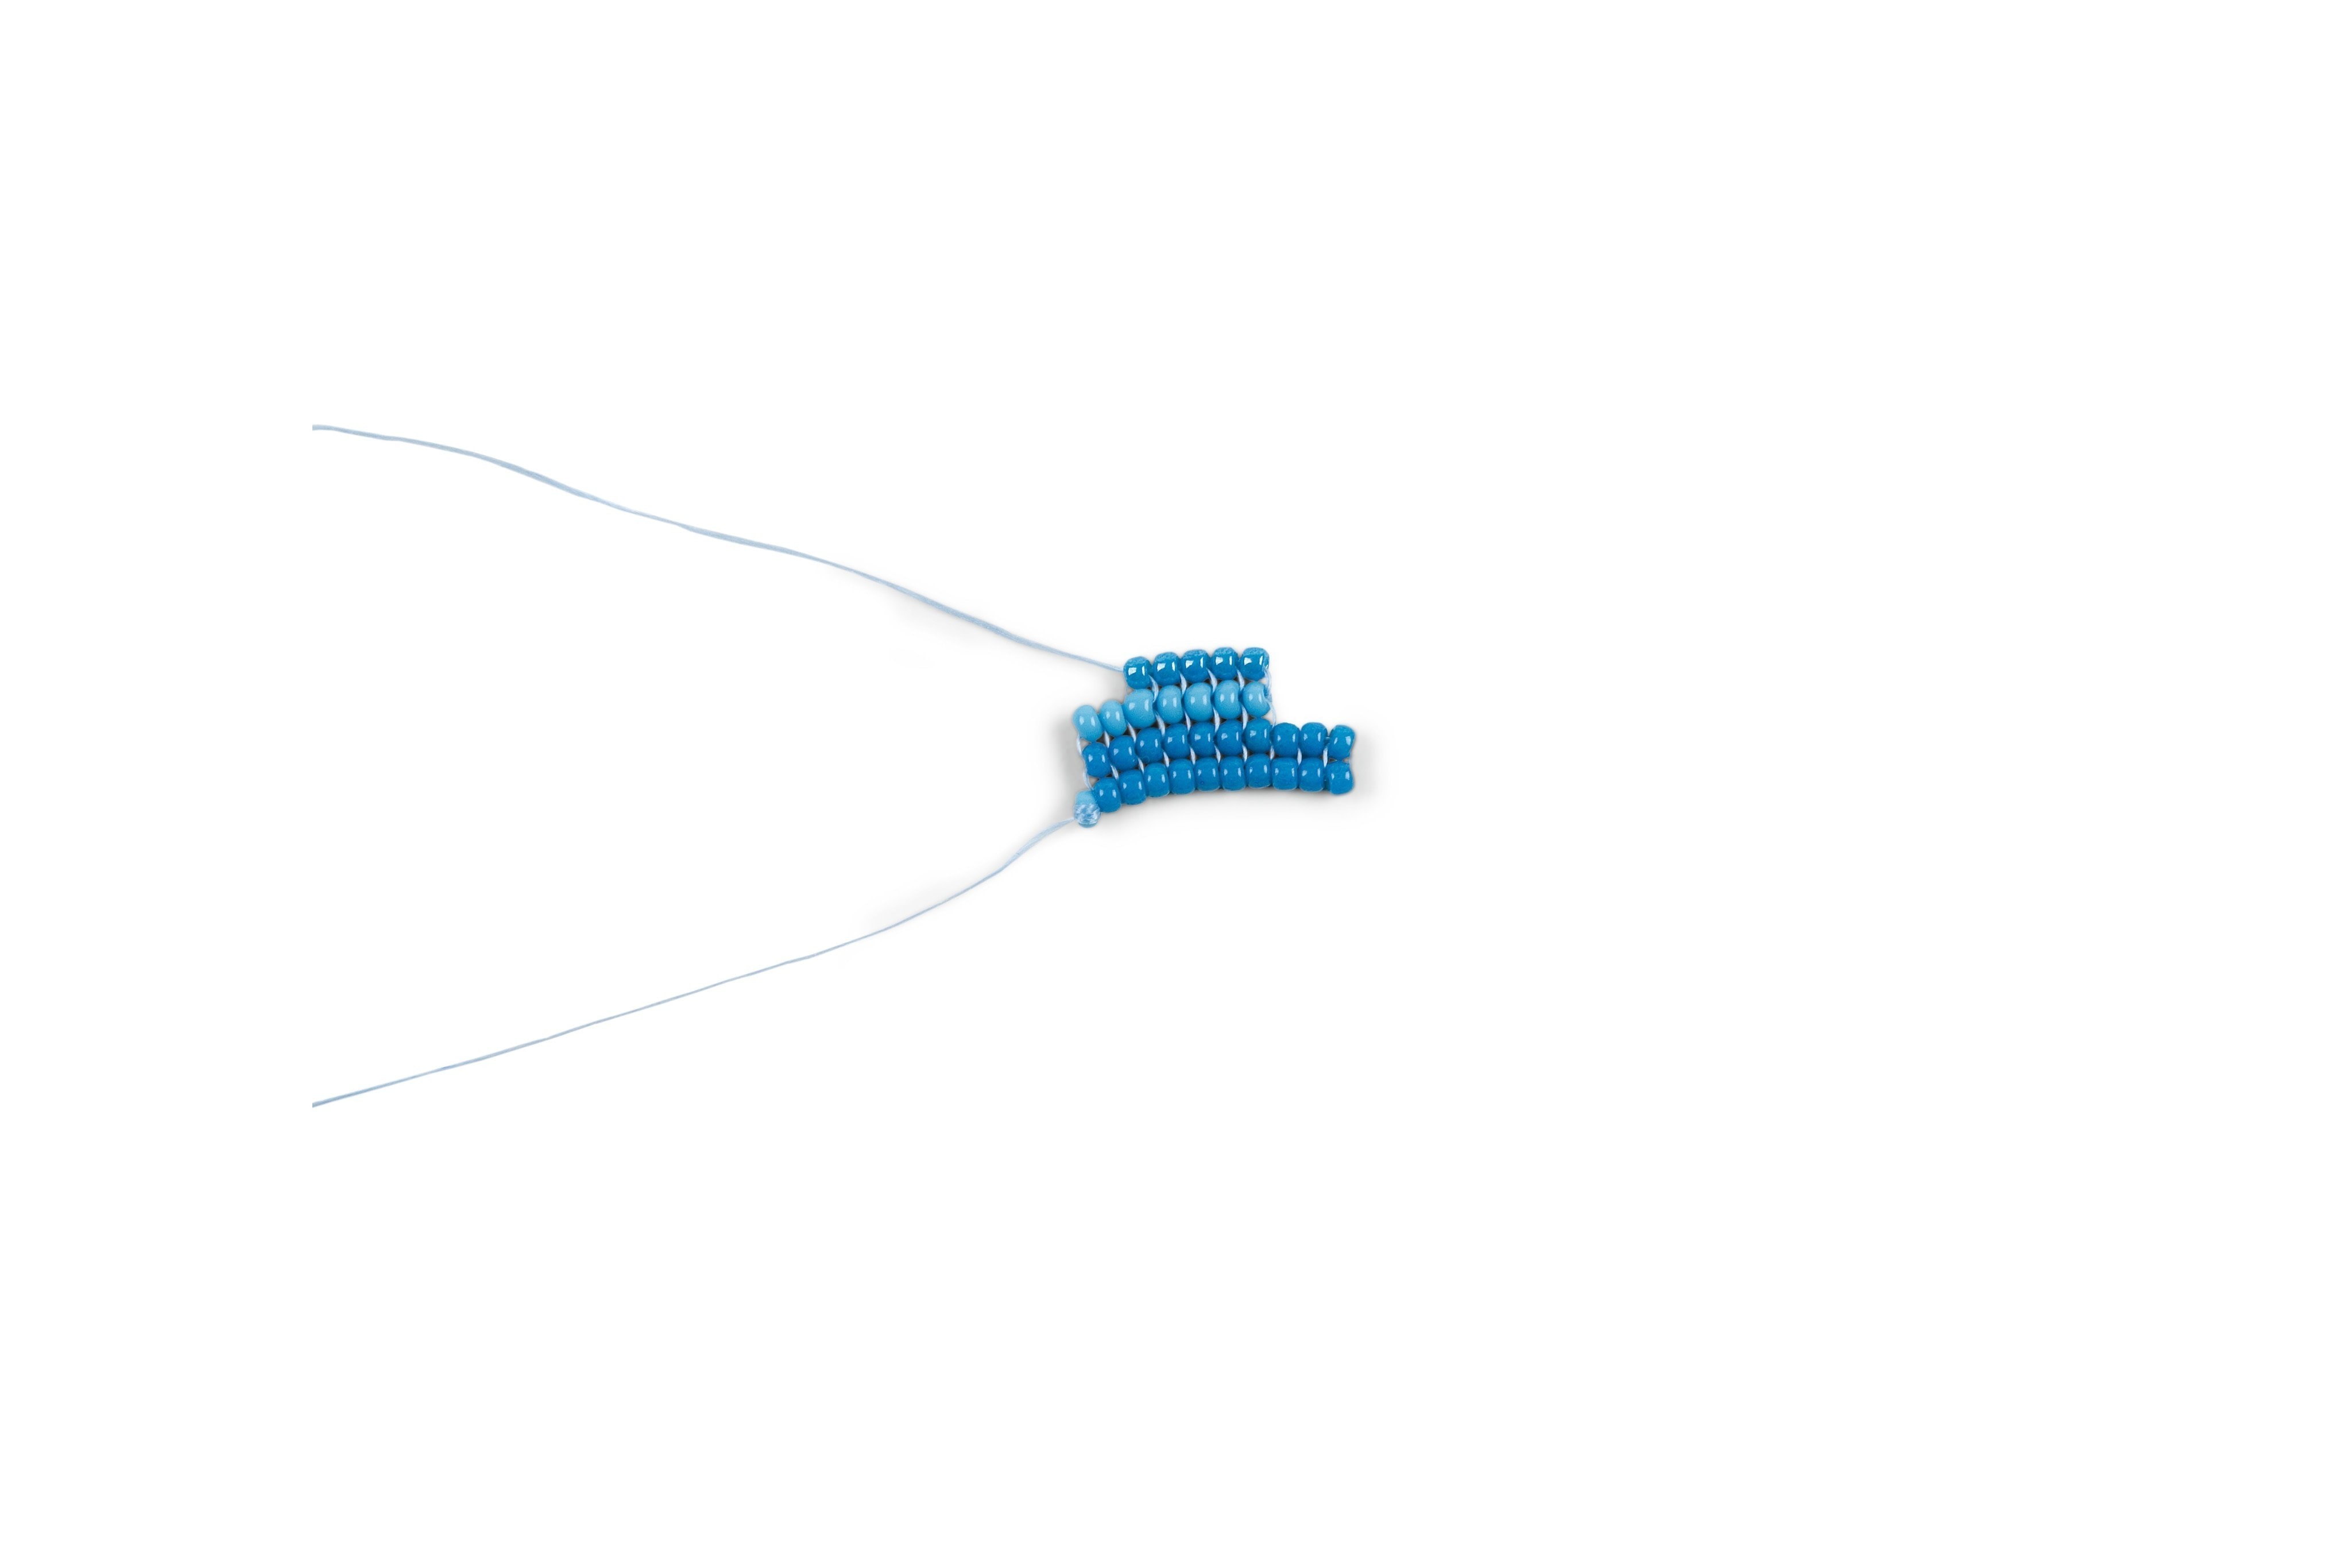

About
350+ Beading Tips, Techniques & Trade Secrets
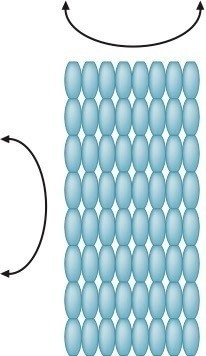
Square stitch is ideal for making patterns and designs—the beads sit squarely next to each other so planning is easier than other stitches. It is a repetitive, easy-to-learn stitch. It is obvious where to add a new bead, so is ideal for a beginner. This stitch is named for the fact that the beads sit squarely next to and above each other.
-
 Search Press published her project Square Stitch
03 Aug 09:00
Search Press published her project Square Stitch
03 Aug 09:00
You Will Need
-
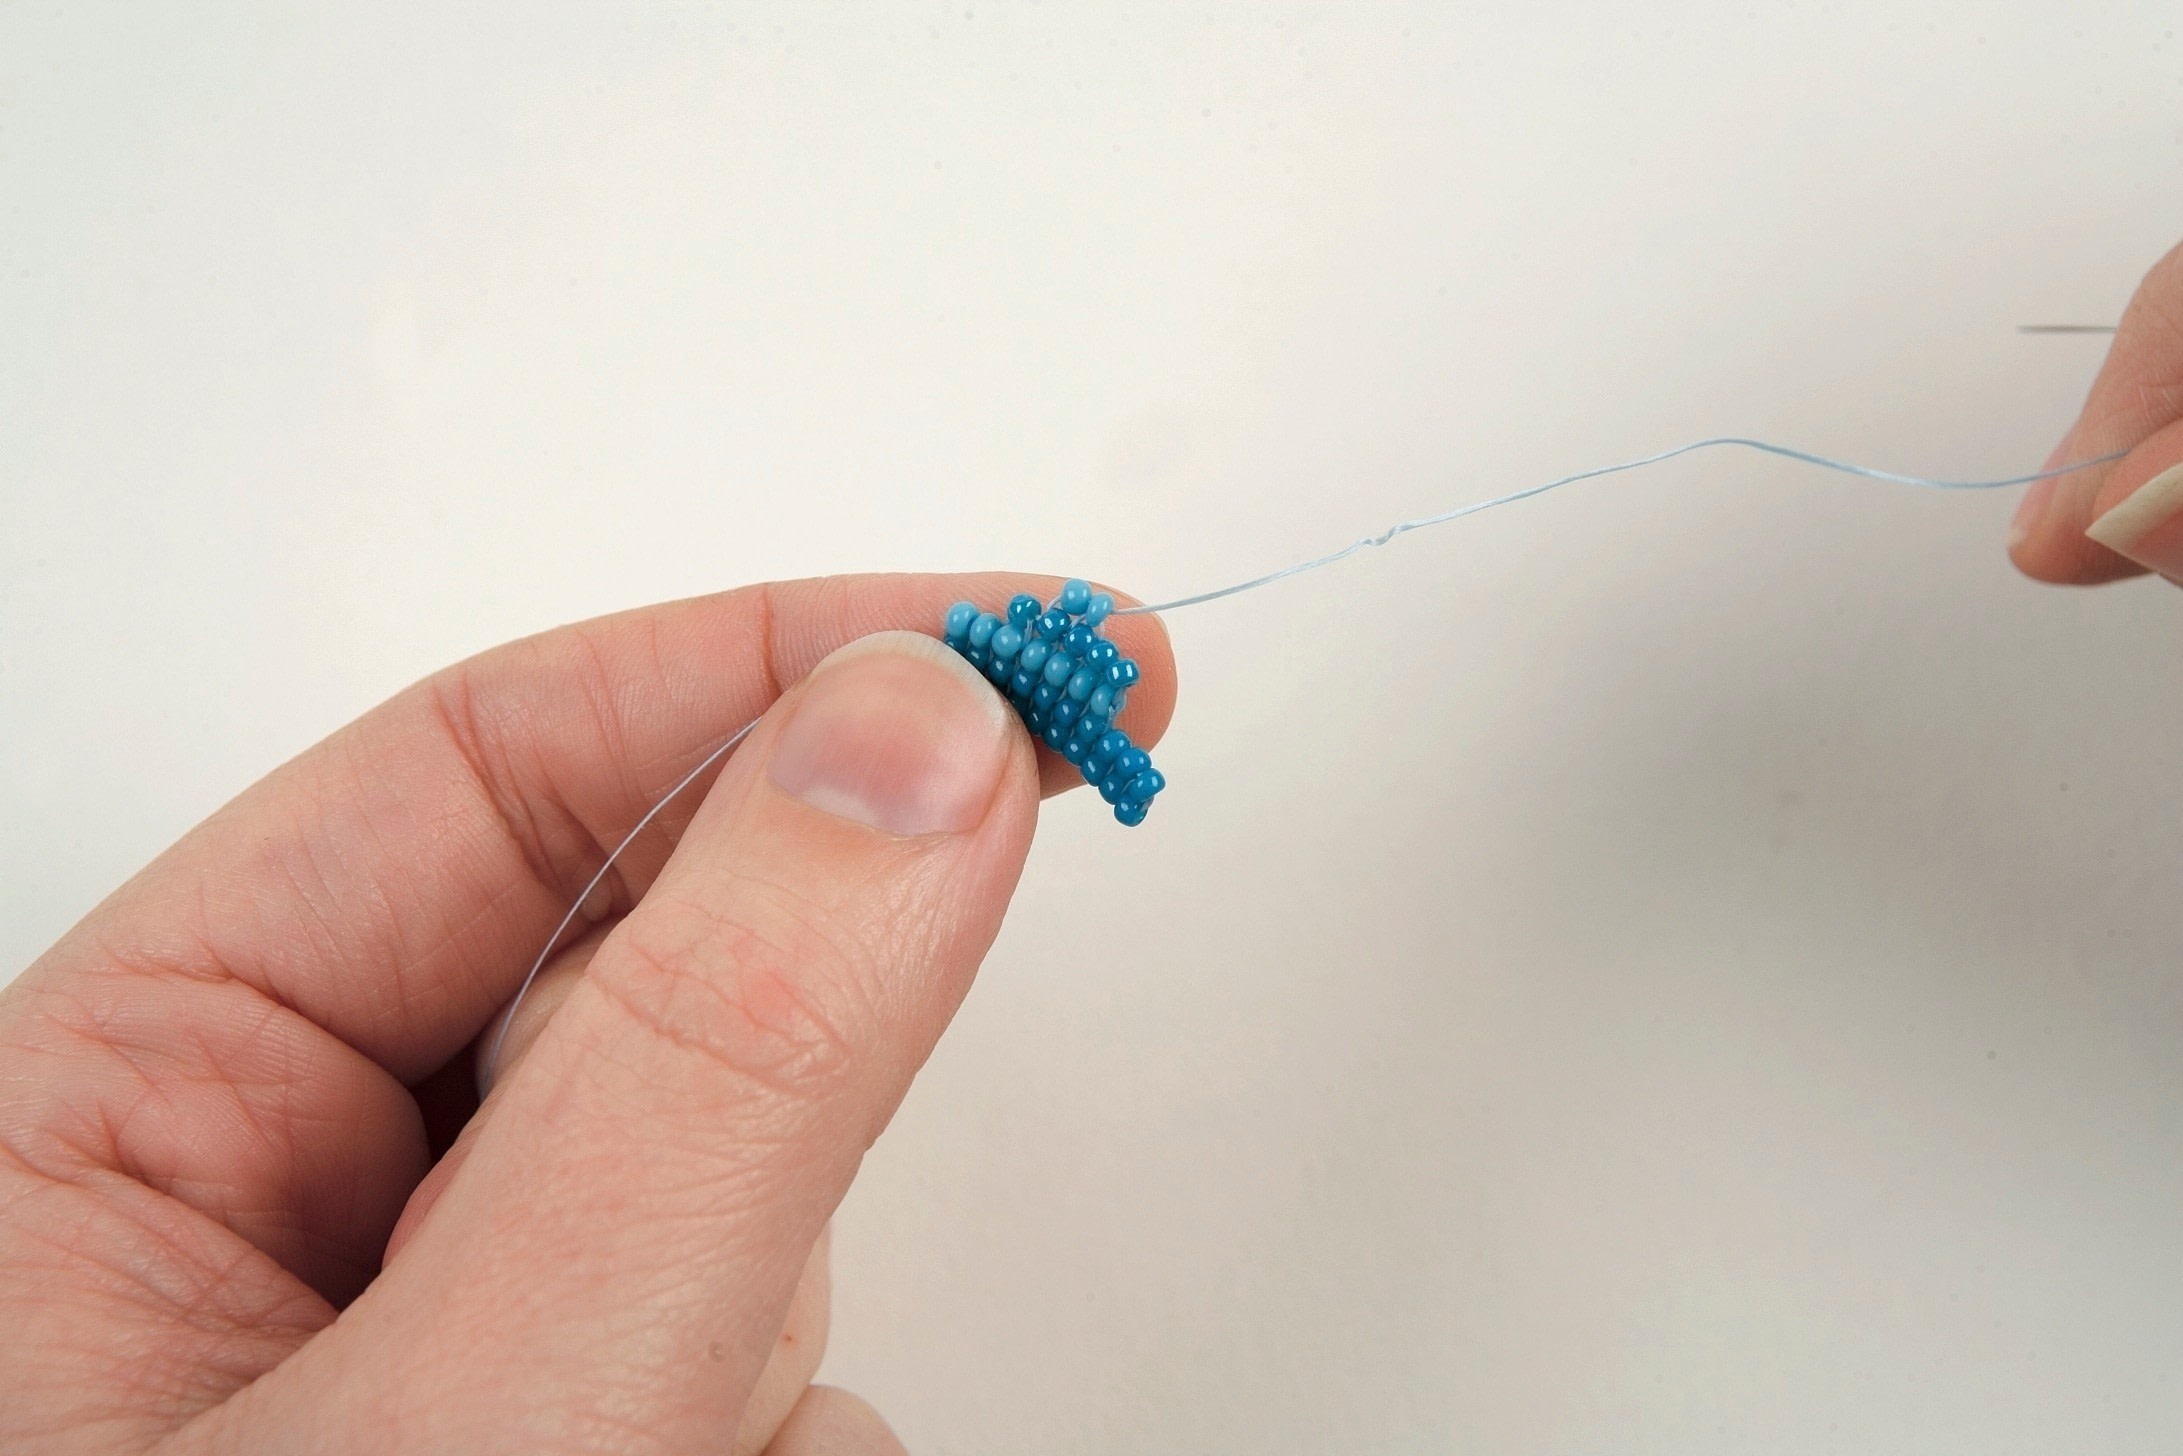
 Step 1
Beading square stitch
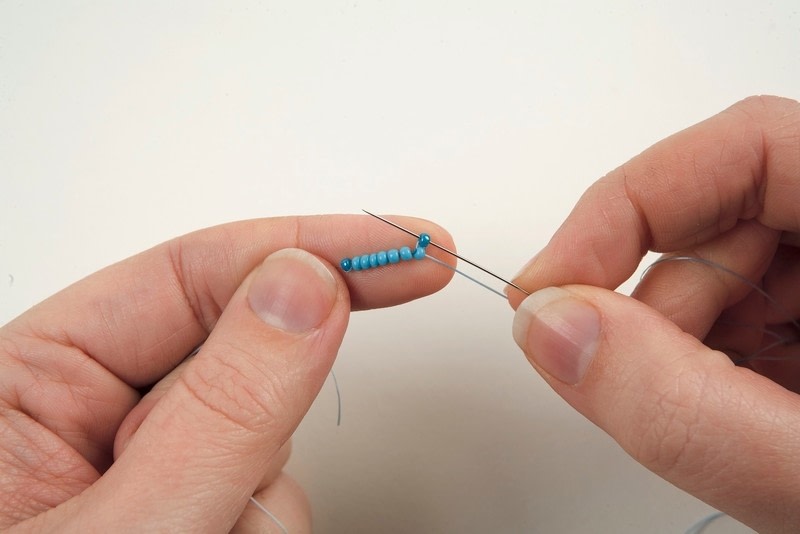
Square stitch is a repetitive stitch to bead. The same steps are repeated throughout until your work is the length you require. You can choose to turn your work after each row, or to always work away from or toward yourself. Beading square stitch is ideal for beading large panels or pictures as it is easy to bead and maintains a regular size.
Thread your needle with a comfortable working length of thread and add a stop bead. Pick up the number of beads you require for the width of your piece and slide these down to your stop bead. These beads form your first row.
-
 Step 2
Designing with square stitch
The beads in a piece of finished square stitch, just as in a piece of finished loom work, sit square to each other in a straight row. Pieces of square stitch are especially durable as the threads pass through each bead a few times.
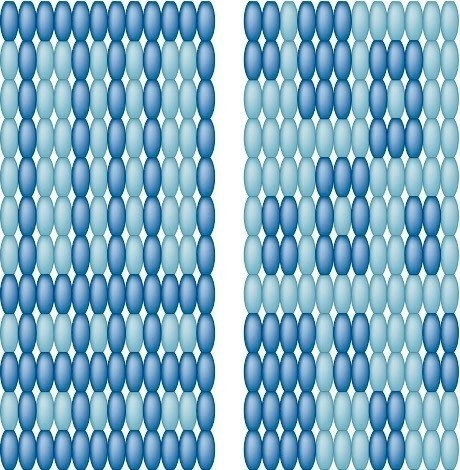
You can bead blocks, squares, and rectangles with square stitch. Add different colors in different rows or blocks following the patterns above, or create your own designs.
Square stitch and loom work will both bend easily across the length but not along the width. -
 Step 3
Square stitch vs loom work
Square stitch and loom work both give you a finished piece of work that looks the same. Square stitch and loom work both lend themselves to using cross stitch or tapestry patterns as inspiration. However, be aware that as seed beads are not square but are more rectangular in shape, your finished piece will be taller than if made with loom work. Which one you choose to use is based on personal preference and the project involved. To help you choose, the pros and cons of each method are below.Technique: Square stitch
Pros: No set-up required. Unlike loom work, there isn’t the problem of having lots of thread ends to deal with. No size limitations.
Cons: Slower than loom workTechnique: Loom work
Pros: Quicker to bead than square stitch.
Cons: A loom is required. Size limits are based on the size of your loom. Set-up and planning required. -
 Step 4
Pick up one new bead; this is the first bead of your second row. Circle through the last bead of your first row to attach the new bead.
-
 Step 5
Circle through the new bead to bring yourself back into position to continue beading.
-
 Step 6
Pick up a new bead; this is the second bead of your second row. Circle back through the second last bead of the first row to join the two beads.
-
 Step 7
Circle through the new bead to be in the correct place to continue beading.
-
 Step 8
Continue to pick up new beads, attach them to the appropriate bead in the previous row, and then circle back through the new bead to be in the correct position to continue. You can now weave through the previous row to bring all the beads in line. Simply circle through all the beads in the previous row, and then all the beads in the new row will be back in position to continue beading. Simply repeat steps 2–6 to add new beads and rows until your work is the length you require.
-
Step 9
To secure or not to secure?
Weaving through your previous rows is common in square stitch. This is because the first few rows can be quite loose, and as you continue beading and the rows tighten, you can find they look uneven. Other reasons for doing this are to add security to your work and to create a tighter tension. To weave through, simply finish beading a row, then circle all the way along the previous row, and the row just added, to be back in the correct position to continue, as in step 6. Whether you do this is entirely up to you and depends on the look and tension you are after.
-
 Step 10
Increasing and decreasing square stitch
Square stitch can be used to make a flat square piece of beadwork but, with some increasing and decreasing, you can shape your work to make it more interesting.Increasing on the outside edge
This increases the length of a row while keeping your work flat. The basic technique adds one extra bead to the length of your row.At the end of a row, on the side where you want to add an increase, pick up two new beads. One of these will be the last bead of the row you are currently on and one will be the first bead of the next row.
Circle back through the first bead to secure the beads together.
Circle through the second bead to be in the correct position to continue beading and work on the next row.
-
 Step 11
Increasing by more than one bead
To increase by more than one bead, simply pick up your two beads and circle through the first one. Then pick up two more beads and again circle through the first one. Continue adding pairs of beads until you have increased by as many as you require then circle through the second bead of the last pair you picked up. Finally, thread through all of the second beads to be back in position to continue with the row. -
 Step 12
Decreasing on the outside edge
You can decrease on an edge by as many beads as you choose to.Bead your row as normal and then weave back through the previous row. When you weave back through the last row added, stop after you have gone through the last bead you want to attach your new one to. For example, if you want to decrease your row by three beads, stop when you have exited the fourth bead from the end.
Pick up a new bead and attach it to the appropriate bead in the previous row as in regular square stitch. Circle through the new bead to be in the correct position to continue.
Continue adding beads as in regular square stitch until you have added as many as you require. You can decrease at the second end by simply not stitching a new bead onto the last bead or beads as required.
Continue beading your next row using regular square stitch, or decrease as needed.