Sprouting Coffee Plant Tote
Extract from Beautiful Embroidered Accessories • By Mire Brantman, Lexi • Published by Melia

About
Beautiful Embroidered Accessories
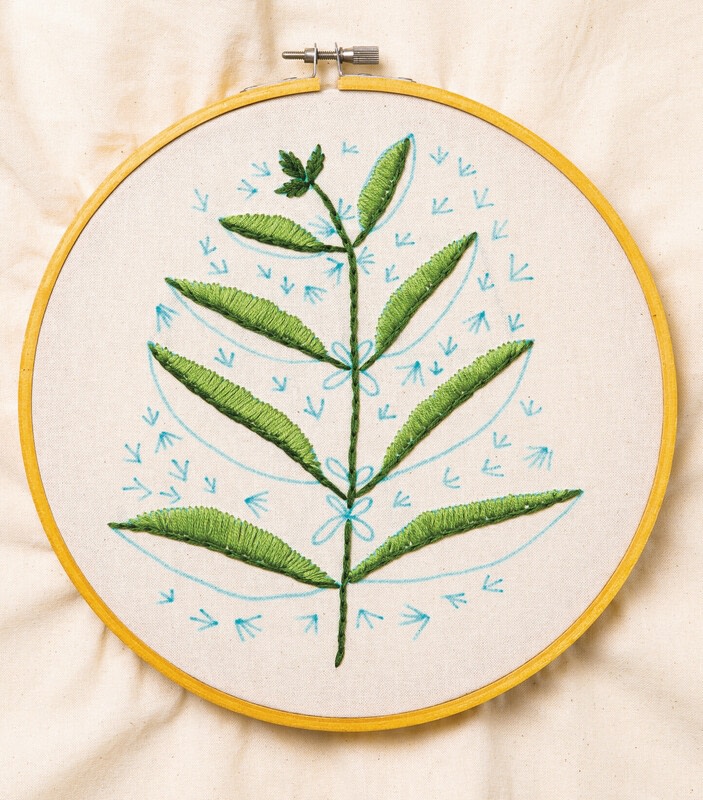
Coffee has such a nostalgic scent for me. It reminds me of my grandparents,who always offer to put on a pot of coffee when they have company over, no matter the time of the day. So many people love the taste, the pick-me-up and the culture of coffee. Despite it being so well loved, a lot of avid coffee drinkers haven't seen the coffee plant that their favorite brew comes from. This design is the perfect crossover gift for a coffee drinker and plant lover—I expect you know a few. It shows the coffee plant stalk with cute red coffee cherries and small flower buds. In this project, you will be creating leaves in a whole new way. Rather than using the fishbone stitch, you will be using the satin stitch in two colors to create dimension in the leaves.
Level: Beginner
Embroidery Thread Colors
Dark hunter green (DMC 3345)
Light green (DMC 988)
Dark green (DMC 890)
Red (DMC 816)
White (DMC 3865)
Indigo (DMC 333)
Light pink (DMC 352)
Light orange (DMC 3853)
Medium yellow (DMC 725)
Downloads
- 2021-03-01-135405-Sprouting_Coffee_Plant_+Colorful_BW-actualsize.ai 653 KB [ Download ]
-
 RareJewel favorited Sprouting Coffee Plant Tote
12 Apr 07:41
RareJewel favorited Sprouting Coffee Plant Tote
12 Apr 07:41
-
 Crafterella featured Sprouting Coffee Plant Tote
10 Apr 23:00
Crafterella featured Sprouting Coffee Plant Tote
10 Apr 23:00
-
 Sarah W. favorited Sprouting Coffee Plant Tote
06 Apr 19:11
Sarah W. favorited Sprouting Coffee Plant Tote
06 Apr 19:11
-
 Melia published her project Sprouting Coffee Plant Tote
05 Apr 09:00
Melia published her project Sprouting Coffee Plant Tote
05 Apr 09:00
-
 Step 1
Transfer the pattern onto the tote bag. This entire project will be created using the Double Thread Method.
-
 Step 2
Begin by stitching the stem starting at the base, using the dark hunter green thread and the backstitch . Create the line in the center of each leaf with the same stitch. Stitch the small leaves at the tip of the plant with the fishbone stitch.
-
 Step 3
The leaves of the coffee plant are created using the satin stitch. Begin with your light greenthread and fill in the top half of each leaf using the satin stitch. The stitches should run perpendicular to the line that intersects each leaf.
-
 Step 4
Switch to the dark green thread and continue the same method on the underside of the leaves. Create the coffee cherries with the satin stitch and red thread. Add a small white stitch to each berry to create a highlight effect. Continue with the white thread to create the small flowers, which are made of 4 to 5 single stitches.
-
 Step 5
Use the indigo, light pink, light orange and medium yellow threads to add the small flowers. Some of the small flowers are made using the floral bud stitch. The others are daisies, created using the daisy shape method with orange and yellow single stitches for the pollen.
-
 Step 6
Remove the water-soluble marker lines. I ironed my tote bag at the end to remove the crease from the hoop.