About
Complete Dressmaking Skills
You can make a simple sleeveless top using a basic rectangular shape. You will need your bust measurement as well as your shoulder-to-hip length and shoulder- to-bust length.
-
 Luna D. favorited Simple Top
25 Apr 05:23
Luna D. favorited Simple Top
25 Apr 05:23
-
Rebecca C. favorited Simple Top
12 Jul 19:04
-
Rhonda G. favorited Simple Top
17 Apr 02:32
-
 Xfluffy_unitatoX favorited Simple Top
19 Nov 23:09
Xfluffy_unitatoX favorited Simple Top
19 Nov 23:09
-
Emma added Simple Top to Going to make
26 Apr 20:02
-
bolaa l. favorited Simple Top
28 Jan 22:37
-
 PunkinsBabie favorited Simple Top
01 Oct 17:18
PunkinsBabie favorited Simple Top
01 Oct 17:18
-
 Rosie R. favorited Simple Top
19 Sep 12:11
Rosie R. favorited Simple Top
19 Sep 12:11
-
 Buttercup favorited Simple Top
28 Aug 12:52
Buttercup favorited Simple Top
28 Aug 12:52
-
Ariel S. favorited Simple Top
26 Aug 00:56
You Will Need
-
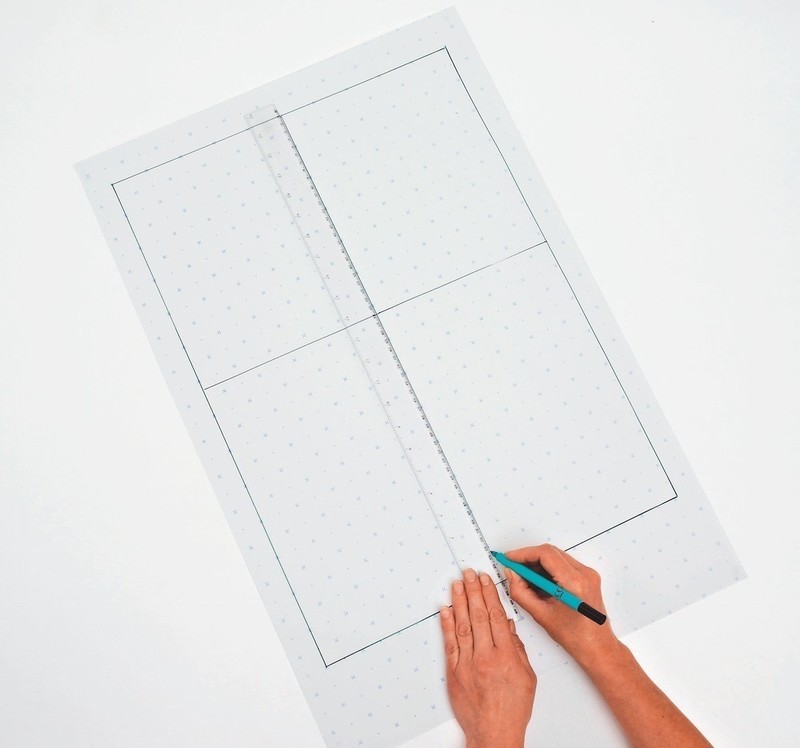
 Step 1
Draw a rectangle with a length the same as your shoulder-to hip-length and width of half your bust measurement plus 2.5cm (1in) for ease.
-
 Step 2
Measure your shoulder-to-bust length, mark this measurement on the vertical line taken from the top left of the rectangle, and draw a horizontal line that represents your bust level.
-
 Step 3
Find the middle of the horizontal lines and draw a vertical line that represents the centre front and centre back of
the garment. -
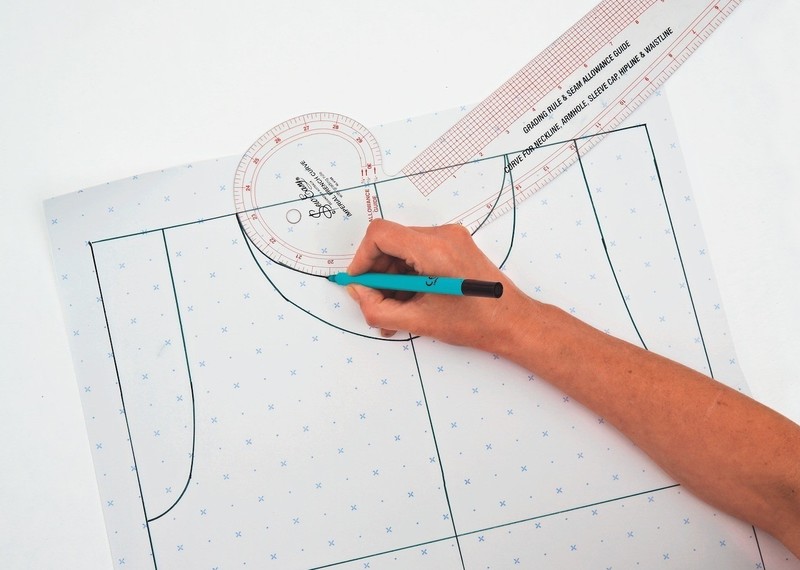
 Step 4
Draw in the armholes from a starting point 5cm (2in) above the bust level to the top horizontal line (shoulder level) to suit your style. Use a French curve to create a smooth and natural shape.
-
 Step 5
Draw in the front and back neckline shaping to suit your style. Use a French curve, and ensure the scoop is symmetrical.
-
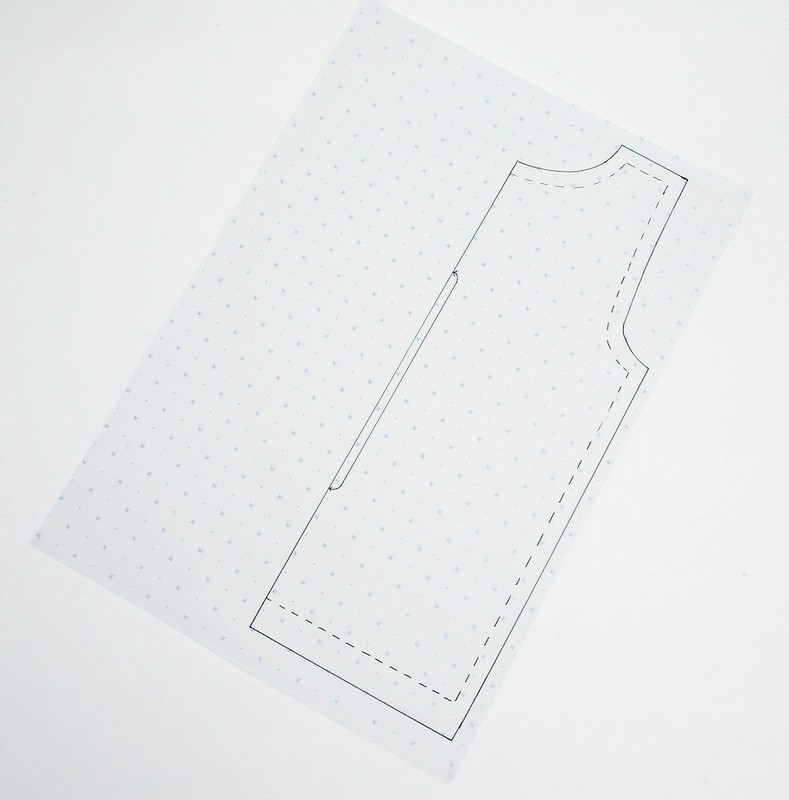
 Step 6
Trace off half the shape using the back neck shaping; this is the back of your top. Mark the centre line with a curved arrow to represent placing the fabric to a fold and add seam and hem allowances to all the other outside edges.
-
 Step 7
Trace off half the pattern again with the front neck shaping for the front of your top. Add 6.5cm (21⁄2in) to the centre edge for a stand for buttons and buttonholes, and add seam and hem allowances to the other outside edges.
-
 Step 8
On the front panel, mark vertical fold
lines for the 2.5cm- (1in-) wide front band where the fabric will be folded to create an integrated facing for the buttonholes and buttons. Mark the waist position at the side seam and a point 5cm (2in) below for a vent at the lower end of the side seam. -
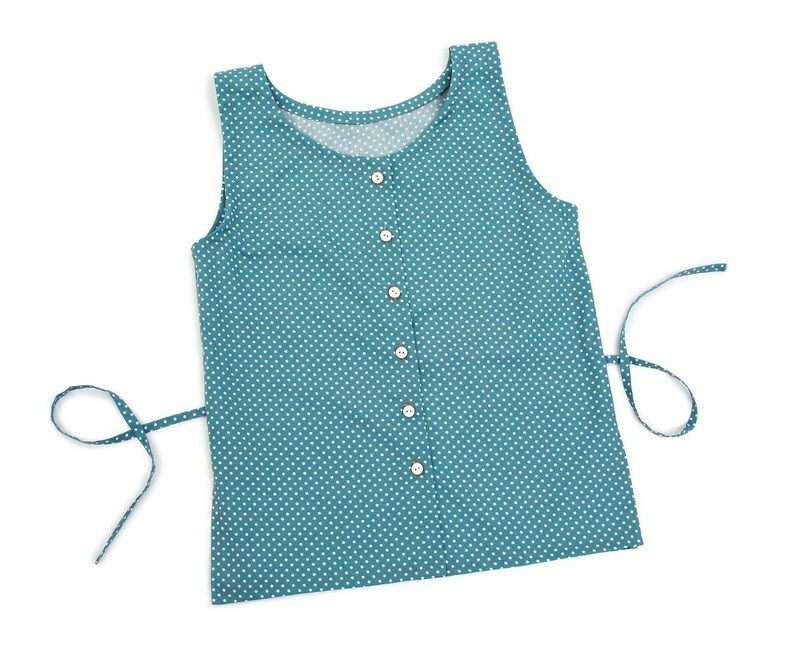
 Step 9
To make up the top, choose a suitable fabric and cut out one back to a fold and two front pieces. Fold the front band into position and topstitch then finish the armholes and neck edge by binding with bias strips or facings. Make two narrow ties to insert in the side seams at the waist – when
tied at the back, these will add shape to the garment by identifying the waist. Leave the lower end of the side seams open.