


About
Fun sparkly ornaments!
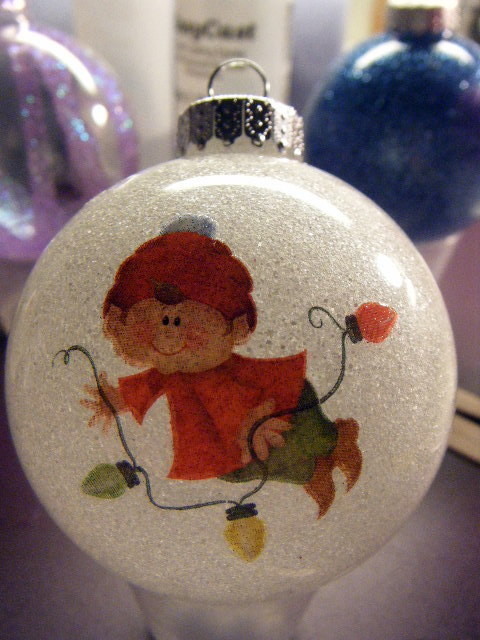
These take a little time b/c of the curing time of the resin but really have a nice effect once they are finished. I might add some ribbon to the hangers later! Just have to dig it out he he.
Tags
-
 jamie.griffin0606 favorited Resin Coated Christmas Ornaments!
27 Nov 04:10
jamie.griffin0606 favorited Resin Coated Christmas Ornaments!
27 Nov 04:10
-
 Essica a. favorited Resin Coated Christmas Ornaments!
20 Sep 07:38
Essica a. favorited Resin Coated Christmas Ornaments!
20 Sep 07:38
-
 Zeth G. added Resin Coated Christmas Ornaments! to Events
22 Nov 08:29
Zeth G. added Resin Coated Christmas Ornaments! to Events
22 Nov 08:29
-
 Pollie P. favorited Resin Coated Christmas Ornaments!
02 Aug 19:09
Pollie P. favorited Resin Coated Christmas Ornaments!
02 Aug 19:09
-
Rachel F. favorited Resin Coated Christmas Ornaments!
28 Sep 22:41
-
 deb.mathenia favorited Resin Coated Christmas Ornaments!
21 Feb 19:49
deb.mathenia favorited Resin Coated Christmas Ornaments!
21 Feb 19:49
-
 Mai added Resin Coated Christmas Ornaments! to Festiveness
20 Jan 03:48
Mai added Resin Coated Christmas Ornaments! to Festiveness
20 Jan 03:48
-
Melody S. favorited Resin Coated Christmas Ornaments!
04 Dec 14:39
-
 pjds78 added Resin Coated Christmas Ornaments! to decorations
03 Dec 06:21
pjds78 added Resin Coated Christmas Ornaments! to decorations
03 Dec 06:21
-
pjds78 favorited Resin Coated Christmas Ornaments!
03 Dec 06:16
You Will Need
-
 Step 1
Gather your supplies! Make sure you use the proper protection while mixing the resin. I use EasyCast and it has a very low odor.
-
 Step 2
Mix your resin according to the intstructions. Most resins have a two part mixing process. The EasyCast mixing process takes about 3 mins! I use medicine dosage cups for measuring and mixing my resin. For this project I made 4 drams (1/2 oz) of resin and this coated the inside of four ornaments.
-
 Step 3
Pour into you clear glass ornament ball!! You can kinda eyeball how much you will need for each ornament. The resin takes a while to set up so what I did was coat one ball, invert it on a cup then started on the next. The excess will drain out of the ball and you can recycle it on the next ornament!
-
 Step 4
Now let your ornament sit like this (inverted on a cup) for about 45 min. This allows the resin to do two things. First, the bubbles that occur during the mixing will pop on their own. Second, it wil allow the resin to "cure" some so that it isnt so runny.
-
 Step 5
Now after they have cured for a while, put about 1 teaspoon of super fine glitter in the ornament. Take a paper towel and place it over the opening of the ornament with your finger. Get a good grip and shake the crap out of it!!!! Make sure that all sides are coated then discard the extra glitter. Or recycle it back to the glitter bottle b/c waste not want not right?
-
 Step 6
Ta da! I let these ornaments cure for about 12 hours before putting the hanger back on them. I am going to embelish these with ribbons once I dig my ribbon box out he he. Also you could use rub-ons to add a little more pizaaz! Viola!! Enjoy!!


By the way these are gorgeous