

About
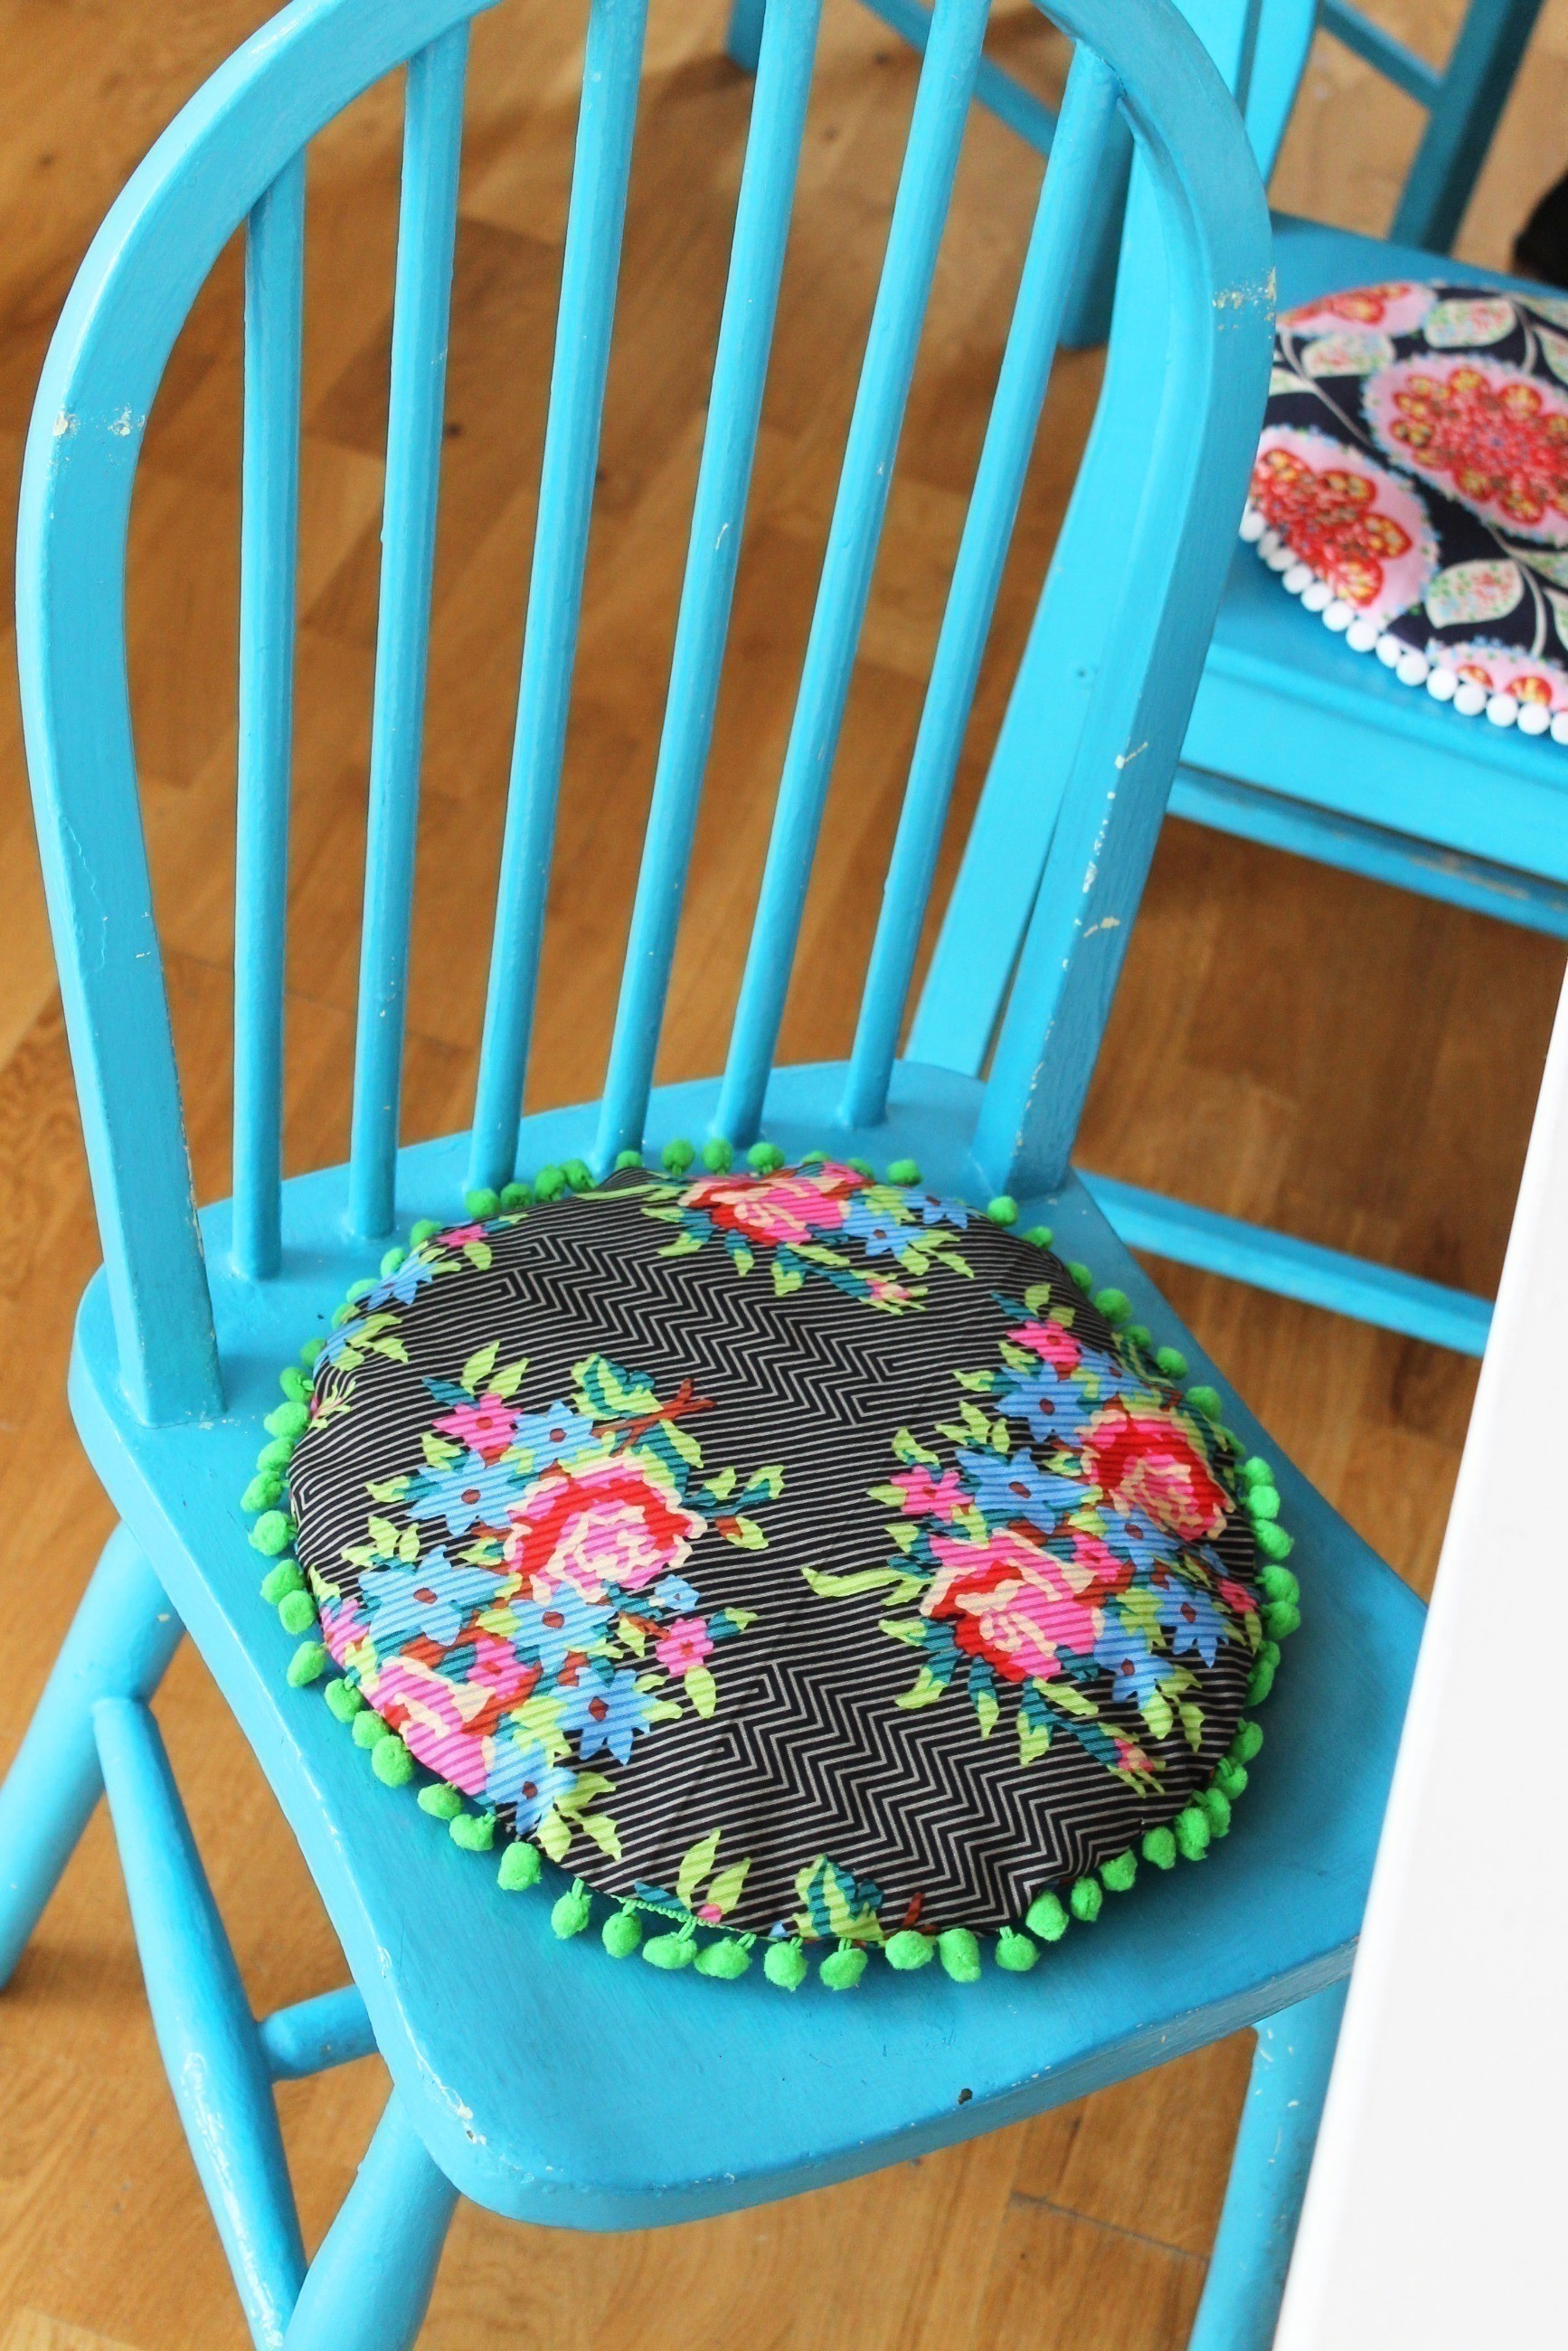
Jazz up your home with a bright, fun pompom cushion!
This cushion is really easy to make, with no tricky fastenings or complicated bits to sew. It’s the perfect project for a beginner, and a really quick, fun and simple way to brighten up your home.
-
 Key West Witch added Pompom Seat Cushion to Sewing
29 Jun 14:58
Key West Witch added Pompom Seat Cushion to Sewing
29 Jun 14:58
-
Key West Witch favorited Pompom Seat Cushion
29 Jun 14:58
-
 Libby W. added Pompom Seat Cushion to 2 broke girls
19 Apr 20:51
Libby W. added Pompom Seat Cushion to 2 broke girls
19 Apr 20:51
-
 charlie d. favorited Pompom Seat Cushion
29 Mar 02:45
charlie d. favorited Pompom Seat Cushion
29 Mar 02:45
-
 dippydiscoball added Pompom Seat Cushion to To-make list
10 Jan 19:07
dippydiscoball added Pompom Seat Cushion to To-make list
10 Jan 19:07
-
 Alissa B. favorited Pompom Seat Cushion
10 Jan 18:04
Alissa B. favorited Pompom Seat Cushion
10 Jan 18:04
-
 erin f. favorited Pompom Seat Cushion
10 Jan 07:56
erin f. favorited Pompom Seat Cushion
10 Jan 07:56
-
Lisa C. published her project Pompom Seat Cushion
09 Oct 15:14
-
 Step 1
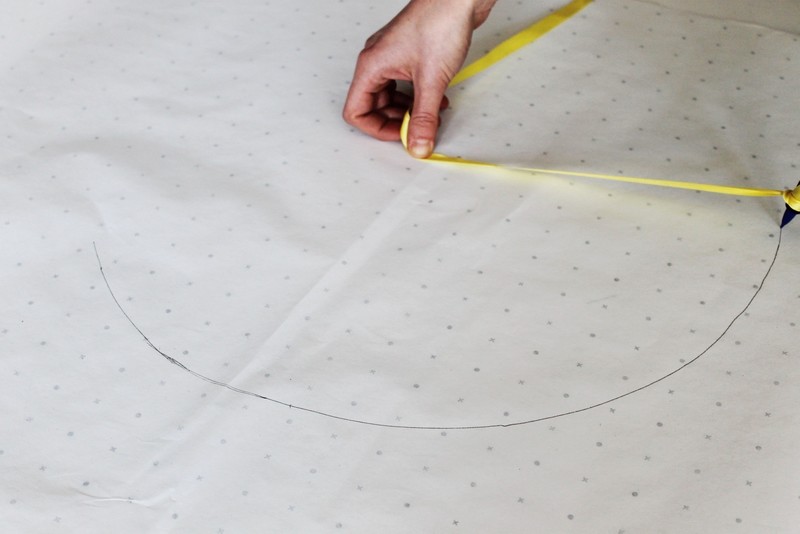
Step 1: First thing you’re going to do is create the pattern for your seat cushion. Measure your chair to work out how big you need to make the pattern. Measure your length of ribbon so that it is half the width you want your cushion, plus 1.5cm for seam allowance.
Hold the ribbon firmly on the paper with one hand, and holding both the other end of the ribbon taut as well as a pencil in the other hand, draw round in a circle. Then cut the circle out.
-
 Step 2
Step 2: Place the pattern you have just made onto your fabric and cut around it. Repeat this so you have two circles of fabric.
-
 Step 3
Step 3: One the right side of one of your fabric circles, pin your trim all the way round, with the pompoms facing inwards.
Make sure the pompom tape is going to be caught in the seam allowance so that it doesn’t show on the outside of the cushion when it’s finished. Keep it within 1.5cm of the edge of the fabric. Cut off any excess trim.
-
 Step 4
Step 4: Sew the trim to the fabric circle using a sewing machine. Go slowly because those pesky pompoms don’t like the machine foot and they will try and move out of the way, which could pull the tape out of the seam allowance.
-
 Step 5
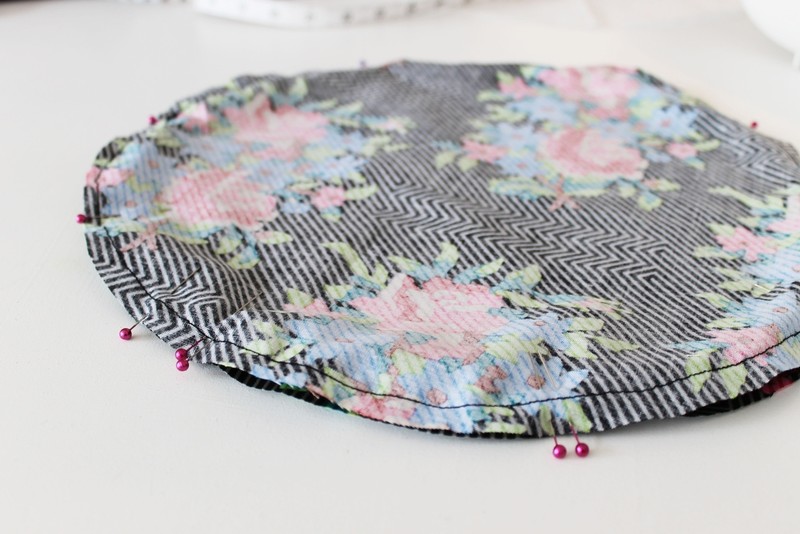
Step 5: Now that the pompom trim is secure, place the other fabric circle on top of the one you have just sewn, with right sides together, so that the pompom trim is sandwiched in the middle of the pieces. Pin in place all the way round.
-
 Step 6
Step 6: Using a 1.5cm seam allowance, sew the front and back pieces together, leaving a 10cm gap so you can turn it the right way round.
Tip! Place double pins at both sides of the opening so that you know where to start – and more importantly, remember where to stop!
Make sure you backstitch at the beginning and end of this line of stitching.
-
 Step 7
Step 7: Because the cushion is circular if we try and turn it the right way out now there will be a lot of tension on the seam and it won’t sit flat. So we need to clip into the seam allowance. Using small sharp scissors, snip into the seam allowance at regular intervals all around the cushion, except where you have left the gap. Make sure you don’t snip into the stitching!
-
 Step 8
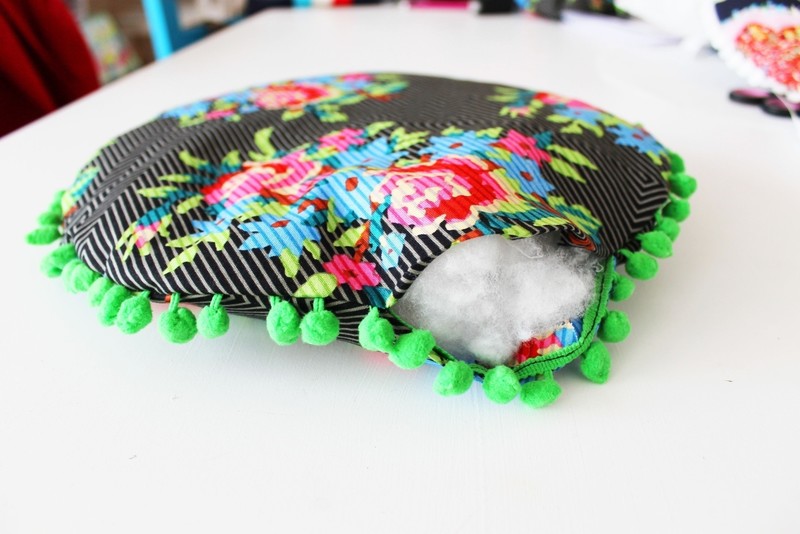
Step 8: Turn the cushion the right way out through the opening. Using your iron, press the seam allowance at the gap to the inside of the cushion. This will make it easier to hand stitch closed later.
-
 Step 9
Step 9: Now to the fun part: stuffing! Stuff your cushion until you’re happy with how it looks.
-
 Step 10
Step 10: Hand sew the gap closed using a slip stitch (sometimes called a ladder stitch).
-
 Step 11
And voila! You’re done!
Now go wild with your favourite fabrics and make a bunch more to liven up your home.


 1
Books & Journals »
Locking Box And Journal
1
Books & Journals »
Locking Box And Journal
 2
Babies & Kids »
A Toy Kitchen For A Child
2
Babies & Kids »
A Toy Kitchen For A Child
 3
Origami Flowers »
Origami Orchid
3
Origami Flowers »
Origami Orchid
 4
Office »
Pretty Sketchbooks
4
Office »
Pretty Sketchbooks
 5
Charms & Keyrings »
Shugo Chara Inspired Pop It
5
Charms & Keyrings »
Shugo Chara Inspired Pop It


