

Pinkies Chocolate Lunch Box Treats
Extract from The Back in the Day Bakery Cookbook • By Griffith Day and Cheryl Day • Published by Artisan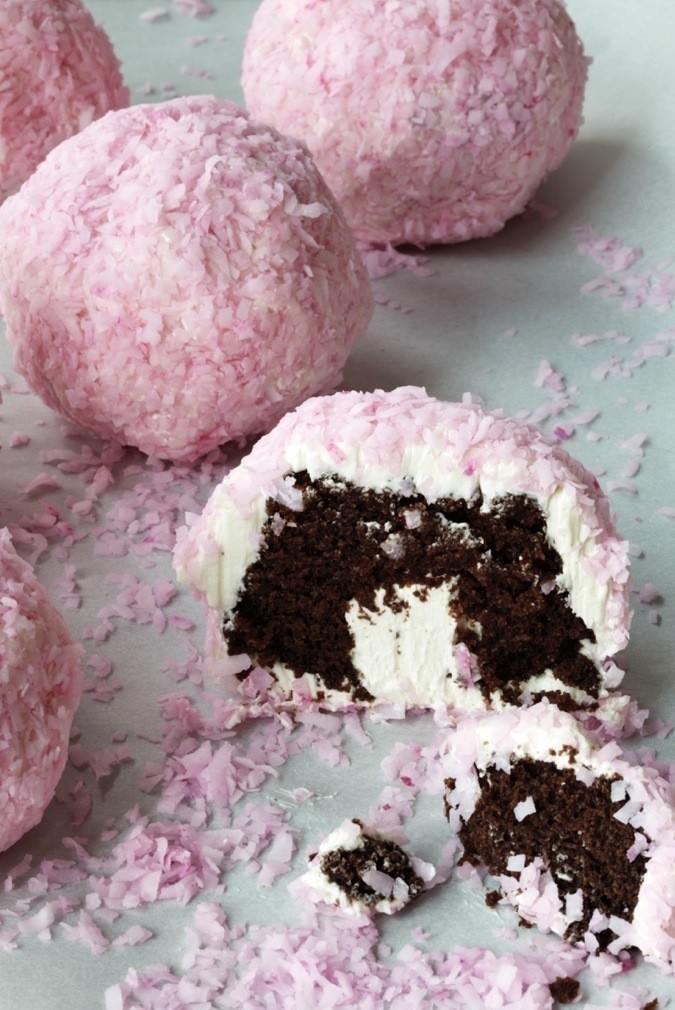

About
It is such fun to see our bakery cases stocked with these cupcakes in assorted colors in springtime.
Remember the Hostess Sno Balls your mom used to pack in your lunch box? The ones with marshmallow covered in bright pink coconut? This is our updated interpretation. It is such fun to see our bakery cases stocked with these cupcakes in assorted colors in springtime.
Makes 18 cupcakes
Credit: “Excerpted from The Back in the Day Bakery Cookbook by Cheryl Day & Griffith Day (Artisan Books). Copyright © 2011. Photographs by Squire Fox.”
-
 Alecia B. favorited Pinkies Chocolate Lunch Box Treats
23 Aug 06:50
Alecia B. favorited Pinkies Chocolate Lunch Box Treats
23 Aug 06:50
-
 OH! Its the Domo :3 favorited Pinkies Chocolate Lunch Box Treats
19 Apr 21:22
OH! Its the Domo :3 favorited Pinkies Chocolate Lunch Box Treats
19 Apr 21:22
-
 Carla B. favorited Pinkies Chocolate Lunch Box Treats
15 Mar 09:05
Carla B. favorited Pinkies Chocolate Lunch Box Treats
15 Mar 09:05
-
 Aishwarya Purohit added Pinkies Chocolate Lunch Box Treats to Delicious
03 Feb 04:57
Aishwarya Purohit added Pinkies Chocolate Lunch Box Treats to Delicious
03 Feb 04:57
-
 SugarNSpiceLily added Pinkies Chocolate Lunch Box Treats to Hostess Snack Cakes
06 Nov 23:47
SugarNSpiceLily added Pinkies Chocolate Lunch Box Treats to Hostess Snack Cakes
06 Nov 23:47
-
Rikki L. favorited Pinkies Chocolate Lunch Box Treats
07 Oct 12:58
-
 rebecca oakes favorited Pinkies Chocolate Lunch Box Treats
08 Sep 03:16
rebecca oakes favorited Pinkies Chocolate Lunch Box Treats
08 Sep 03:16
-
SugarNSpiceLily added Pinkies Chocolate Lunch Box Treats to cupcakes
20 Jul 23:49
-
 Birgit added Pinkies Chocolate Lunch Box Treats to Dessert
06 Apr 17:08
Birgit added Pinkies Chocolate Lunch Box Treats to Dessert
06 Apr 17:08
-
 Lotusburger favorited Pinkies Chocolate Lunch Box Treats
04 Jan 14:48
Lotusburger favorited Pinkies Chocolate Lunch Box Treats
04 Jan 14:48
You Will Need
-
Step 1
Position a rack in the lower third of the oven and preheat the oven to 350°F. Line 18 cupcake cups with paper liners.
In the bowl of a stand mixer fitted with the paddle attachment (or in a large mixing bowl, using a handheld mixer), combine the flour, sugar, baking soda, and salt. Let the mixer run on low speed for 2 to 3 minutes to aerate the flour.
Meanwhile, put the chocolate in a medium bowl and pour in the hot coffee and vanilla. Let the mixture stand for about 2 minutes to melt the chocolate, then stir until smooth.
In another medium bowl, whisk the eggs and oil together until thick, satiny, and light in color. Whisk in the sour cream, being careful not to overmix; leave some visible streaks of white. Pour in the melted chocolate mixture and mix until just combined.
Add the chocolate-sour cream mixture to the dry ingredients in thirds, mixing on medium speed for 1 to 2 minutes, until just combined.
Remove the bowl from the mixer and, using a rubber spatula, incorporate any ingredients hiding at the bottom of the bowl, making sure the batter is completely mixed. The batter will be very runny, so it’s best to transfer it to a large liquid measuring cup to make it easier to pour.
Pour the batter into the prepared cupcake cups, filling each one about two-thirds full. Bake for 20 to 25 minutes, until a cake tester inserted in the center of a cupcake comes out clean. Let cool for at least 20 minutes. Once the cupcakes are cool, remove them from the paper liners.
To assemble the cupcakes: Use an apple corer or a paring knife to scoop out a hole in the middle of each cupcake, about 1 inch deep. (The extra cake is yours for snacking!)
Fill a pastry bag with a ½-inch or larger tip with the frosting and fill the holes in each cupcake with frosting. Arrange the cupcakes on a baking sheet lined with parchment or foil and refrigerate for at least 15 minutes to set the frosting.
To make the tinted coconut: Put the coconut in a Mason jar or a zip-top plastic bag. Add a few pinches of food coloring, one drop at a time, and shake until the coconut is evenly colored.
Once the frosting in the centers of the cupcakes sets, frost the tops and sides of the cupcakes with the remaining frosting. Put the coconut in a small bowl, roll the frosted cupcakes in the coconut, and place them in cupcake papers. The cupcakes can be stored in an airtight container at room temperature for up to 2 days.
-
Step 2
Coconut Buttercream
Makes about 6 cups½ cup all-purpose flour
2 cups whole milk
2 teaspoons pure vanilla extract
2 teaspoons coconut extract
1 pound (4 sticks) unsalted butter, at room temperature
2 cups confectioners’ sugarCombine the flour, ½ cup of the milk, the vanilla, and the coconut extract in a small saucepan and whisk until blended. Set the pan over medium heat and gradually add the remaining 1 ½ cups milk, whisking constantly. Cook the mixture, whisking, until it comes to a low boil, then reduce the heat to low and continue to whisk until the mixture begins to thicken and starts to “burp,” 2 to 3 minutes.
Transfer the mixture to a small heatproof bowl and stir it occasionally as it cools to keep it lump-free. (If you do get a few lumps, don’t worry—you can whisk the mixture to dissolve the lumps, or pass it through a fine-mesh sieve.) Set the mixture aside to cool to room temperature. (You can put it in the refrigerator for 10 minutes to speed up the process.)
In the bowl of a stand mixer fitted with the whisk attachment (or in a large bowl, using a handheld mixer), whip the butter on medium speed until soft and creamy, 2 to 3 minutes. Gradually add the confectioners’ sugar and beat on high speed until light and fluffy, 5 to 7 minutes.
Gradually add the milk mixture, then increase the speed to medium-high and whip until the frosting is light and fluffy, scraping down the bottom and sides of the bowl as necessary with a rubber spatula to make sure the frosting is thoroughly mixed. The frosting can be stored in an airtight container at room temperature for up to 2 days.
Comments

 1
Home Accessories »
Diy Jewelry Box
1
Home Accessories »
Diy Jewelry Box
