


About
Easy to make paper fishnet design.
-
 arina m. favorited Paper Fishnet Design
08 Jan 23:10
arina m. favorited Paper Fishnet Design
08 Jan 23:10
-
Julie A. added Paper Fishnet Design to to make
30 Nov 17:29
-
 Arleen S. favorited Paper Fishnet Design
27 Jul 13:02
Arleen S. favorited Paper Fishnet Design
27 Jul 13:02
-
 Kerisu favorited Paper Fishnet Design
26 Jul 05:25
Kerisu favorited Paper Fishnet Design
26 Jul 05:25
-
 Riya K. favorited Paper Fishnet Design
15 Jul 03:45
Riya K. favorited Paper Fishnet Design
15 Jul 03:45
-
 Bayou Jenn added Paper Fishnet Design to Buntings, Garlands, Banners
15 Jun 23:02
Bayou Jenn added Paper Fishnet Design to Buntings, Garlands, Banners
15 Jun 23:02
-
 victoria.joneskeeling added Paper Fishnet Design to Origami
09 Jun 20:12
victoria.joneskeeling added Paper Fishnet Design to Origami
09 Jun 20:12
-
 melia.person favorited Paper Fishnet Design
04 Jun 23:56
melia.person favorited Paper Fishnet Design
04 Jun 23:56
-
 HylianWriter534 favorited Paper Fishnet Design
25 Feb 19:38
HylianWriter534 favorited Paper Fishnet Design
25 Feb 19:38
-
 mirandarenee.wood.3 favorited Paper Fishnet Design
02 Feb 01:28
mirandarenee.wood.3 favorited Paper Fishnet Design
02 Feb 01:28
You Will Need
-
 Step 1
This is a quick papercraft you can make just for fun or to piece together to use as a decorative garland.
All you need is a piece of rectangular paper, scissors, a pen or pencil, and a ruler (or other item to help you draw a straight line).
The piece of paper used in this tutorial is 8 1/2 inches wide by 5 1/2 inches high (21.59 cm wide by 13.97 cm high).
If you are using standard letterhead or photocopy paper, just cut it in half and use the top or bottom portion.
-
 Step 2
Lay the piece of paper in front of you with the short sides on either side.
Fold the top edge down so it lines up exactly with the bottom edge and make a firm crease in the middle.
NOTE: Be very careful as you complete the following folding steps of this craft to ensure everything lines up evenly. It is important for all folds and edges to be symetrical.
-
 Step 3
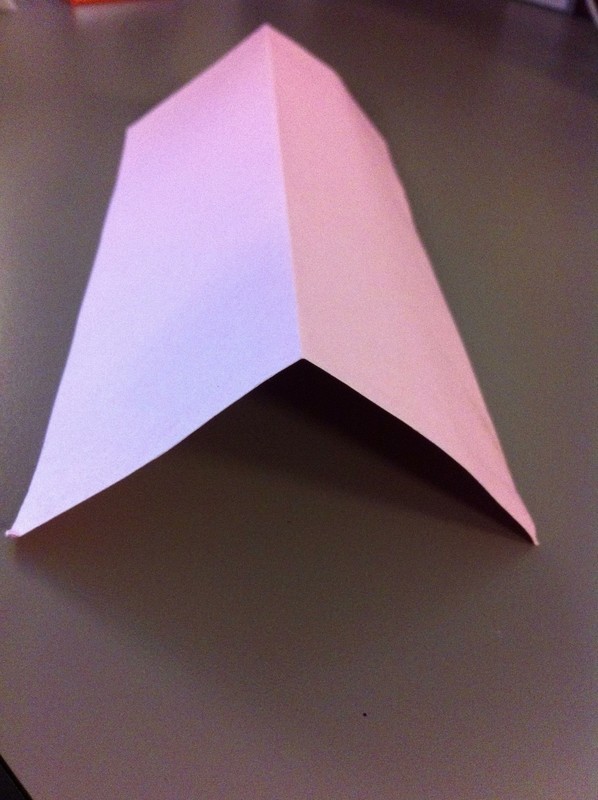
After making the initial crease, open the paper and flatten it out with the crease pointing upward as shown.
-
 Step 4
Fold one side (long edge) over to the middle crease as shown.
Repeat the same step on the opposite side, folding the edge over to the middle crease.
-
 Step 5
The end result will be a fan fold, with the paper folded into 4 even panels as shown.
-
 Step 6
After completing your fan fold, lay the folded paper on a flat surface and use a ruler or similar item to draw a straight line down each side approximately 1/4 inch (0.635 cm) from each edge. It doesn't matter which side of the folded paper is facing up for this step.
The lines will be used as a guide when you begin cutting during the following step.
-
 Step 7
Next, make alternating cuts down the entire length of the paper.
Start by making one cut from the outer edge of the folded paper to the guideline on the opposite side.
After completing the initial cut, flip the folded paper around and repeat this same step on the other side.
Space each cut about 1/4 inch (0.635 cm) apart.
Stay focused so you don't forget to switch sides after each cut. Doing so will ruin the fishnet design.
Try to keep the cuts evenly spaced and try to cut as close to the guidelines as possible so the finished fishnet pattern is symetrical.
-
 Step 8
Here is a photo of the folded paper after I finished making the alternating cuts. I was using a lightweight card stock to make my design so it began to twist as I completed the cutting step. I thought this was pretty cool so I grabbed this photo before proceeding to the next step. :-)
-
 Step 9
After you have completed the alternating cuts, carefully unfold the paper and smooth it out on a flat surface. It can be a little tricky unfolding the paper due to all the cuts, so work slowly and cautiously to prevent tearing.
-
 Step 10
Grab ahold of each side (short ends of the paper) and carefully pull the paper outwards.
-
 Step 11
Congratulations! You have completed your fishnet design.
Enjoy.
If anyone has creative ideas for using this design, please post your version of this project so we can all enjoy it here on Cut Out & Keep.


Comments


 1
Home Accessories »
Diy Jewelry Box
1
Home Accessories »
Diy Jewelry Box
