

About
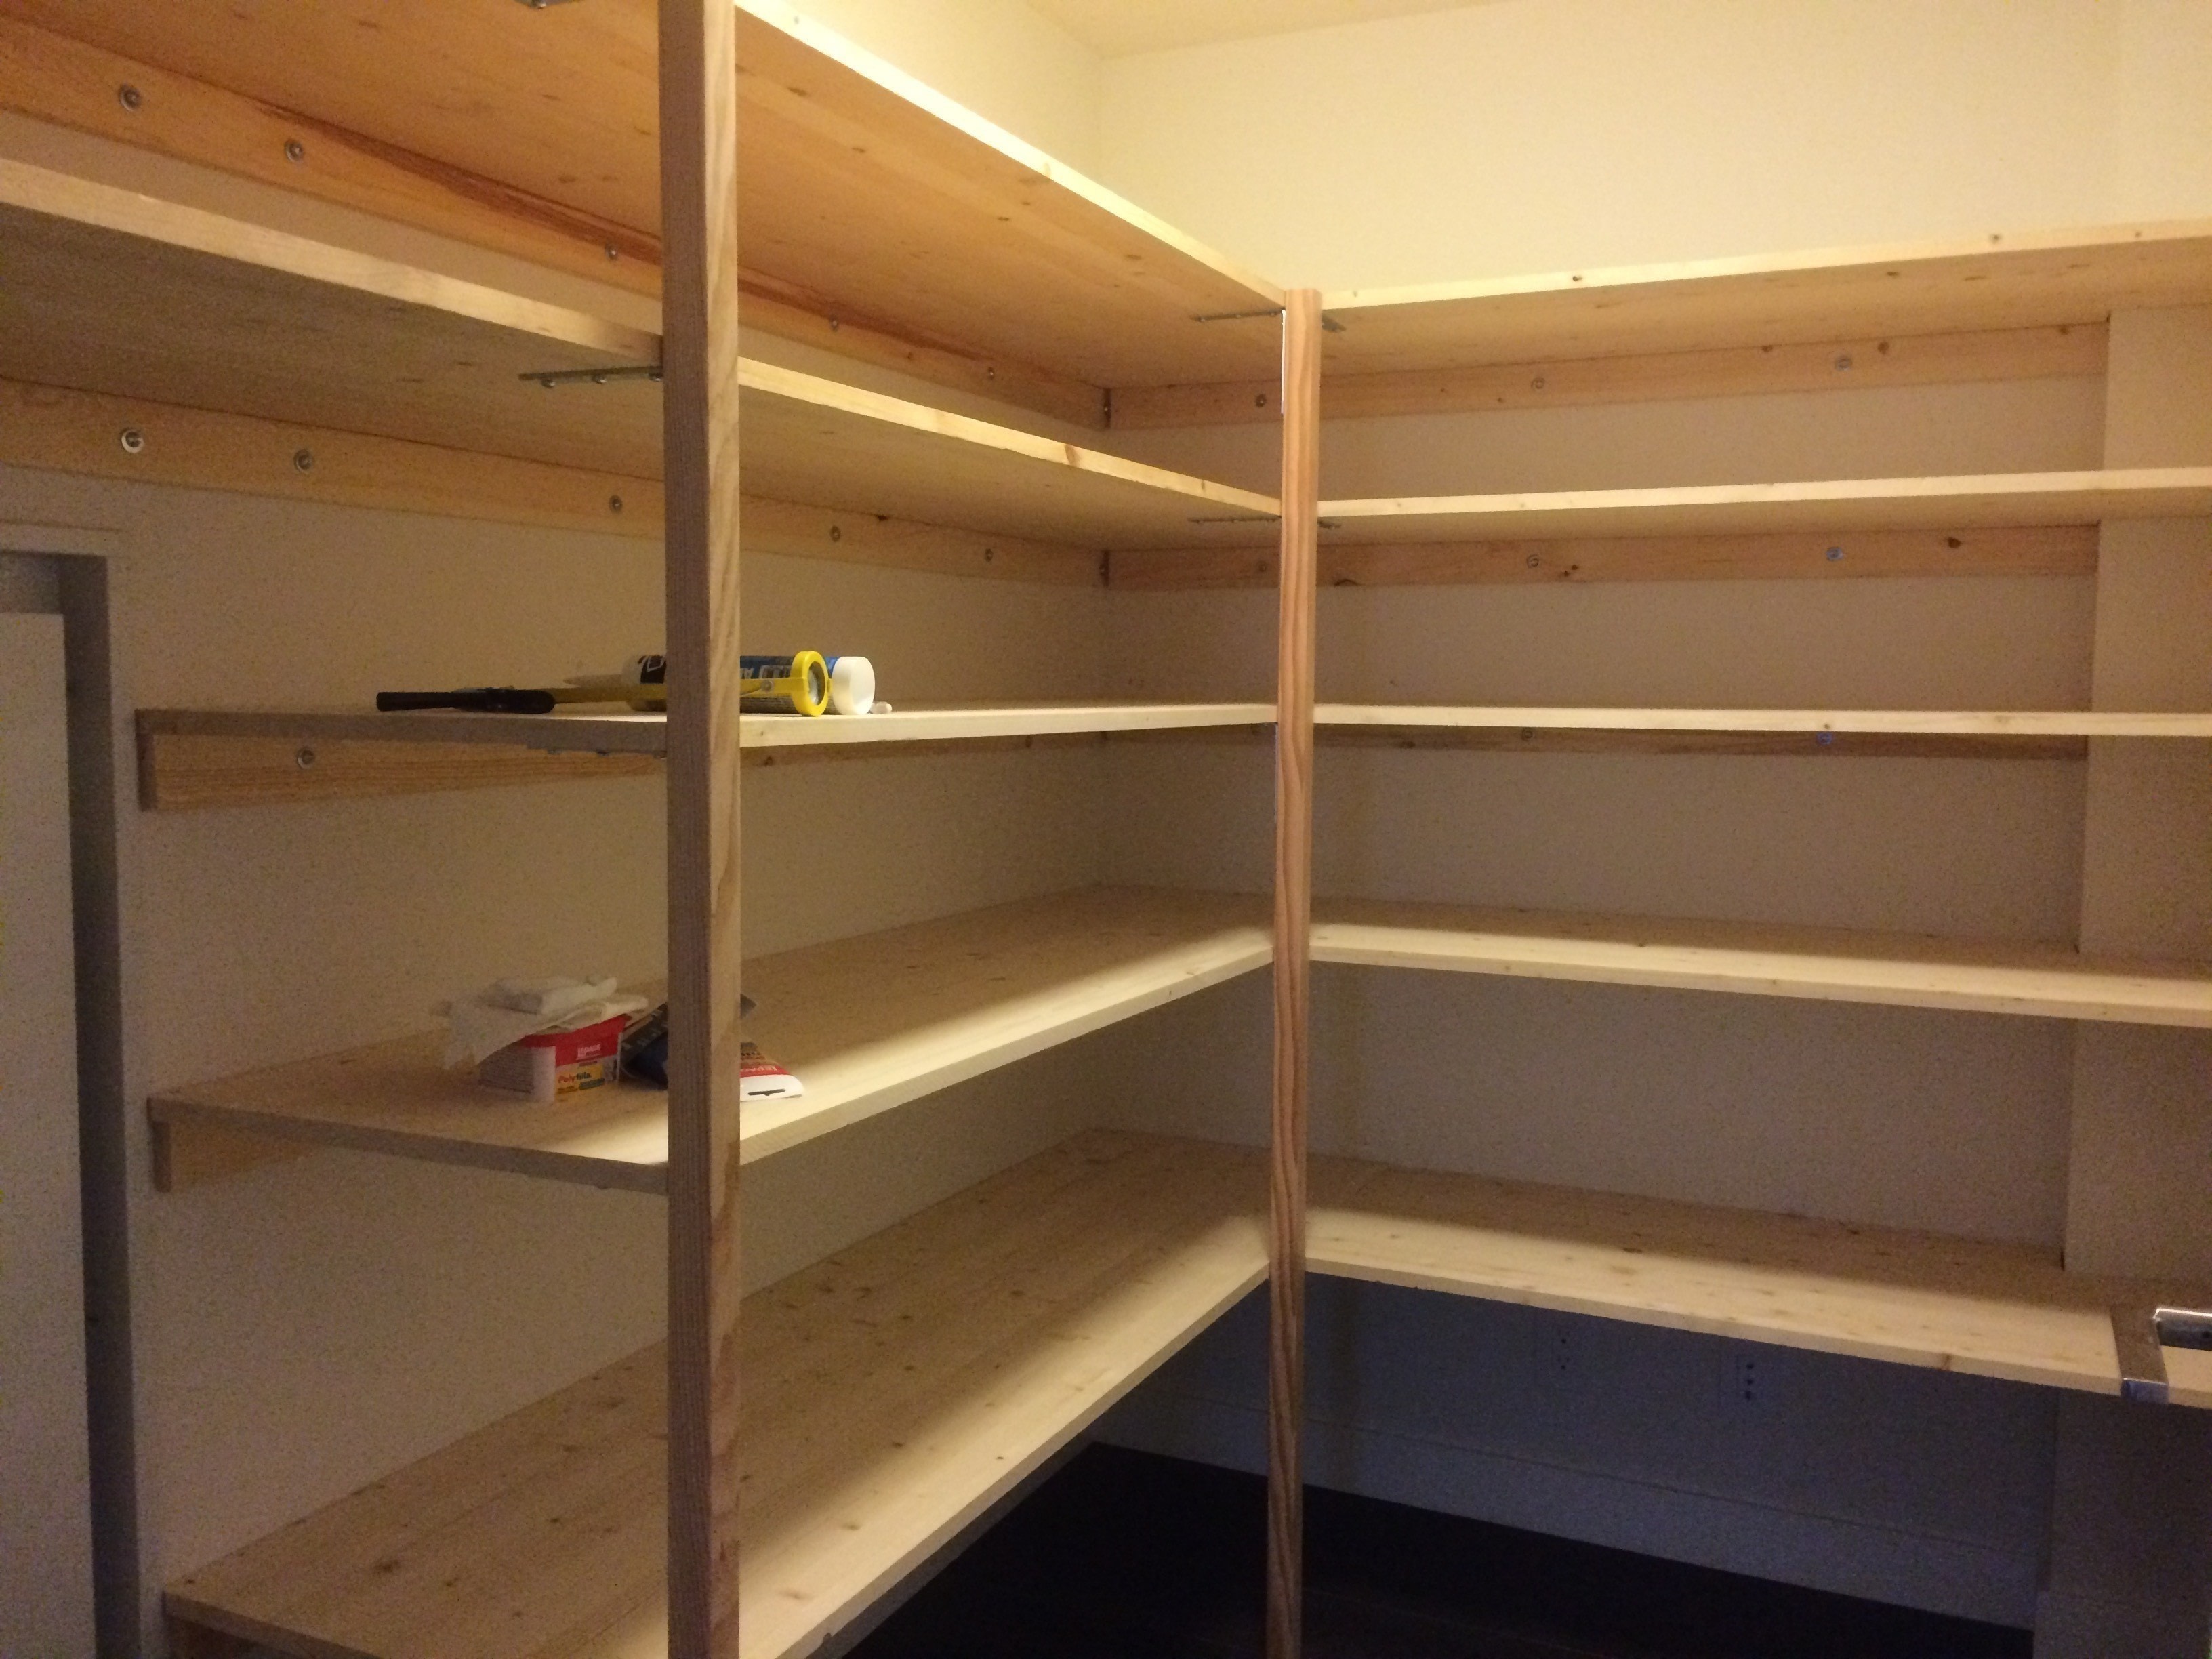
Custom pantry with deep shelves
We hate that sometimes shelves aren't deep enough to hold bigger things, like our wok. So we made shelves with the deepest shelving boards we could find. These Pine Shop Shelving boards from Home Depot come in various widths (20" being the deepest) and lengths (96" being the longest). It works perfectly for our pantry.
Tags
-
 Key West Witch favorited Pantry
12 May 15:02
Key West Witch favorited Pantry
12 May 15:02
-
 Ghc published her project Pantry
19 Sep 11:22
Ghc published her project Pantry
19 Sep 11:22
-
 Step 1
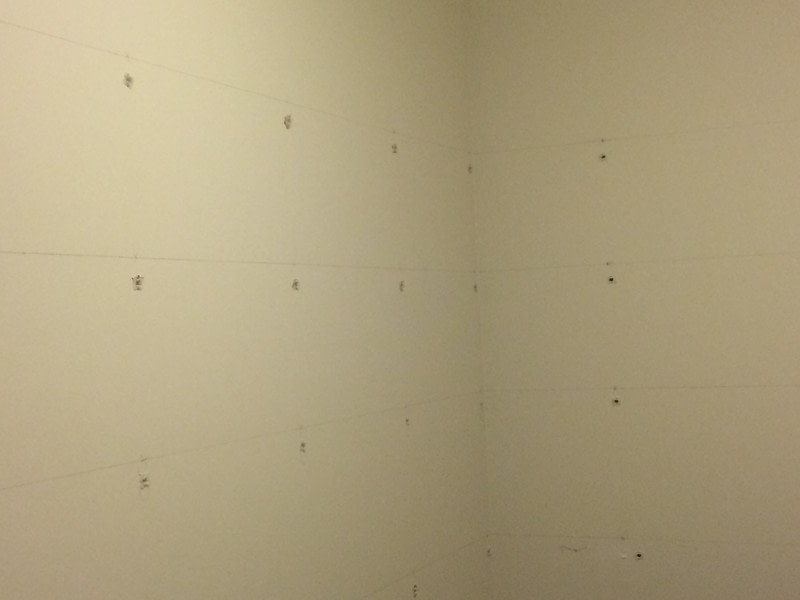
Use a (laser) level to measure where the top of the framing wood / bottom of the shelf would be. Depending on the height of the pantry, distribute shelf heights from bottom up: 20", 16", 12", 10", then back to 12" and free height for the top. Then mark off studs and put in anchors. We used the togglers people normally use for hanging tvs.
Note: a laser level costs about $149 at Home Depot
-
 Step 2
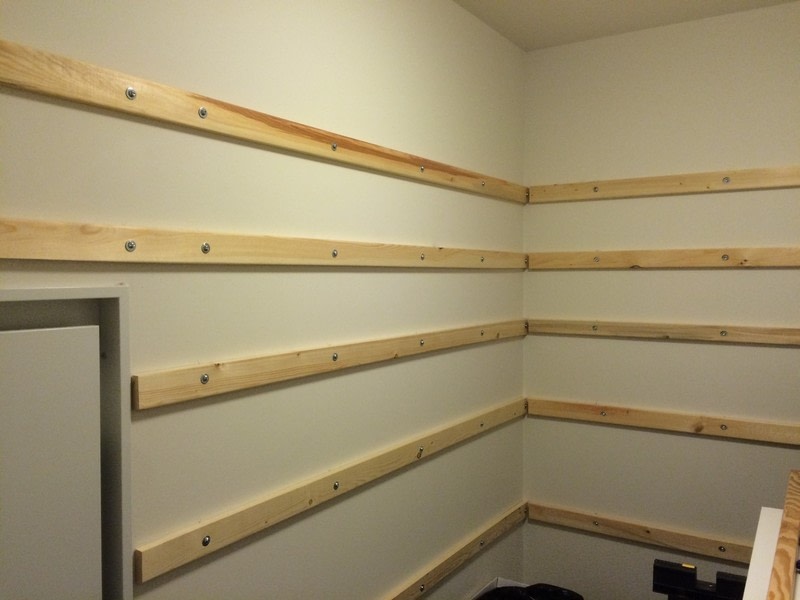
Measure and cut framing wood. Screw into anchors. You should wait to screw in the sides if your shelves go from wall to wall so that you can tilt your shelf and fit it in. Add the framing on the sides as you add the boards (later step).
Note: we got some cheap 2 x 3 x 8 framing lumber and regret it because we had to plane everything down. You can get better ones with cleaner edges to save time.
-
 Step 3
Measure and cut shelving boards. Drill guide holes into the shelves so that they don't crack. Screw shelves into framing lumber. In our case, we had three shelves that did not go from wall to wall, we left the top side framing wood out, slid the second shelf in, then screwed in the framing wood for the top shelf.
-
 Step 4
Measure and cut posts. The posts help keep the bottom three shelves that do not go from wall to wall sturdy.
Using the laser level again, mark off where the bottom of the board is on the post. Drill and screw brackets on. Then screw onto shelving boards.
(Optional) caulk edges.


 1
Home Accessories »
Diy Jewelry Box
1
Home Accessories »
Diy Jewelry Box

