


About
Letter Crafts
This large letter, painted and printed on a section of wood, makes a real statement piece and provides a stunning addition to a contemporary interior. I have used some lovely, rough-looking wood that started life as a shelf in a tile factory. See if you can find a suitable piece of wood at a salvage yard. Or use a new piece of wood and give it some age by painting it a pale color and sanding it down.
Downloads
- 2018-10-10-150516-p0130-CB803_Paint+and+print+wood.eps 600 KB [ Download ]
-
 Laura W. commented on Painted And Printed Wood
30 Nov 10:44
Laura W. commented on Painted And Printed Wood
30 Nov 10:44
-
Laura W. favorited Painted And Printed Wood
30 Nov 10:36
-
 Crafterella featured Painted And Printed Wood
27 Nov 08:51
Crafterella featured Painted And Printed Wood
27 Nov 08:51
-
 Kimya J. favorited Painted And Printed Wood
17 Nov 02:17
Kimya J. favorited Painted And Printed Wood
17 Nov 02:17
-
 Ryland Peters & Small published his project Painted And Printed Wood
14 Nov 09:00
Ryland Peters & Small published his project Painted And Printed Wood
14 Nov 09:00
-
Step 1
Choose your letter or use the template. Use a craft knife to cut a piece of laminating film (sticky-backed plastic) to the length you need. My letter is 22 in. (56cm) high and 13½ in. (34cm) wide. You need at least a 4 in. (10cm) border all around the letter.
-
 Step 2
Lay the laminating film (sticky-backed plastic) on your work surface, with the film (plastic) facing down and the paper backing facing upward. The backing paper usually has a grid marked on it so that you can enlarge your chosen letter using the grid method. You will be flipping the stencil over when it comes to using it, so draw your letter facing the opposite way.
-
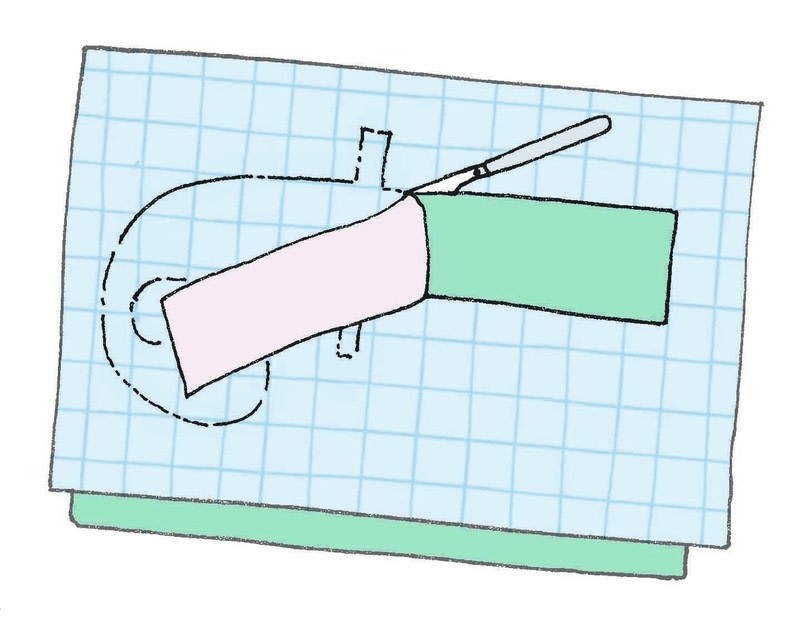
 Step 3
Protecting your work surface with a cutting mat, use a craft knife to cut out the shape. Position the stencil on top of your wood, with the backing paper side down.
-
 Step 4
Starting in one corner, gently peel the paper back – you’ll need to get your hand in underneath the stencil. Work slowly, pressing the film (plastic) flat onto the wood as you go. Make sure it is pressed down firmly.
-
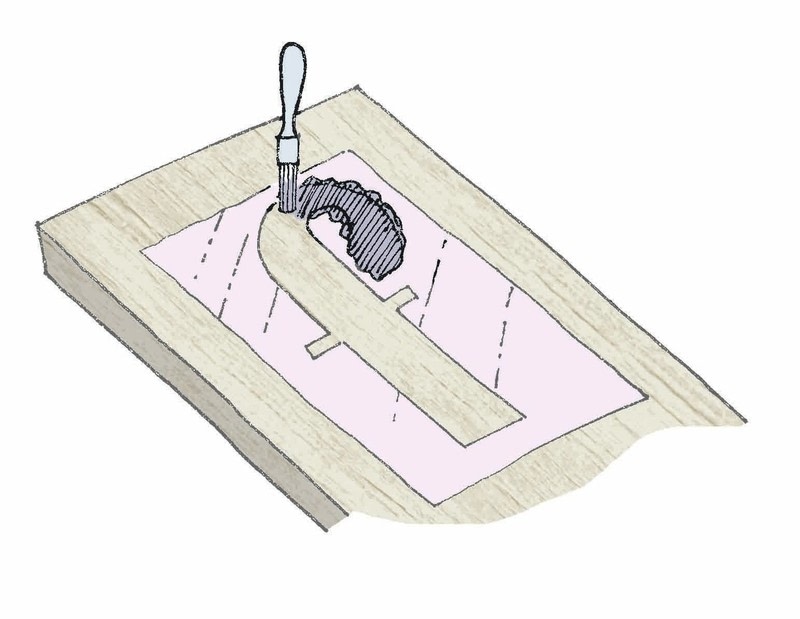
 Step 5
Paint your letter in a color of your choice. When you come to the edge of the stencil use the brush in an upright position and make a gentle stabbing motion to apply the paint. This will stop any paint seeping underneath the stencil.
-
 Step 6
Use the craft knife and a ruler to cut a triangle from the eraser and use it as a stamp to print a pattern of triangles in silver ink.
-
 Step 7
As you print, overlap the edges of the stencil slightly so that, when you peel off the film (plastic), there are no gaps at the edges of your letter.
-
 Step 8
Once the paint is dry, peel the film (plastic) stencil away.


Comments

