About
Protect your nook!
I borrowed a nook recently and I was petrified that I would mark it up somehow in my purse. So I used some felt that I had laying around to create a simple, yet effective cozy for it :)
Please note that my sewing skills are beginner... at best. I used felt because it was cheap, comes in a variety of colors, its easy to work with, and it was very soft.
You can also modify this for an ipad or kindle :)
-
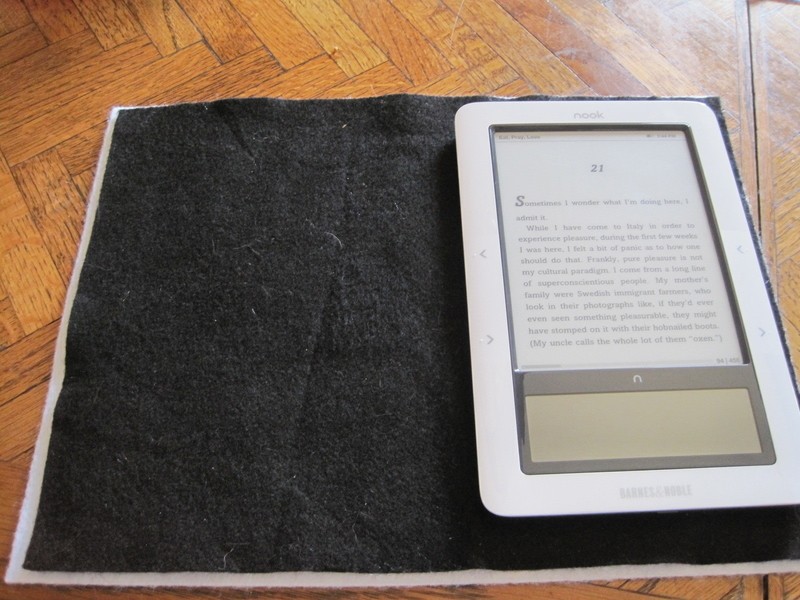
 Step 1
Lay out a double layer of felt and place your nook on top to make sure it fits. You want to have about a 1/4 of an inch all the way around for seam allowance.
-
 Step 2
Fold the felt tover to make sure it fits this way too :)
The felt that I purchase from Micheals and Joanns is a perfect fit all the way around. Its about the size of a piece of paper.
-
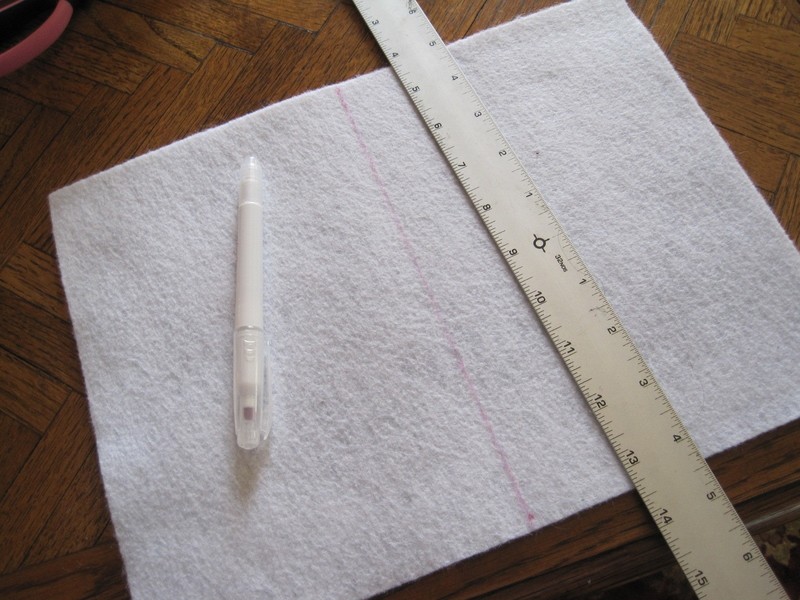
Step 3
Using a ruler, mark the half way point at the top and the bottom of the felt
-
 Step 4
Draw a line down the center with a fabric pen.
-
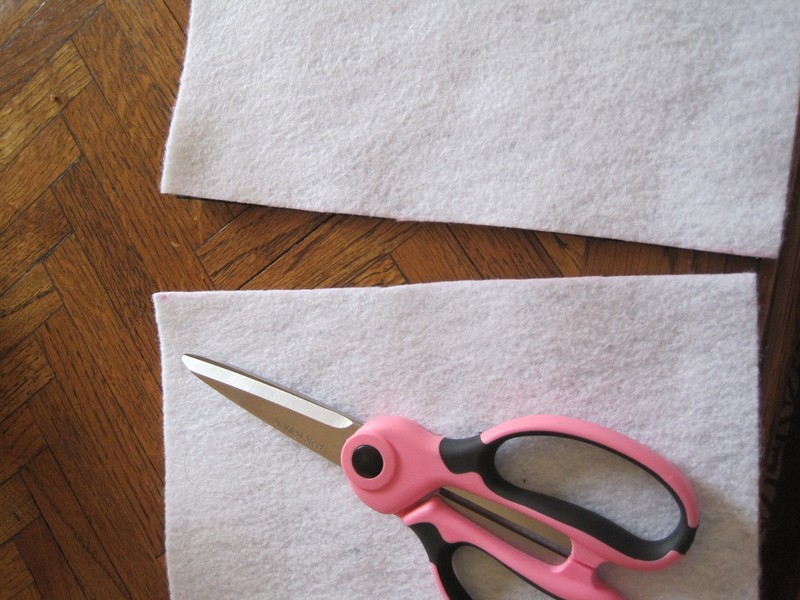
 Step 5
Cut! I did mine through both layers a the same time. Keep the line as straight as possible!
-
 Step 6
Make sure your nook still fits
-
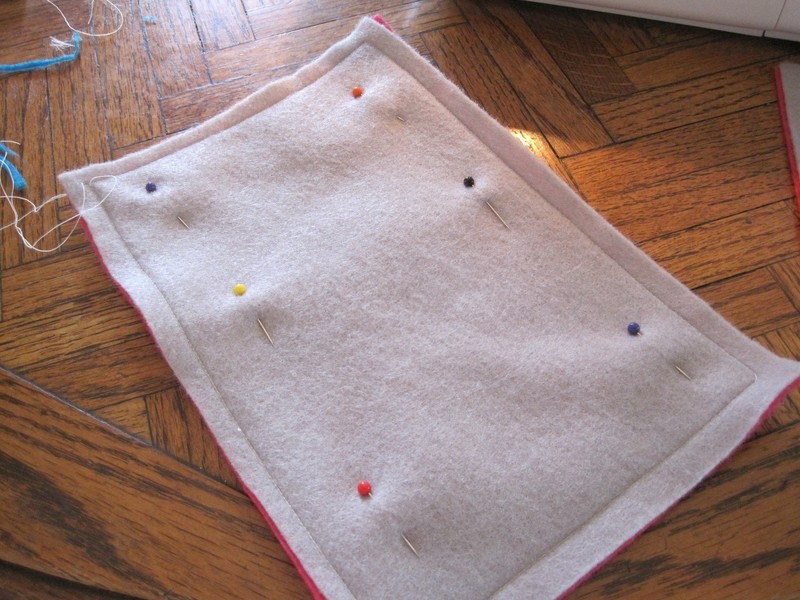
 Step 7
Pin the two layers together
(Yes, I did switch colors :) Sorry about that!)
-
 Step 8
Sew together using a sewing machine or hand stitching.
-
 Step 9
Make sure you sew all the way around!
-
 Step 10
Do it again. These are pink on one side and grey on the other :D
-
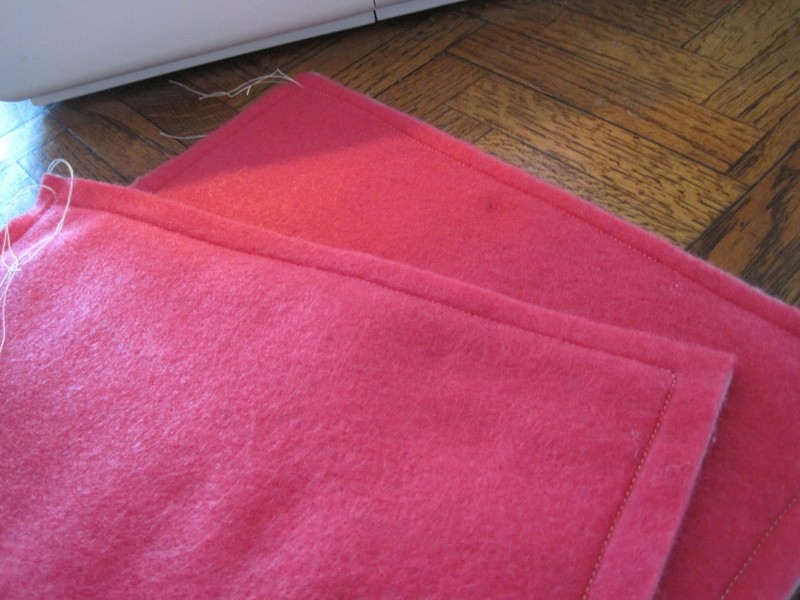
 Step 11
Pin together and sew around 3 sides, leaving one of the smaller sides open. Trim any loose ends. Also, clean up the edges if they got a bit crooked.
-
 Step 12
And your finished! This is what the inside looks like
-
 Step 13
Here is the nook, snuggled all cozy inside of its case
-
 Step 14
I made a few, so that when others borrowed them, they could choose which colors they liked :D
-
 Step 15
Side view so you can see how cute the exposed edges look. Also, make sure your kitty approves, as Felix here so obviously does :3