


About
DIY
Tags
-
 hannah l. favorited Spice up your Lunchbox
09 Oct 21:26
hannah l. favorited Spice up your Lunchbox
09 Oct 21:26
-
 I Love Green Grass published her project Spice up your Lunchbox
08 Oct 12:10
I Love Green Grass published her project Spice up your Lunchbox
08 Oct 12:10
-
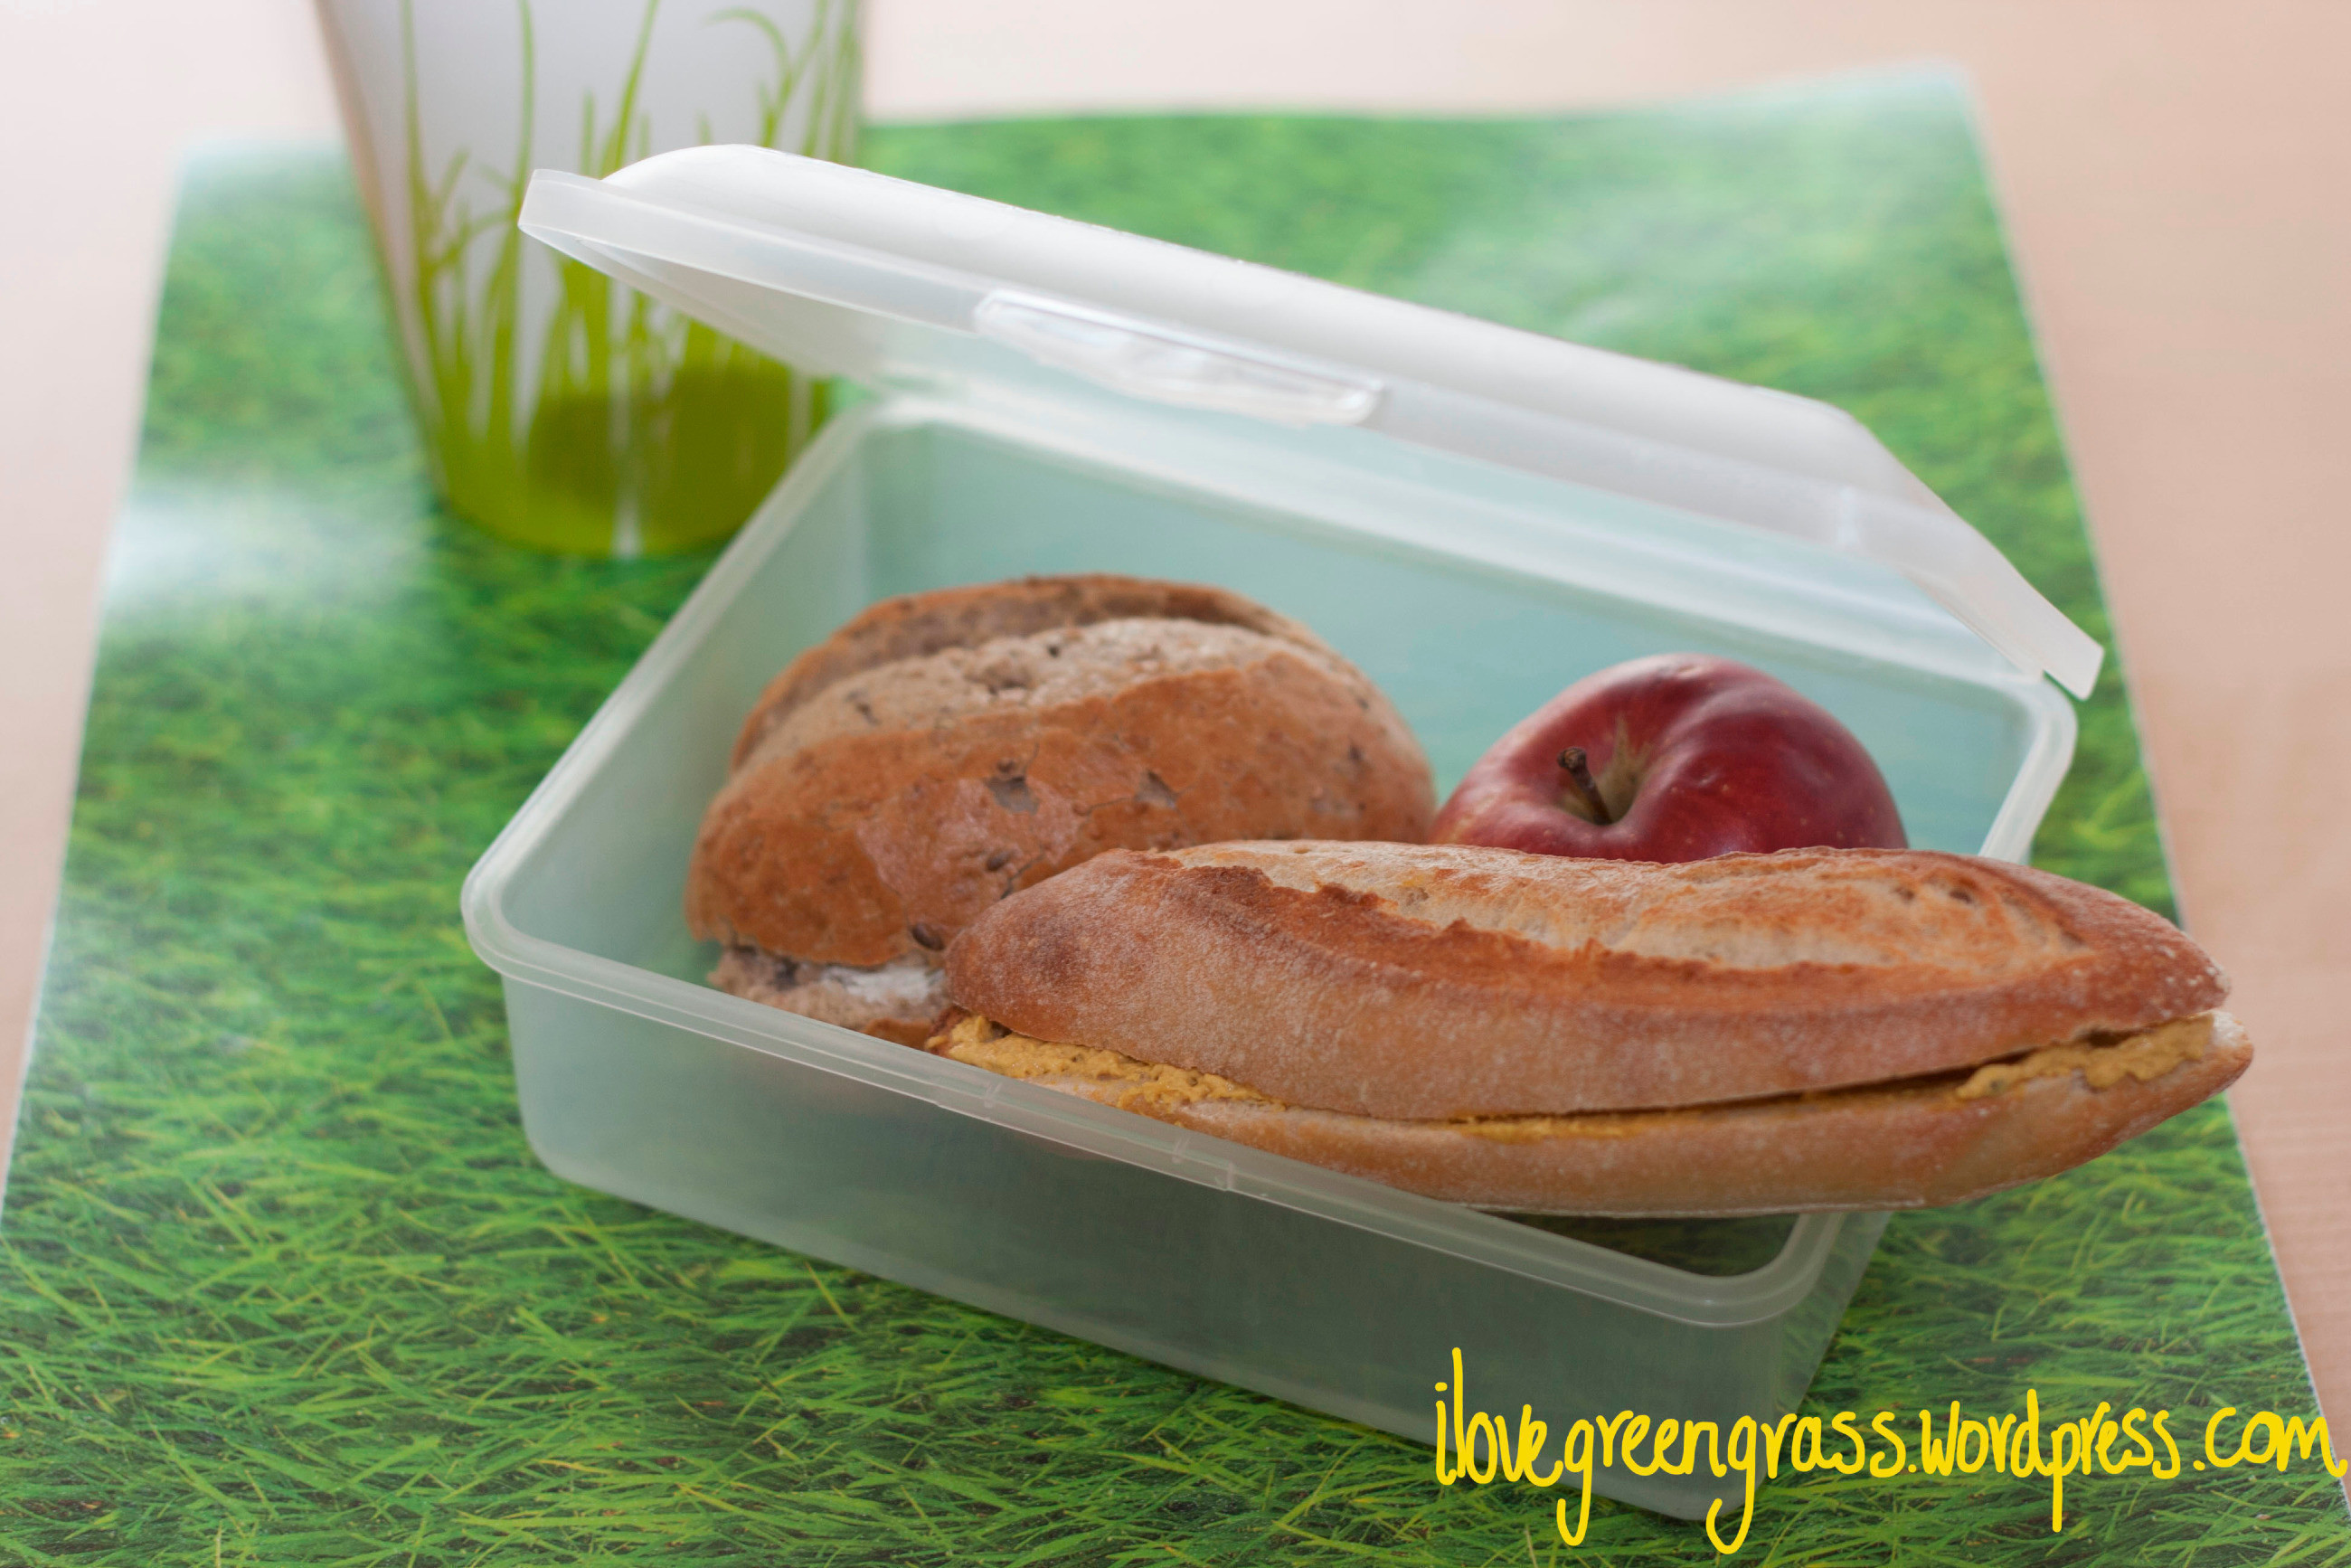
Step 1
1. Measure the area where the design should come
2. Scale your print with a (simple) photo editing program to get the same size as your printable area of the lunchbox
3. Print the design on normal paper and cut it
4. Apply Mod Podge on the back of the print and paste it on top of the lunchbox
5. Put a layer of Mod Podge on top and wait till it is dry
6. Add more layers of Mod Podge (let it dry in between layers), I added 3 in total
7. When it dried for a few hours apply a last layer of varnish to make it waterproof
8. I used spray varnish. When you do that make sure to cover everything but the print
9. You can add one more layer of varnish to close all the tiny gaps
10.Now enjoy your lunch!
 1
Home Accessories »
Diy Jewelry Box
1
Home Accessories »
Diy Jewelry Box
