


About
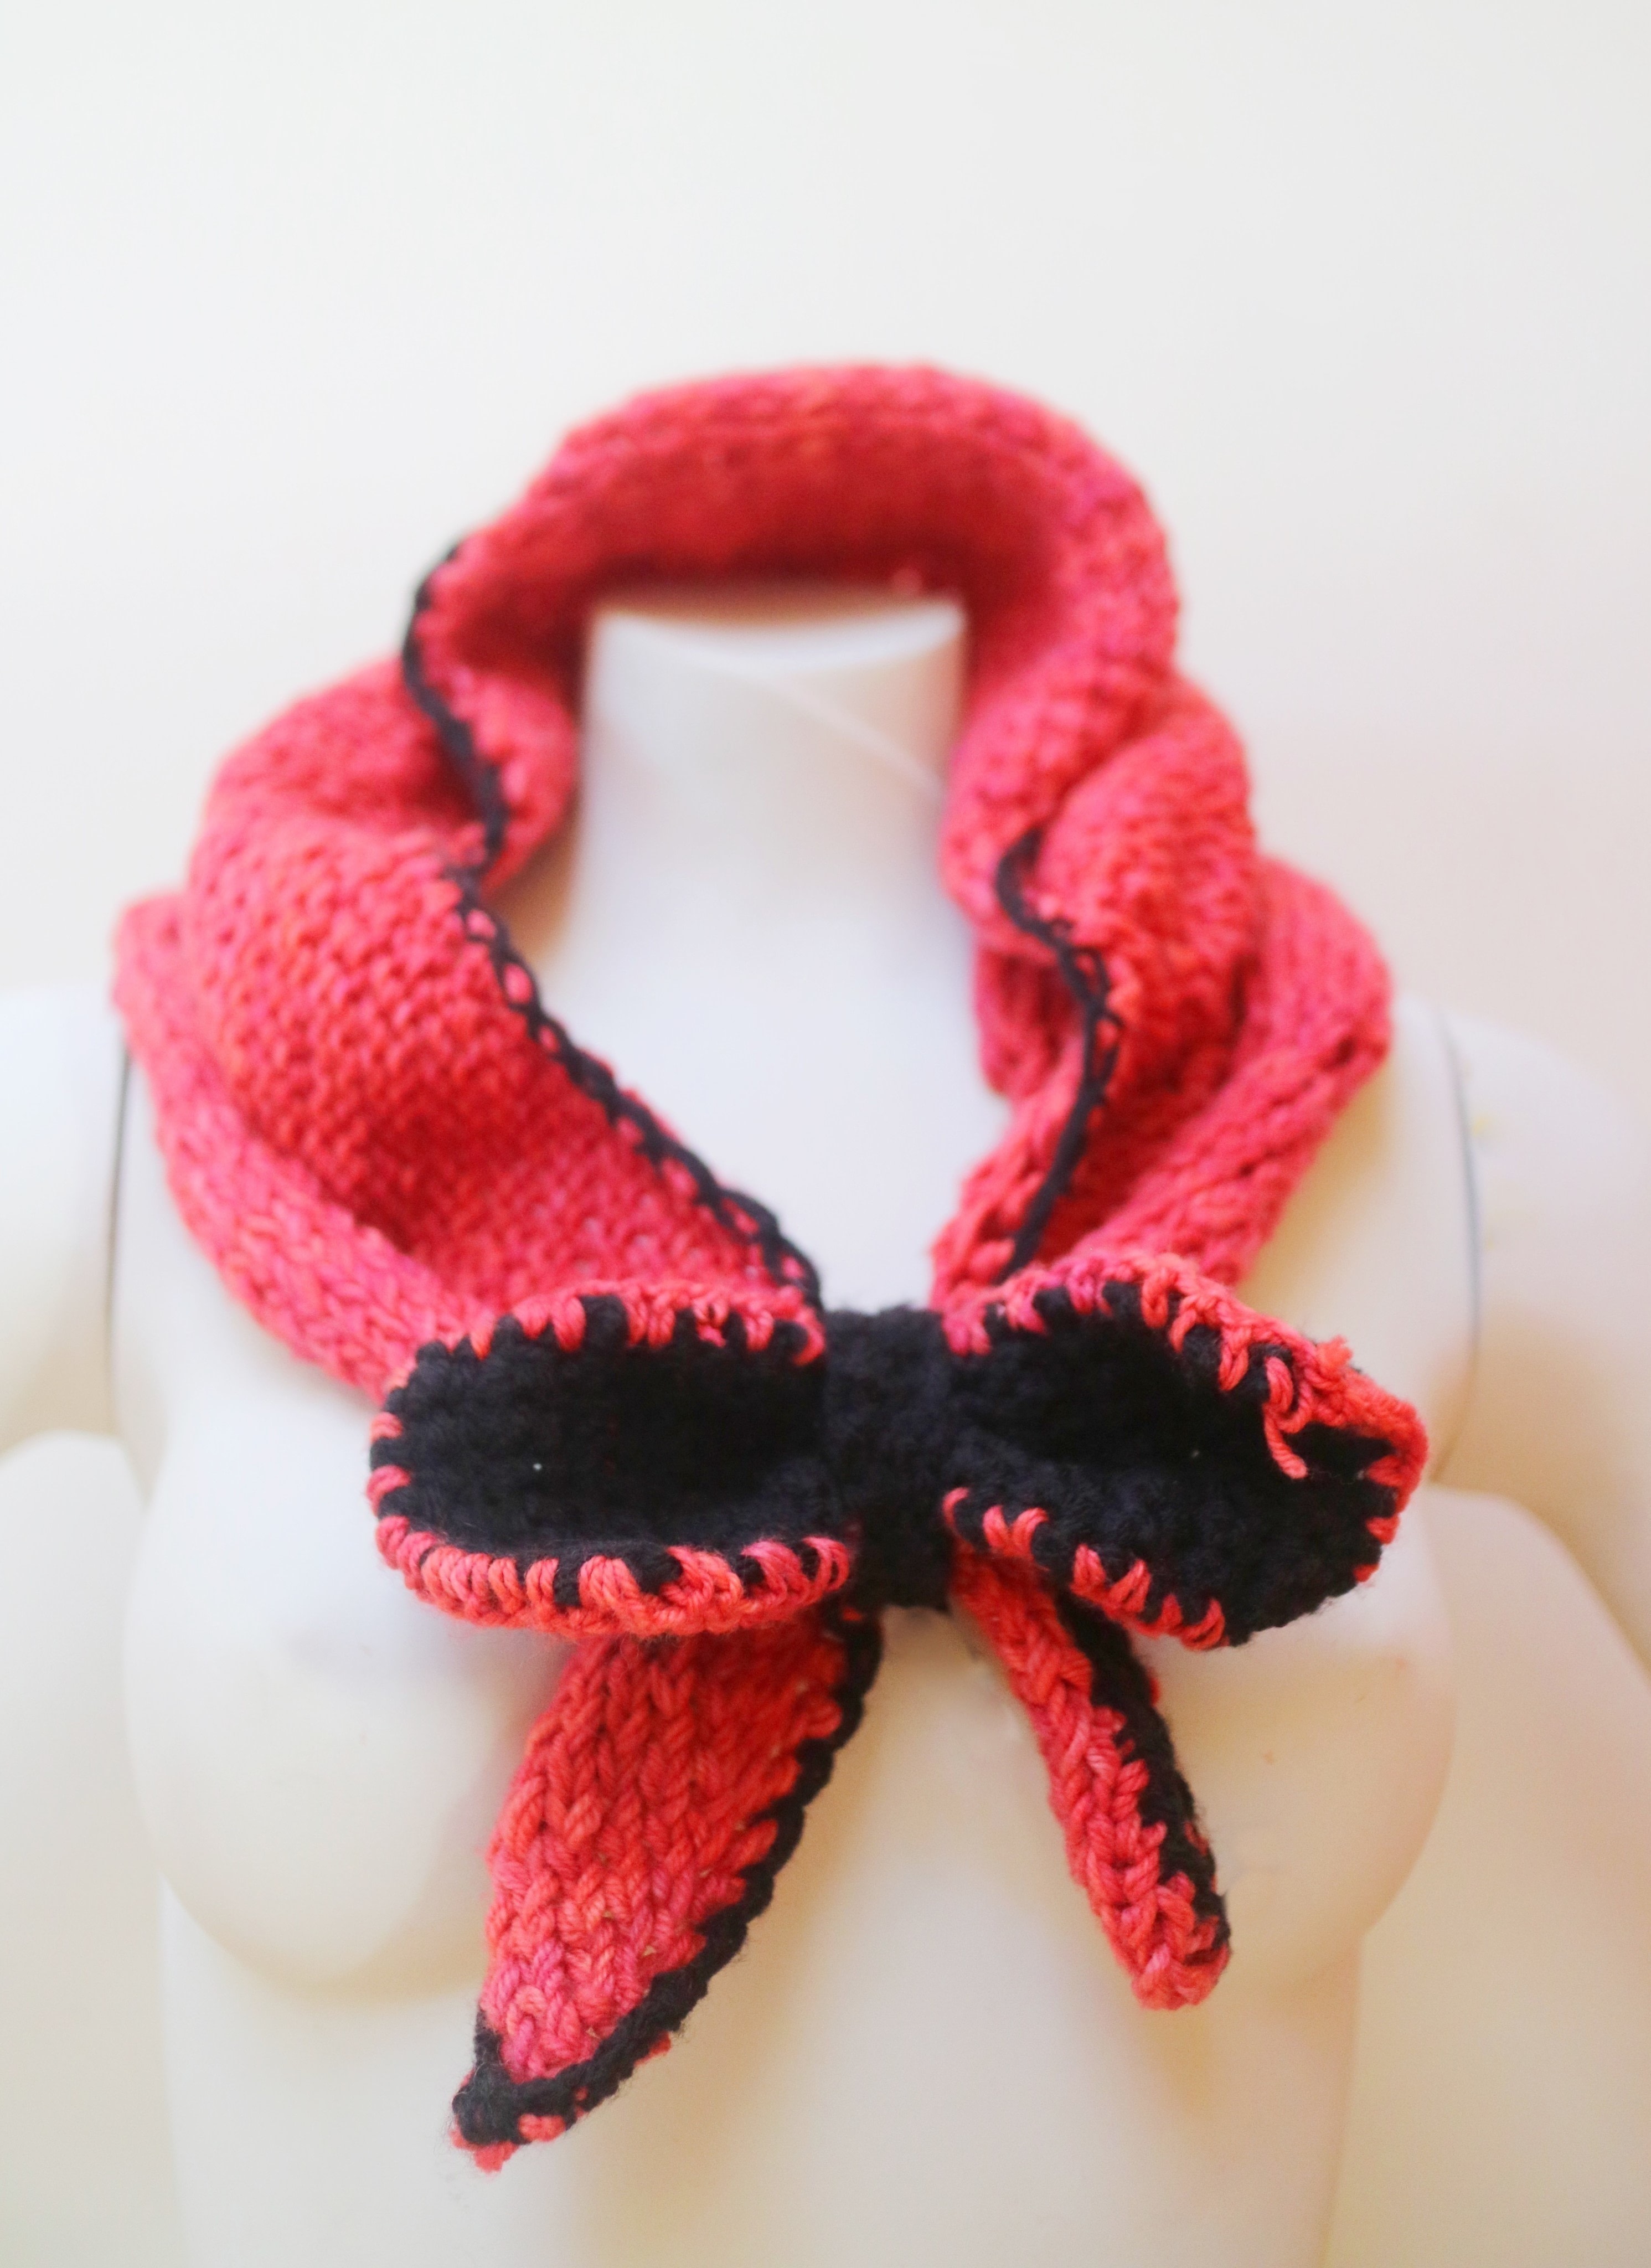
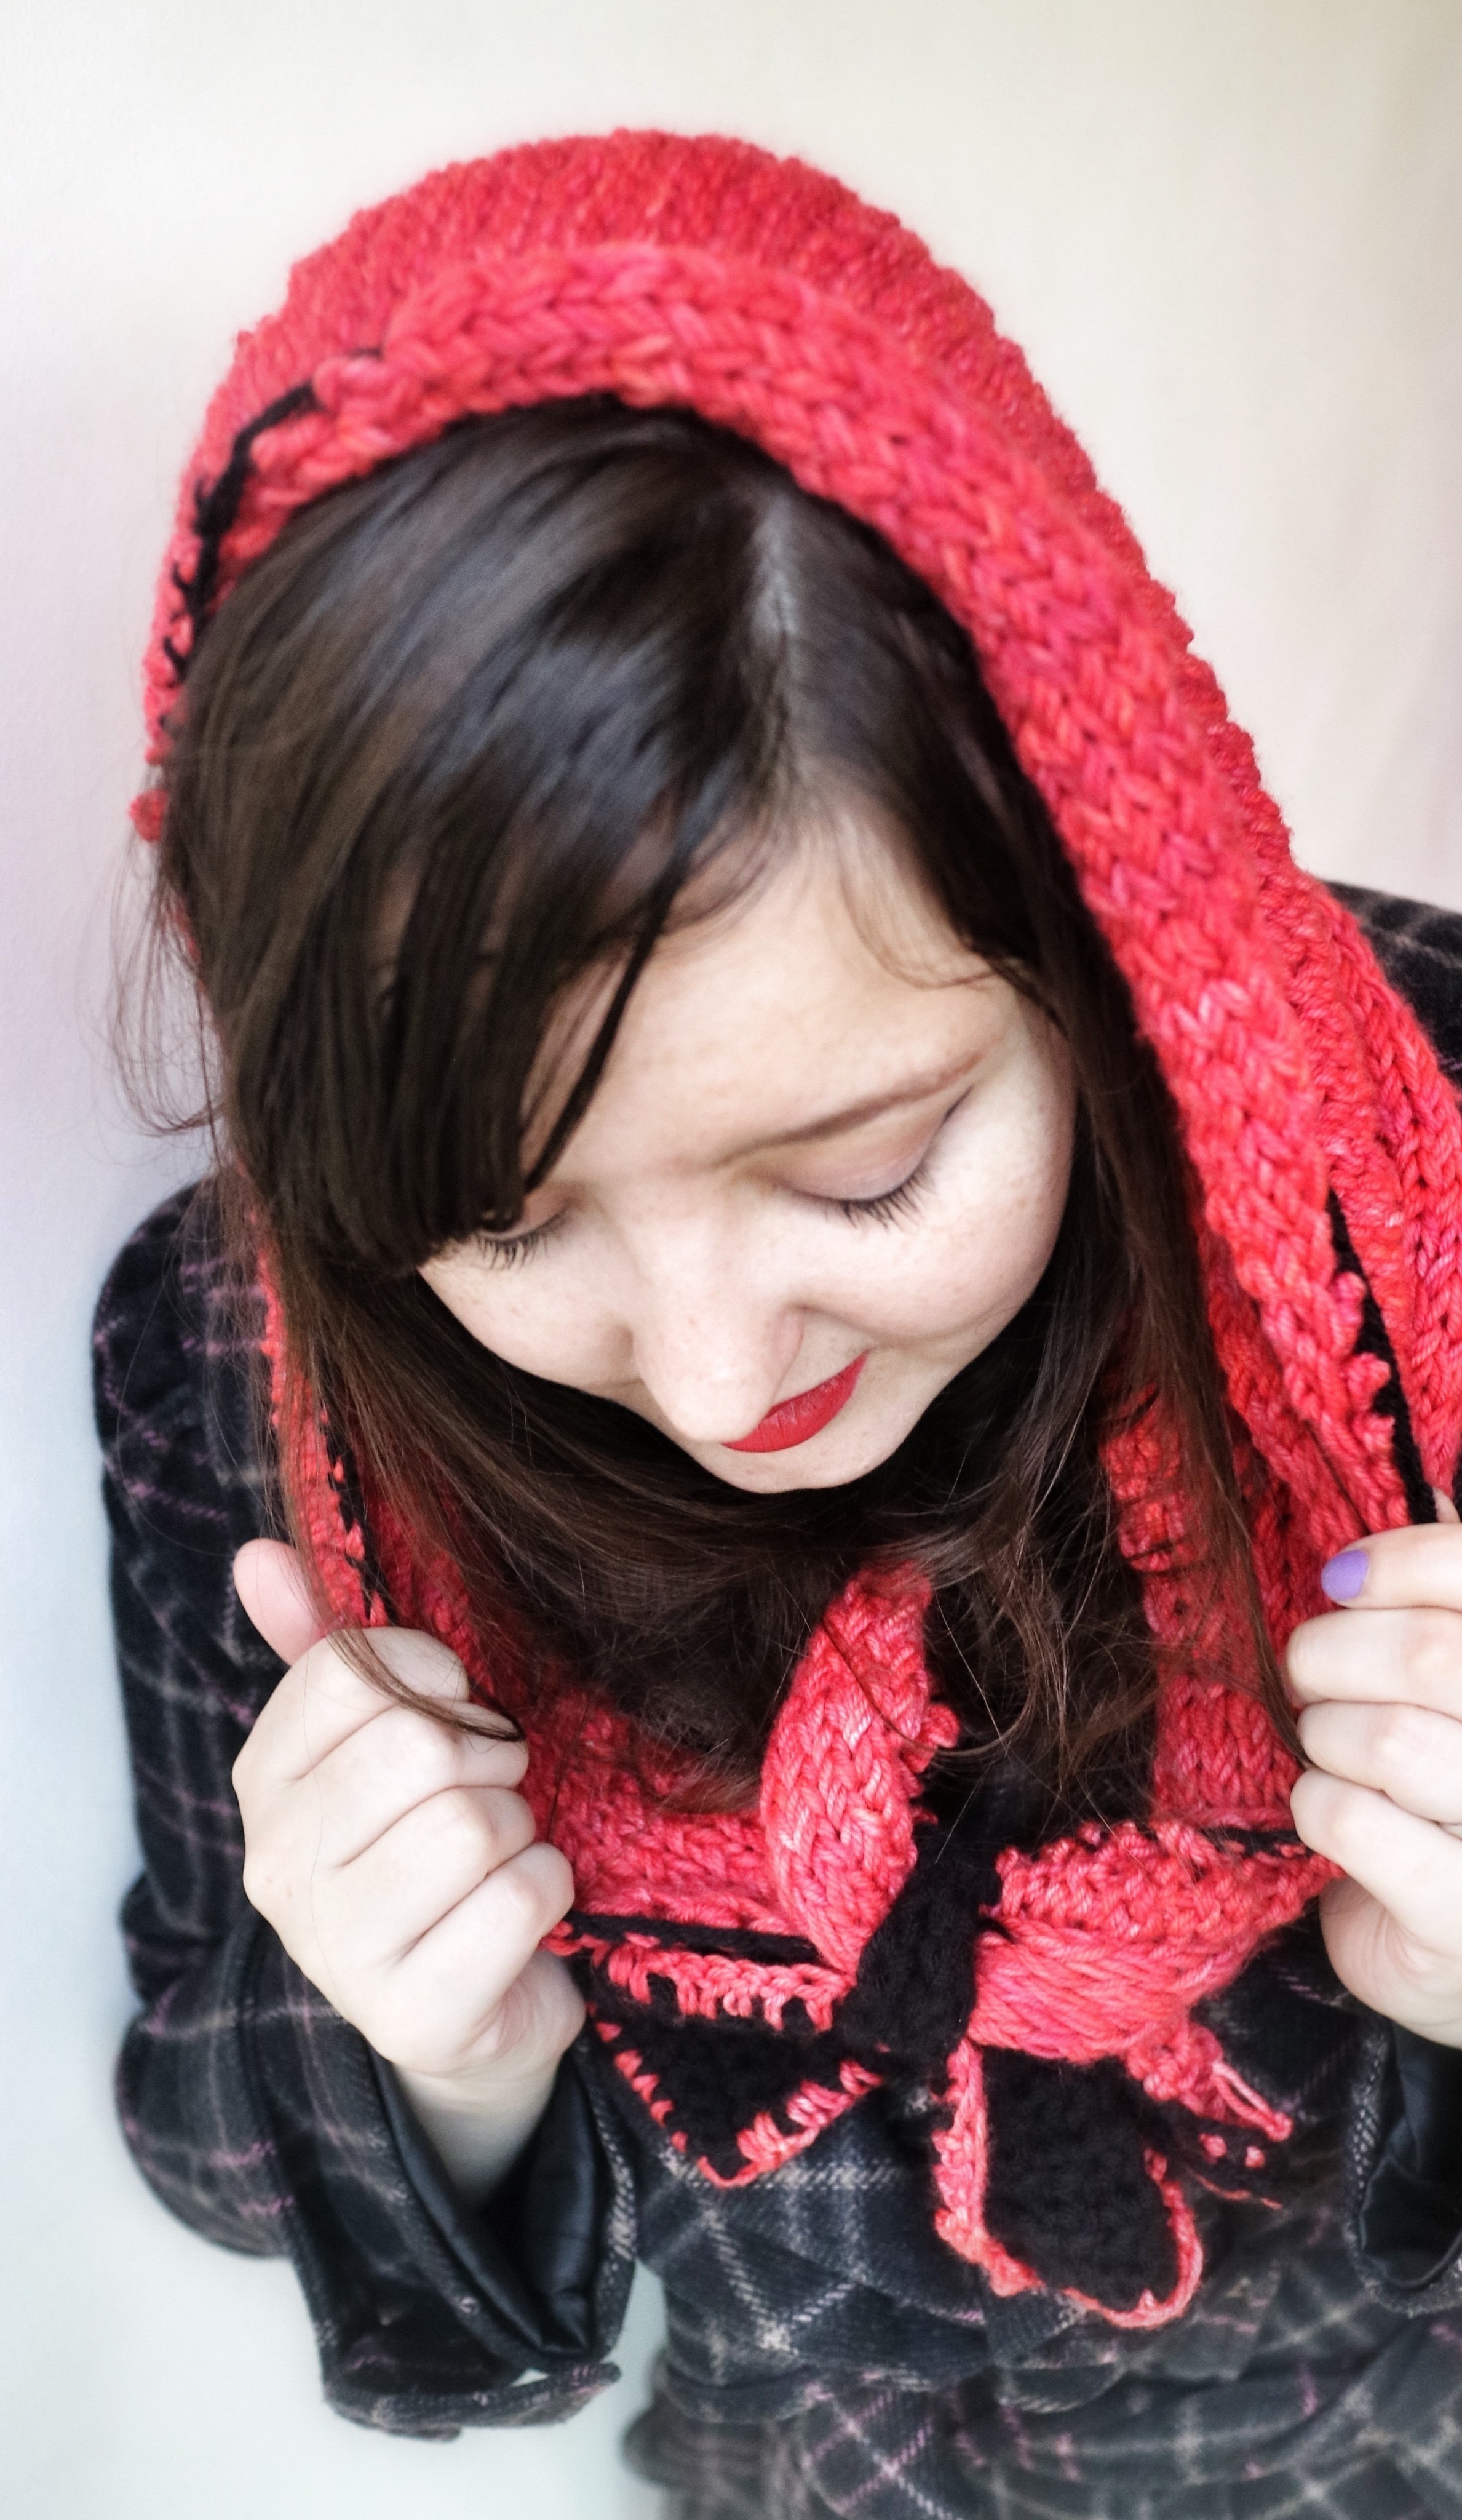
Stay warm this winter with an adorable Little Red Riding Hood inspired snood.
The idea for a Little Red Riding Hood inspired snood hit me as soon as I saw the colour of Rex, this gorgeous hand spun and hand dyed yarn from The Indie Yarn Store. I stitched with two strands of yarn and the finished result feels so silky and luxurious, giving the hood an extra cosy weight.
-
 Galaxie A. favorited Little Red Riding Snood
29 Dec 02:45
Galaxie A. favorited Little Red Riding Snood
29 Dec 02:45
-
 ZombieUnicorn favorited Little Red Riding Snood
14 Jan 21:45
ZombieUnicorn favorited Little Red Riding Snood
14 Jan 21:45
-
 Garret C. commented on Little Red Riding Snood
01 Dec 10:00
Garret C. commented on Little Red Riding Snood
01 Dec 10:00
-
Garret C. favorited Little Red Riding Snood
01 Dec 10:00
-
 Rhea W. favorited Little Red Riding Snood
30 Nov 16:21
Rhea W. favorited Little Red Riding Snood
30 Nov 16:21
-
 ben.jake.1232 favorited Little Red Riding Snood
29 Nov 12:07
ben.jake.1232 favorited Little Red Riding Snood
29 Nov 12:07
-
 Judy favorited Little Red Riding Snood
29 Nov 00:31
Judy favorited Little Red Riding Snood
29 Nov 00:31
-
 joelle.scottmurphy added Little Red Riding Snood to like to try
28 Nov 20:17
joelle.scottmurphy added Little Red Riding Snood to like to try
28 Nov 20:17
-
 Carla B. favorited Little Red Riding Snood
26 Nov 18:00
Carla B. favorited Little Red Riding Snood
26 Nov 18:00
-
 Cathrin L. favorited Little Red Riding Snood
24 Nov 21:26
Cathrin L. favorited Little Red Riding Snood
24 Nov 21:26
-
 Step 1
Knit the hood:
Using two strands of yarn, CO 5.
Row 1: Knit
Row 2: Pearl
Row 3: K1, increase by 1, k4. (5 stitches)
Row 4: Pearl
Row 5: K1, increase by 1, k5. (6 stitches)
Row 6: Pearl
Row 7: K1, increase by 1, k6. (7 stitches)
Row 8: Pearl
Row 9: K1, increase by 1, k7. (8 stitches)
Row 10: Pearl
Row 11: K1, increase by 1, k8. (9 stitches)
Row 12: Pearl
Row 13: K1, increase by 1, k9. (10 stitches)
Row 14: Pearl
Row 15: K1, increase by 1, k10. (11 stitches)
Row 16: Pearl
Row 17: K1, increase by 1, k11. (12 stitches)
Row 18: Pearl
Row 19: K1, increase by 1, k12. (13 stitches)
Row 20: Pearl
Row 21: K1, increase by 1, k13. (14 stitches)
Row 22: Pearl
Row 23: K1, increase by 1, k14. (15 stitches)
Row 24: Pearl
Row 25: K1, increase by 1, k15. (16 stitches)
Row 26: Pearl
Row 27: K1, increase by 1, k16. (17 stitches)
Row 28: Pearl
Row 29: K1, increase by 1, k17. (18 stitches)
Row 30: Pearl
Row 31: K1, increase by 1, k18. (19 stitches)
Row 32: Pearl
Row 33: K1, increase by 1, k19. (20 stitches)
Row 34: Pearl
Row 35: K1, increase by 1, k20. (21 stitches)
Row 36: Pearl
Row 37: K1, increase by 1, k21. (22 stitches)
Row 38: Pearl
Row 39: K1, increase by 1, k22. (23 stitches)
Row 40: Pearl
Row 41: K1, increase by 1, k23. (24 stitches)
Row 42: PearlRow 43: K1, increase, K1 increase * repeat to end of row (48 stitches)
Row 44: K1, increase by 1, k48. (49 stitches)
Row 45: Pearl
Row 46: K1, increase by 1, k49. (50 stitches)
Row 47: Pearl
Row 48: K1, increase by 1, k50. (51 stitches)
Row 49: Pearl
Row 50: K1, increase by 1, k51. (52 stitches)
Row 51: Pearl
Row 52: K1, increase by 1, k52. (53 stitches)
Row 53: Pearl
Row 54: K1, increase by 1, k53. (54 stitches)
Row 55: Pearl
Row 56: K1, increase by 1, k54. (55 stitches)
Row 57: Pearl
Row 58: K1, increase by 1, k55. (56 stitches)
Row 59: Pearl
Row 60: K1, increase by 1, k56. (57 stitches)
Row 61: Pearl
Row 62: K1, increase by 1, k57. (58 stitches)
Row 63: Pearl
Row 64: K1, increase by 1, k58. (59 stitches)
Row 65: Pearl
Row 66: K1, increase by 1, k59. (60 stitches)
Row 67: PearlRows 68 - 78: Knit in garter stitch for 6 inches. (Roughly 10 rows depending on your tension.
Row 79: K1, decrease by 1, K56. (59 stitches)
Row 80: Pearl
Row 81: K1, decrease by 1, K55. (58 stitches)
Row 82: Pearl
Row 83: K1, decrease by 1, K54. (57 stitches)
Row 84: Pearl
Row 85: K1, decrease by 1, K53. (56 stitches)
Row 86: Pearl
Row 87: K1, decrease by 1, K52. (55 stitches)
Row 88: Pearl
Row 89: K1, decrease by 1, K51. (54 stitches)
Row 90: Pearl
Row 91: K1, decrease by 1, K50. (53 stitches)
Row 92: Pearl
Row 93: K1, decrease by 1, K49. (52 stitches)
Row 94: Pearl
Row 95: K1, decrease by 1, K48. (51 stitches)
Row 96: Pearl
Row 97: K1, decrease by 1, K47. (50 stitches)
Row 98: Pearl
Row 99: K1, decrease by 1, K46. (49 stitches)
Row 100: Pearl
Row 101: K1, decrease by 1, K45. (48 stitches)
Row 102: PearlRow 103: K1, decrease, K1 decrease * repeat to end of row (24 stitches)
Row 104: K1, decrease by 1, k20. (23 stitches)
Row 105: Pearl
Row 106: K1, decrease by 1, k19. (22 stitches)
Row 107: Pearl
Row 108: K1, decrease by 1, k18. (21 stitches)
Row 109: Pearl
Row 110: K1, decrease by 1, k17. (20 stitches)
Row 111: Pearl
Row 112: K1, decrease by 1, k16. (19 stitches)
Row 113: Pearl
Row 114: K1, decrease by 1, k15. (18 stitches)
Row 115: Pearl
Row 116: K1, decrease by 1, k14. (17 stitches)
Row 117: Pearl
Row 118: K1, decrease by 1, k13. (16 stitches)
Row 119: Pearl
Row 120: K1, decrease by 1, k12. (15 stitches)
Row 121: Pearl
Row 122: K1, decrease by 1, k11. (14 stitches)
Row 123: Pearl
Row 124: K1, decrease by 1, k10. (13 stitches)
Row 125: Pearl
Row 126: K1, decrease by 1, k9. (12 stitches)
Row 127: Pearl
Row 128: K1, decrease by 1, k8. (11 stitches)
Row 129: Pearl
Row 130: K1, decrease by 1, k7. (10 stitches)
Row 131: Pearl
Row 132: K1, decrease by 1, k6. (9 stitches)
Row 133: Pearl
Row 134: K1, decrease by 1, k5. (8 stitches)
Row 135: Pearl
Row 136: K1, decrease by 1, k4. (7 stitches)
Row 137: Pearl
Row 138: K1, decrease by 1, k3. (6 stitches)
Row 139: Pearl
Row 140: K1, decrease by 1, k2. (5 stitches)
Row 141: Pearl
Row 142: Knit.
Row 143: Pearl.
Cast off -
 Step 2
Add a nice edging to the hood by single crocheting around the edge with black yarn and a 10mm crochet hook.
-
 Step 3
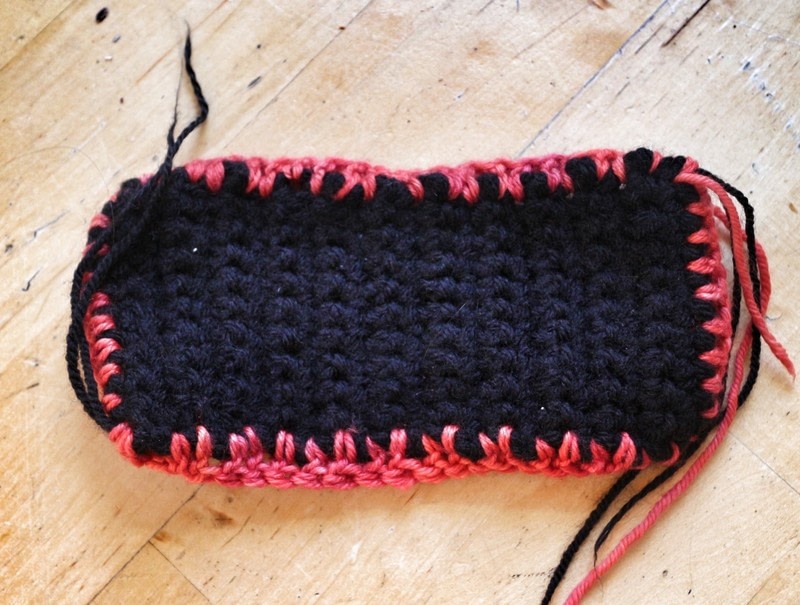
Crochet the bow:
Chain 40.
Rows 1 - 8: Chain 1, turn, DC in next 40 stitches.
Tie off.SC around the edge with ed yarn and a 10mm crochet hook.
-
 Step 4
Crochet the tie for the bow:
Chain 20.
Rows 1 - 6: Chain 1, turn DC in next 20 stitches.
Tie off. -
 Step 5
Gather your hood, bow and tie and thread a yarn needle with some black yarn.
-
 Step 6
Stitch the two short ends of the tie together, to form a loop and then place the bow through the loop and stitch to the front of the loop. Slip the two ends of the hood through the back of the loop.
-
 Step 7
Stitch one side of the hood to the bow loop and weave in any loose ends of yarn.
-
 Step 8
Slip the second side of the hood through and you're snood is ready to wear.
-
 Step 9
You can tighten the snood by pulling the loose end of the hood through the bow until it fits comfortably.
-
 Step 10
Now off you hop to Grandma's house... don't speak to any furry strangers in the wood.


Comments


