


About
For costume use:)
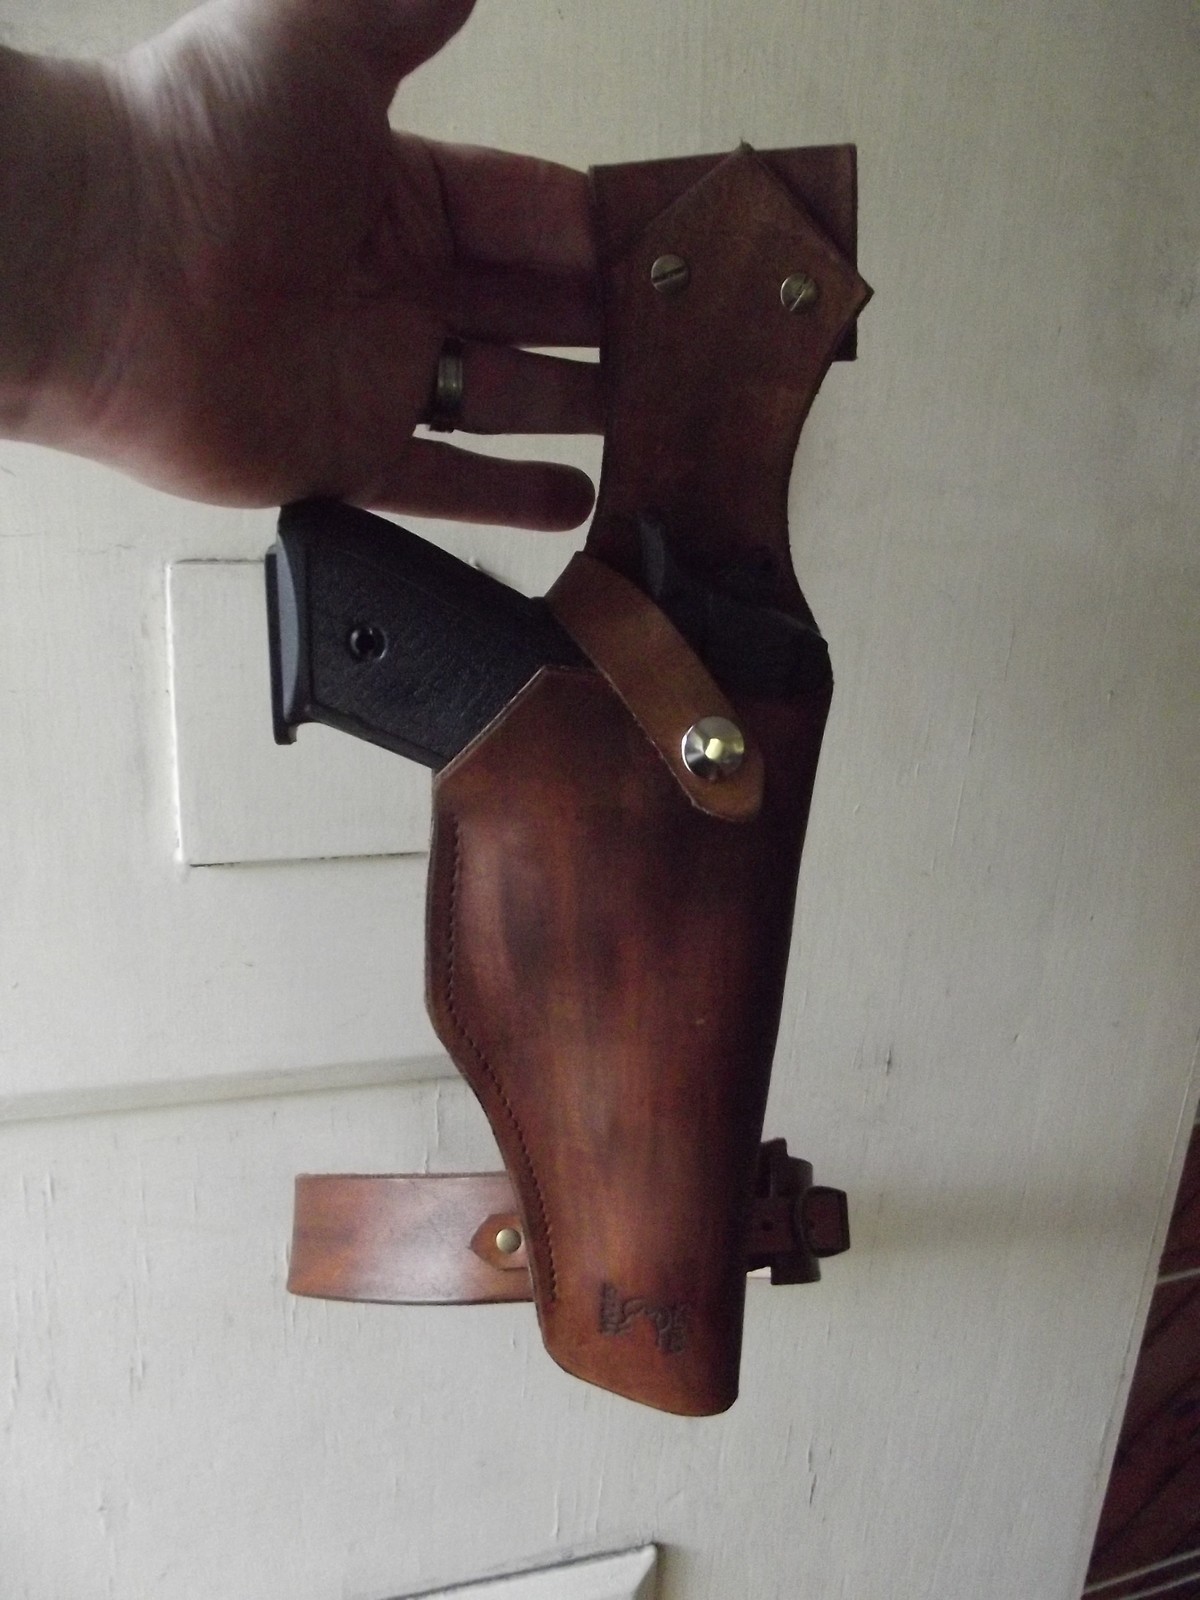
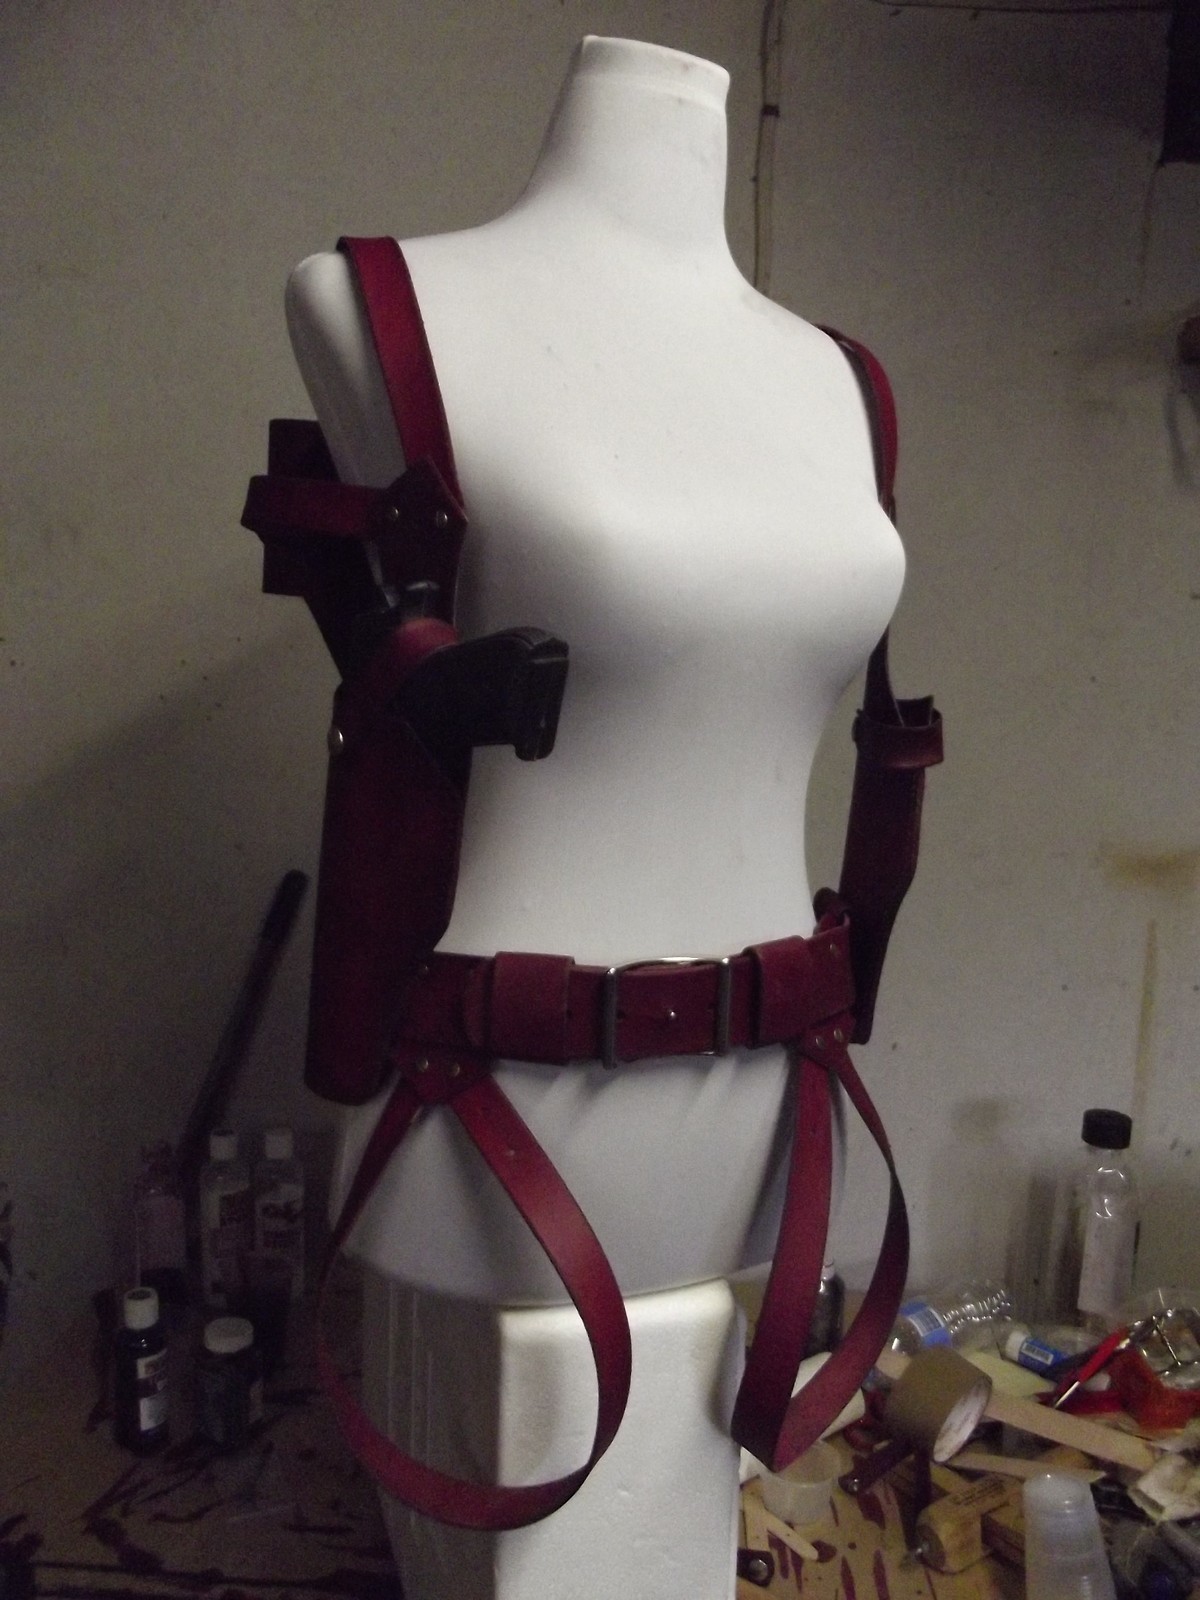
This is based on the holster Alice has on the fornt of her harness in Resident Evil - Afterlife. The last pic shows a red version of that harness I made to order.
I made a couple more holsters, one each hand, to try them out on a belt and thigh strap mount and they work great :D Best thing is since they mount onto the harness via Chicago screws you can remount them from harness to belt loop quite easily for multiple costumes.
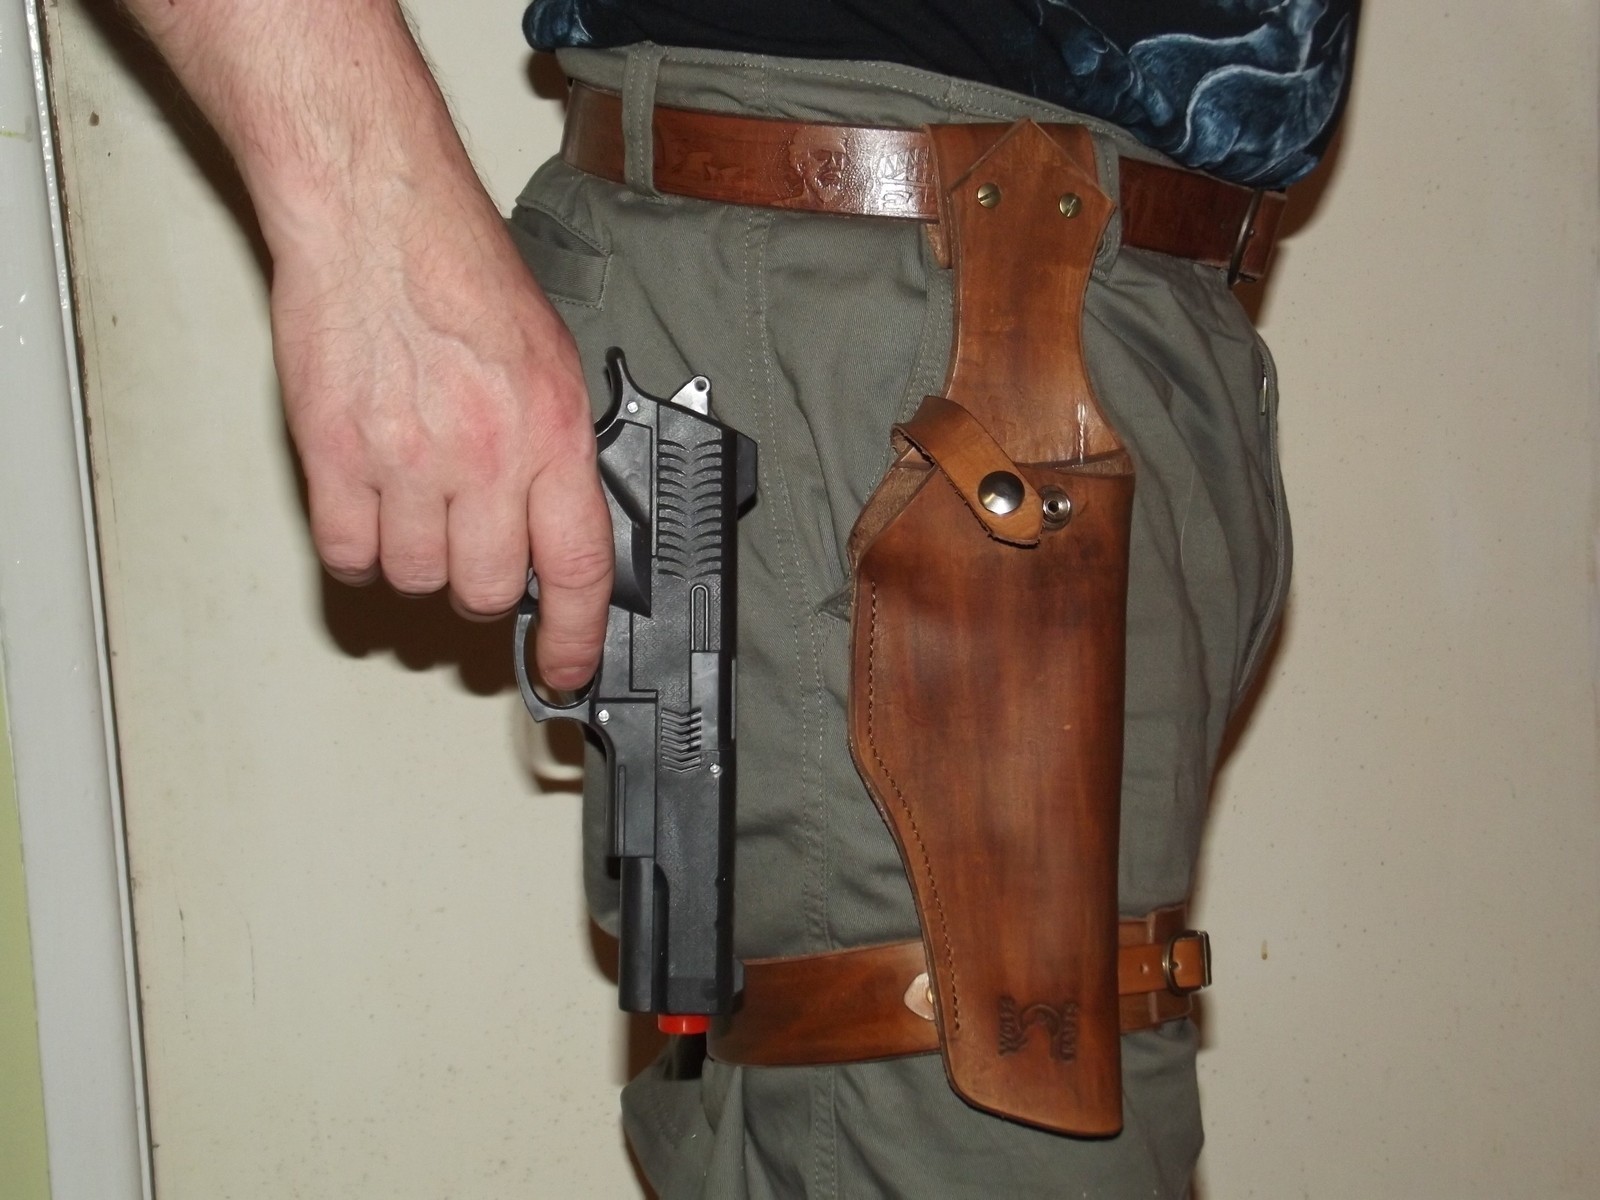
*Edit*
Added a couple of 'action' shots :)
Downloads
- Missing file
-
 Bette C. favorited Leather Holster
09 Nov 23:22
Bette C. favorited Leather Holster
09 Nov 23:22
- kzk favorited Leather Holster 30 Nov 05:11
-
 Emma H. favorited Leather Holster
06 Nov 21:30
Emma H. favorited Leather Holster
06 Nov 21:30
-
 Genesis G. favorited Leather Holster
28 Jul 08:23
Genesis G. favorited Leather Holster
28 Jul 08:23
-
 Savannah A. favorited Leather Holster
16 Jul 10:51
Savannah A. favorited Leather Holster
16 Jul 10:51
- Carrie B. added Leather Holster to Accessories 08 Jun 23:03
-
 choco s. favorited Leather Holster
09 Dec 23:46
choco s. favorited Leather Holster
09 Dec 23:46
-
 Laouen favorited Leather Holster
07 Dec 20:40
Laouen favorited Leather Holster
07 Dec 20:40
-
 Falene M. favorited Leather Holster
16 Sep 03:03
Falene M. favorited Leather Holster
16 Sep 03:03
-
 Shannon M. favorited Leather Holster
09 Sep 19:11
Shannon M. favorited Leather Holster
09 Sep 19:11
-
 Step 1
This is my pattern. Not the best photo I'm afraid, but basically it's an old xray film which I use (my father in law has dozens of old ones!) for pattern material. The leather is 1.5mm veg tan or tooling leather. Normally you'd use some a bit thicker but this is what I had :)
-
 Step 2
The left and right holster pieces cut out and with holes for belt loops, retaining strap and belt mount punched.
-
 Step 3
I added a second layer to the inside top where it can be seen in the finished piece. It's glued in place with contact cement
-
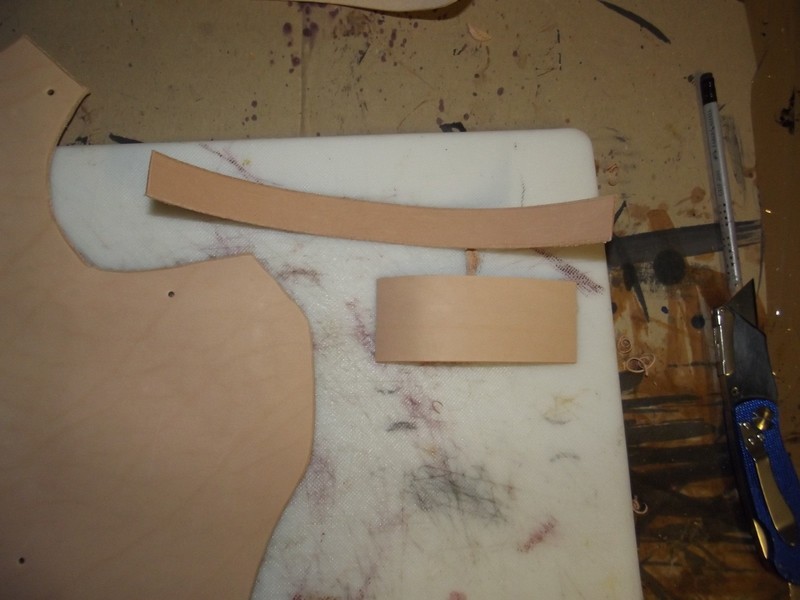
 Step 4
I cut a 20mm wide strip for the retaining strap and a 40mm wide strip for the lower belt loop
-
 Step 5
Preparing to dye. Note the gloves... Leather is, basically, skin and leather dye does a wonderful job of dying skin, whether it's still attached or not :P
I use Cobblestone spirit based dye which can be watered down with spirit or water, a sponge brush and gloves.
-
 Step 6
No pics during dying as you really don't want to stop in the middle - you can never get the colour matched up even if it's from the same pot. I dyed the front and back of all pieces and since I had dye left over I dyed a pair of Gunslinger wrist cuffs too :)
-
 Step 7
I riveted the belt loop and the retaining strap in place before I went any further as you can't do these once it's assembled
-
 Step 8
And I screwed the button stud on the front too.
-
 Step 9
With the riveting done and the stud installed I then sewed the side up on my trusty hand-cranked leather sewing machine. It can easily be done by hand though using an awl to make the holes and a blunt needle with waxed thread.
Shown in the pic with the plastic gun installed and retaining strap in place over the button stud. The best way to get the holes right on the strap is leave them to the end and put the gun in. Pull the strap over and mark where it goes over the stud. You want the hole to be a little smaller than the top of the stud. A small cut from the hole back along the strap, no more than 5mm, and you're done :)


Comments


