


About
Now that you've created a fun monoprint background, let's get creative with them
You've had fun creating your own backgrounds using the Easy Monoprint Technique, but what should you do with them? That's easy! Anything you'd like such as a background behind a picture on a layout or punched pieces for a fun gift tag.
-
 Melanie C. commented on Layouts And Tags Using The Easy Monoprint Background Technique
13 Jan 06:20
Melanie C. commented on Layouts And Tags Using The Easy Monoprint Background Technique
13 Jan 06:20
-
 Chudames favorited Layouts And Tags Using The Easy Monoprint Background Technique
27 Jul 09:11
Chudames favorited Layouts And Tags Using The Easy Monoprint Background Technique
27 Jul 09:11
-
 Peg R. published her project Layouts And Tags Using The Easy Monoprint Background Technique
09 Jun 06:00
Peg R. published her project Layouts And Tags Using The Easy Monoprint Background Technique
09 Jun 06:00
You Will Need
-
 Step 1
The first step will be to create the monoprints that you would like to use for your project using the Easy Monoprint Background Technique.
-
 Step 2
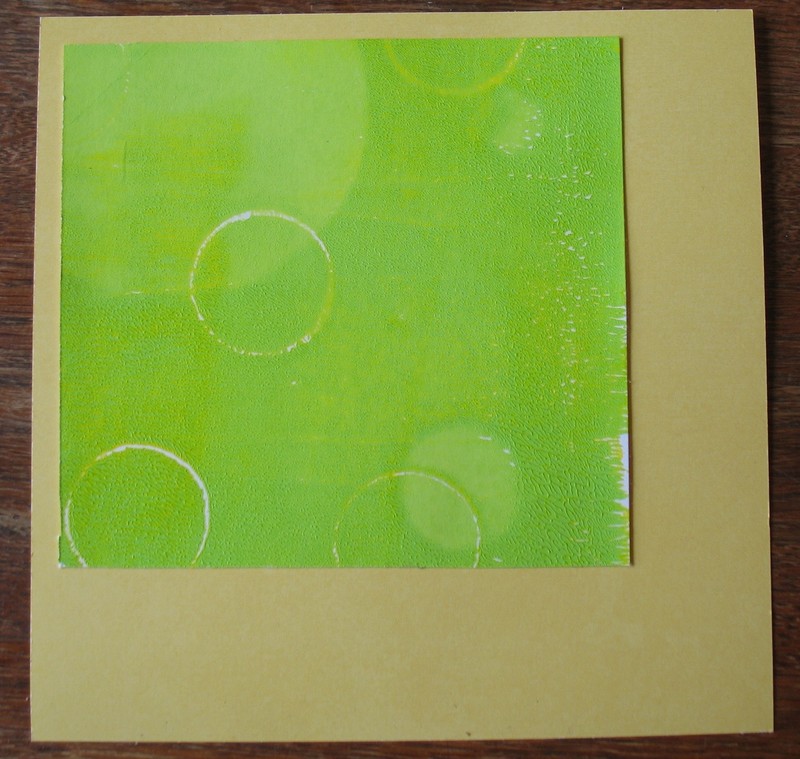
If you have decided to do a layout, you will need a background paper such as your favorite patterned paper. This layout will be a 6" x 6" layout.
-
 Step 3
Trim the monoprint to fit onto the size of the patterned paper according to the size of your photo. Take a close look at the print that you created and choose which areas you would like to be the focus on your project. This print was trimmed to 4 1/2" square.
-
 Step 4
Add some adhesive using a tape runner to the back of the paper.
-
 Step 5
Add it to the patterned paper. You can center it or place it off center so that it shows from behind the photo as shown in this picture.
-
 Step 6
Trim and add the photo over the top of the print.
-
Step 7
Use a die cutting machine to finish the layout by cutting embellishments of your choice such as the feather and word "fly" on this layout.
-
Step 8
This is a 6 x 6 layout that will be placed into a mini album that I am currently working on. I will be sharing how to make an album of your own in a future tutorial so keeping an eye out for it.
-
 Step 9
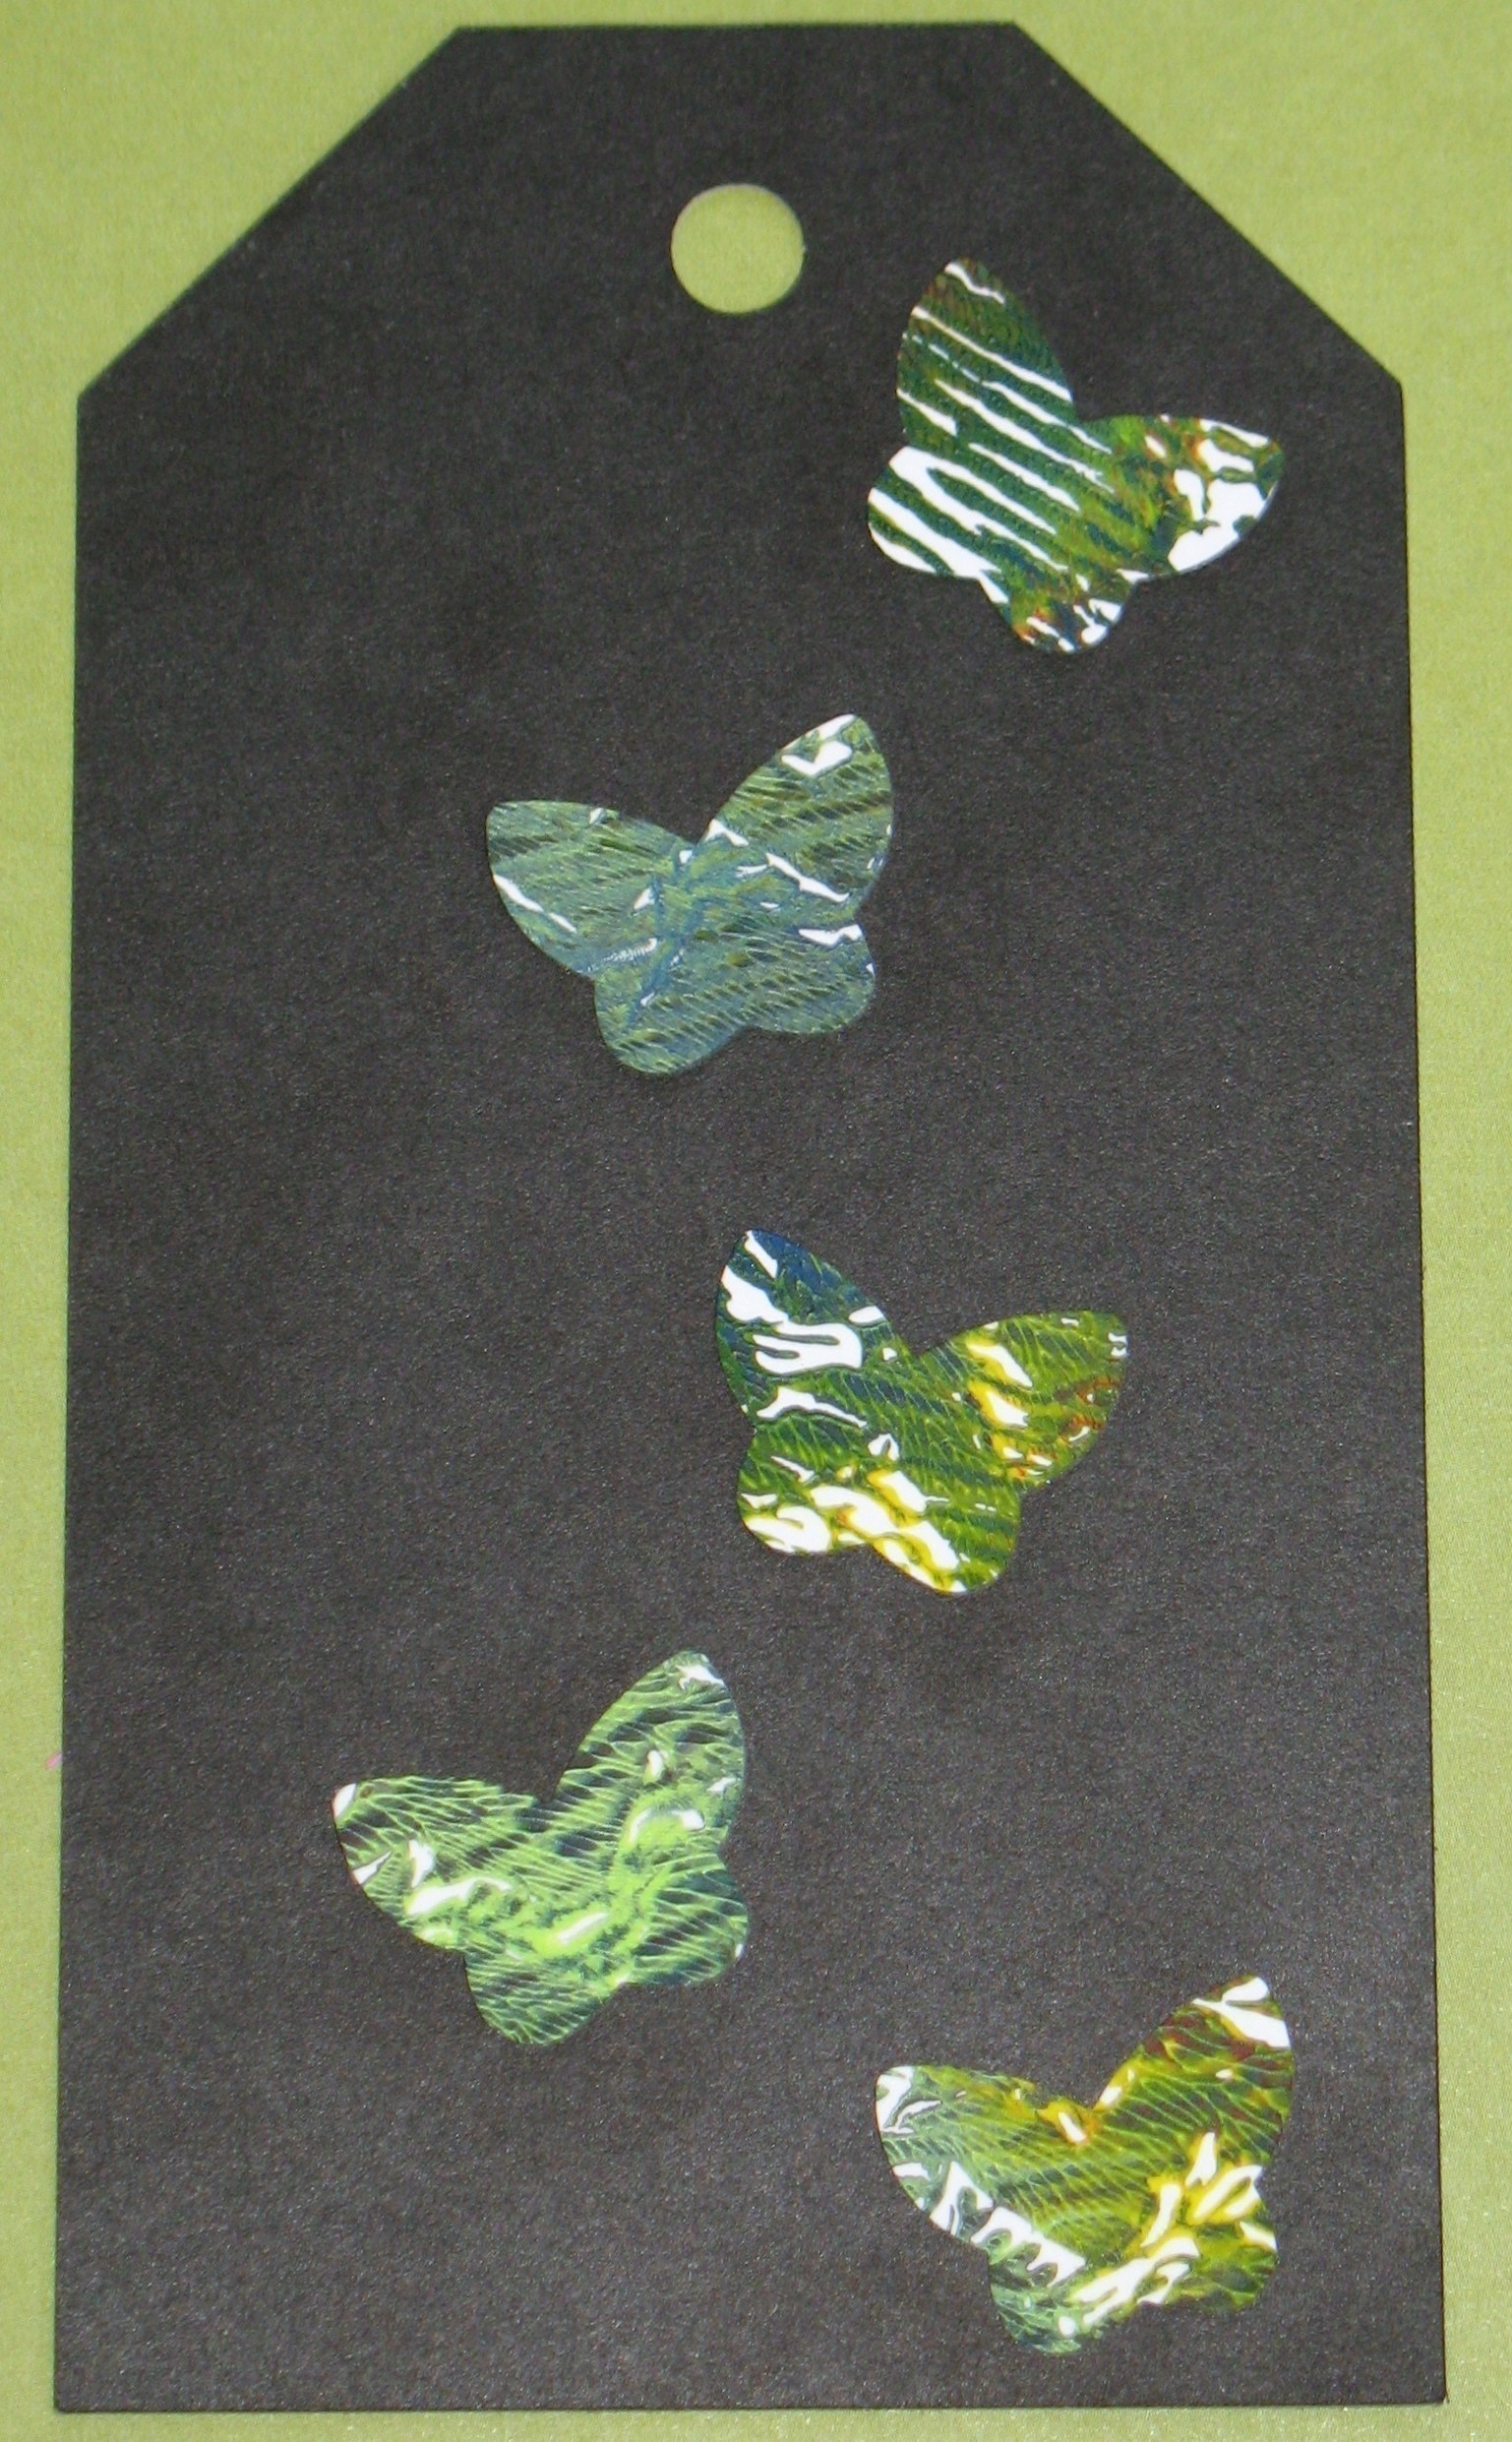
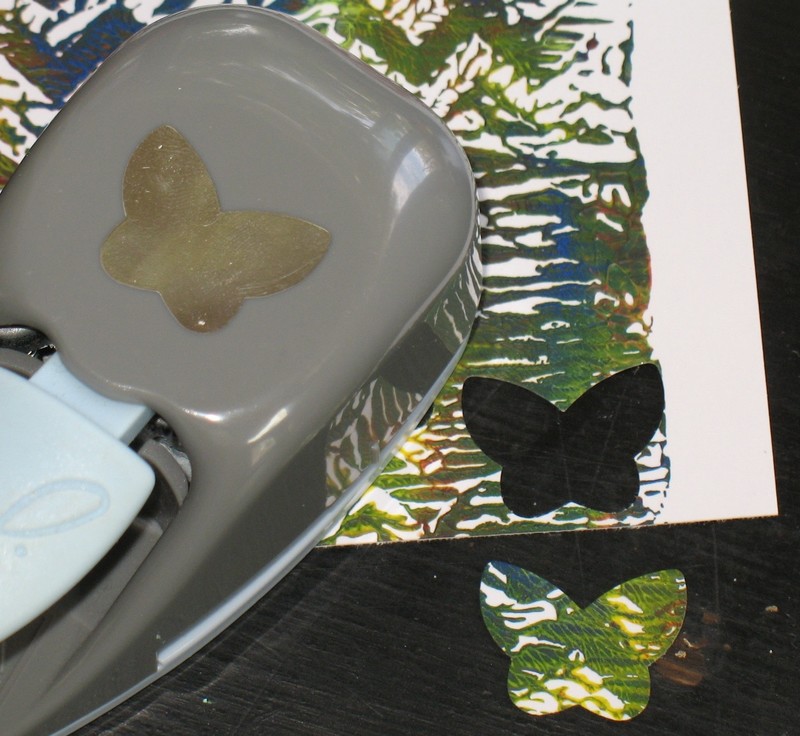
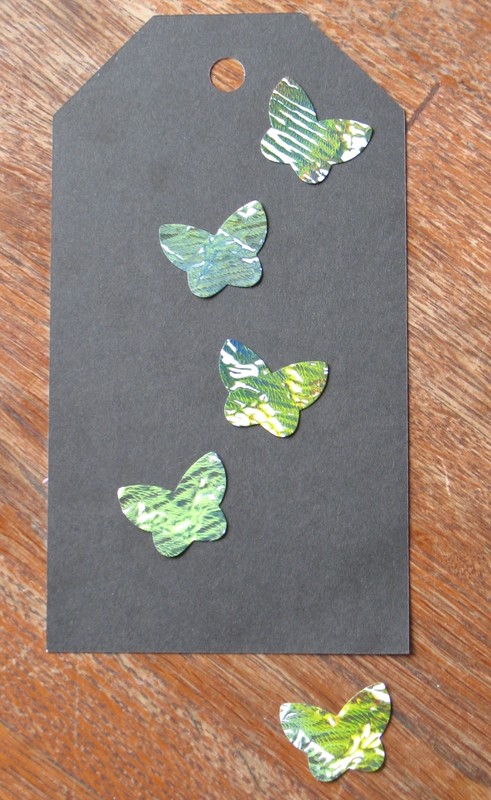
Another idea for using the monoprints you have made is to create your own punched embellishments from them.
-
 Step 10
This tag was created using an electronic die cutting machine.
-
 Step 11
After you have punched several butterflies or your favorite punched pieces, add some tape from the tape runner to the back of them.
-
 Step 12
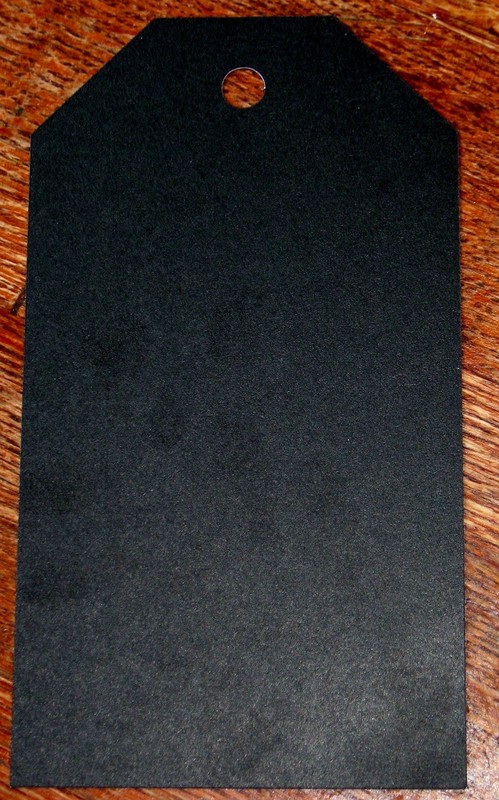
Attach them to the tag.
You can add other embellishments such as ribbon, stamped sentiments, etc. to the tag or leave it so that the main focus is on the monoprinted punched embellishments.
-
Step 13
You can use the prints that you have created using the Easy Monoprint Technique for any and all projects that you could ever imagine. Try them on cards, tags, layouts and even mixed media projects.


Comments

