

About
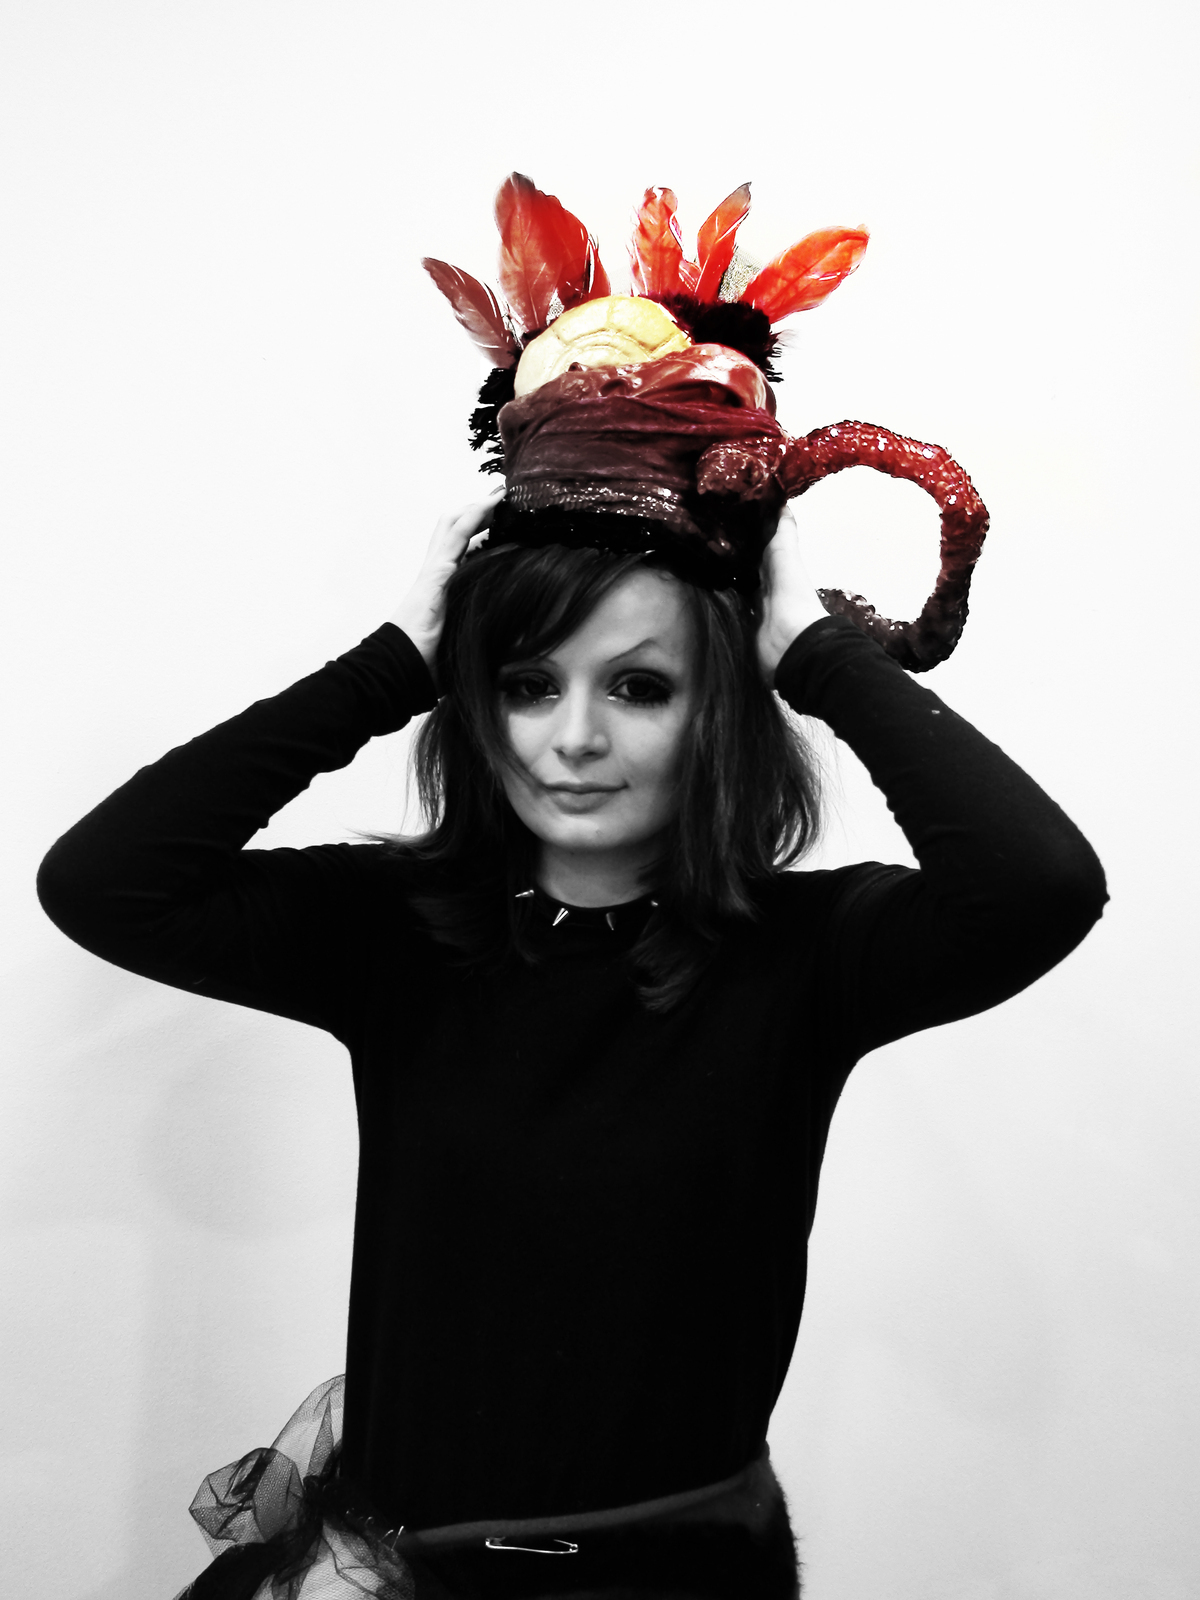
Making a Crazy hat inspired by the Folies Bergere!
Ok, so this hat was inda inspired by the Folies Bergere. It's quiet a long process; but its fun!
Enjoy anyway :]
Tags
-
 JulieD favorited How To Make A Crazy Hat!
29 Jul 00:34
JulieD favorited How To Make A Crazy Hat!
29 Jul 00:34
-
 GothicYolita favorited How To Make A Crazy Hat!
28 Jul 04:23
GothicYolita favorited How To Make A Crazy Hat!
28 Jul 04:23
-
 Alissa B. favorited How To Make A Crazy Hat!
03 Jul 07:37
Alissa B. favorited How To Make A Crazy Hat!
03 Jul 07:37
You Will Need
-
 Step 1
So I started off by designing something; which is always essential when making anything from scratch, because even if you know you won't stick with that Idea and it will look completely different at the end; at least you have a guide along with an idea of what the turn-out will be :D
-
 Step 2
Using a polystyrene model head; I had put a paper maché head piece molded; then to raise the height a littler; I used clay bonderweb; using my hands and water to sculpture the height.
-
 Step 3
I then decided; for the detailing on the side (featured in my design) in order to make it as light as possible; using a lightweight webbed metal, I sculptured only one of the shapes; deciding to stick with only one of the snake like ornaments.
-
 Step 4
Then using the bonderweb again; I molded it onto the the hat part.
-
 Step 5
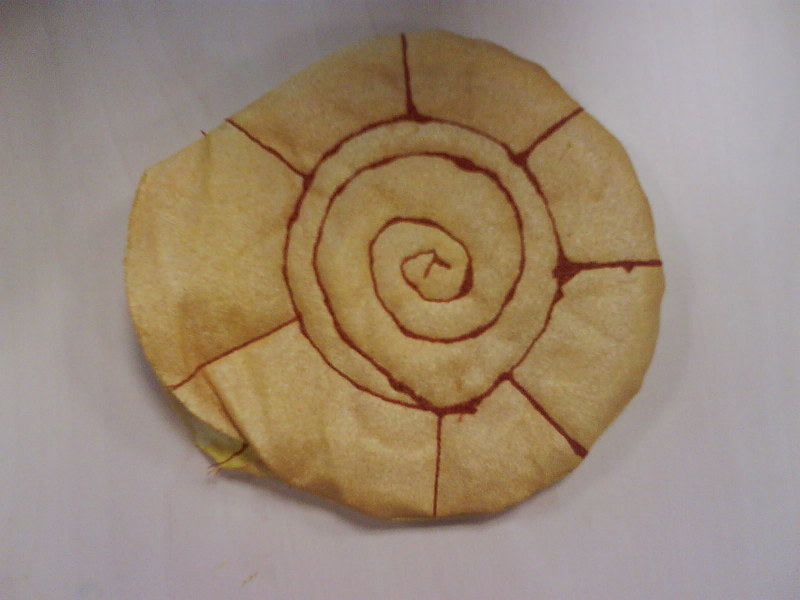
Whilst I was waiting for the clay to dry; I decided I needed to make the circle part for atop the head; I had done a sample for this before, and I knew what would work; so I dyed some cream fabric a lemon color; then waited for it to dry (previously)
-
 Step 6
I then cut out the shape I wanted it to be; and putting some wadding behind, free machine embroidered a pattern I had wanted...
-
 Step 7
...I had also done the back and furthermore using fabric paint in metallic golds and yellow; painting it.
-
 Step 8
I then strapped together loads of thing wires using masking tape and glue and slipping it insider to prevent it from being floppy; to give i some added strength and also covering it entirely in fabric stiffener.
This would take 24 hours to dry out. -
 Step 9
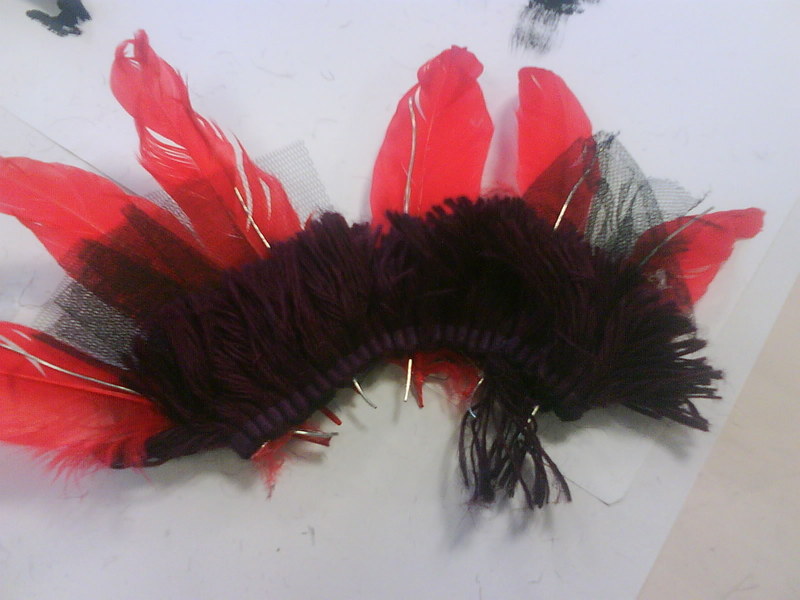
Whilst I was waiting for the remainder of my hat to dry out; i decided to make any additional things to go with it; so I found some bristly fringing to across the base of the hat; dying it a red (mainly because this was the only colored dye available at the time.
-
Step 10
Putting it along the hem of the hat; it didn't look to good in my eyes; so i decided instead of making a complicated metal umbrella part for the other side of the hat; but putting it behind the circle part as added height.
-
 Step 11
I then started to add feathers and netting onto the metal curve.
-
 Step 12
I then waited until the next day; to start to paint the clay red; using acrylic, I had to go over in a few layers. I had also weaved some fabric around and painting the fabric stiffener glue atop.
-
 Step 13
Another angle.
-
 Step 14
Then, when this was all dry; I hammered and super glued this into the back, slotting nicely in.
-
 Step 15
I then gathered up some sequins on a string (you can buy at your local haberdashery) having around 5 meters.
-
 Step 16
I wound it around the snake part; using the glue gun to attach it on.
-
 Step 17
Then it was more or less finished; for neatening the inside you can use the glue gun to insert a fabric piece; also in order to keep this on, some kind of ribbon of tie should be supported.
-
 Step 18
side..
-
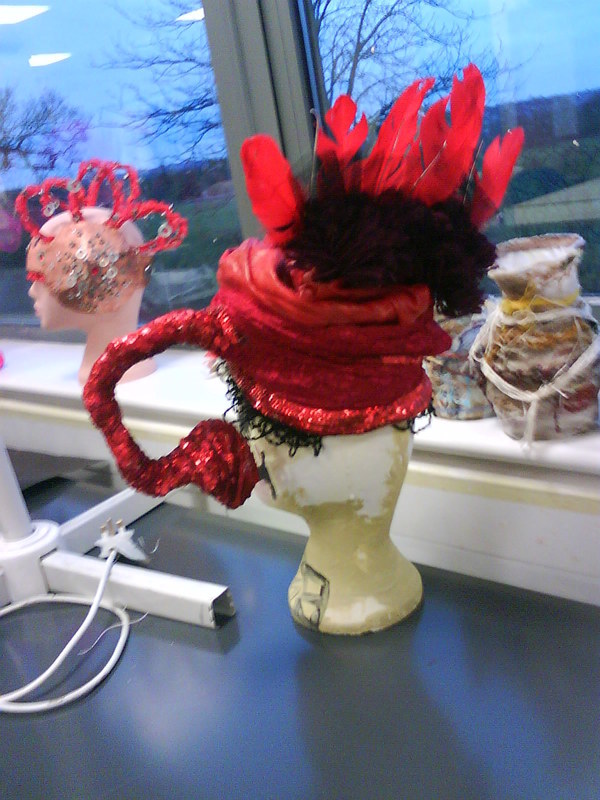
 Step 19
back :D
Hope you enjoyed that!


 1
Home Accessories »
Diy Jewelry Box
1
Home Accessories »
Diy Jewelry Box
