


About
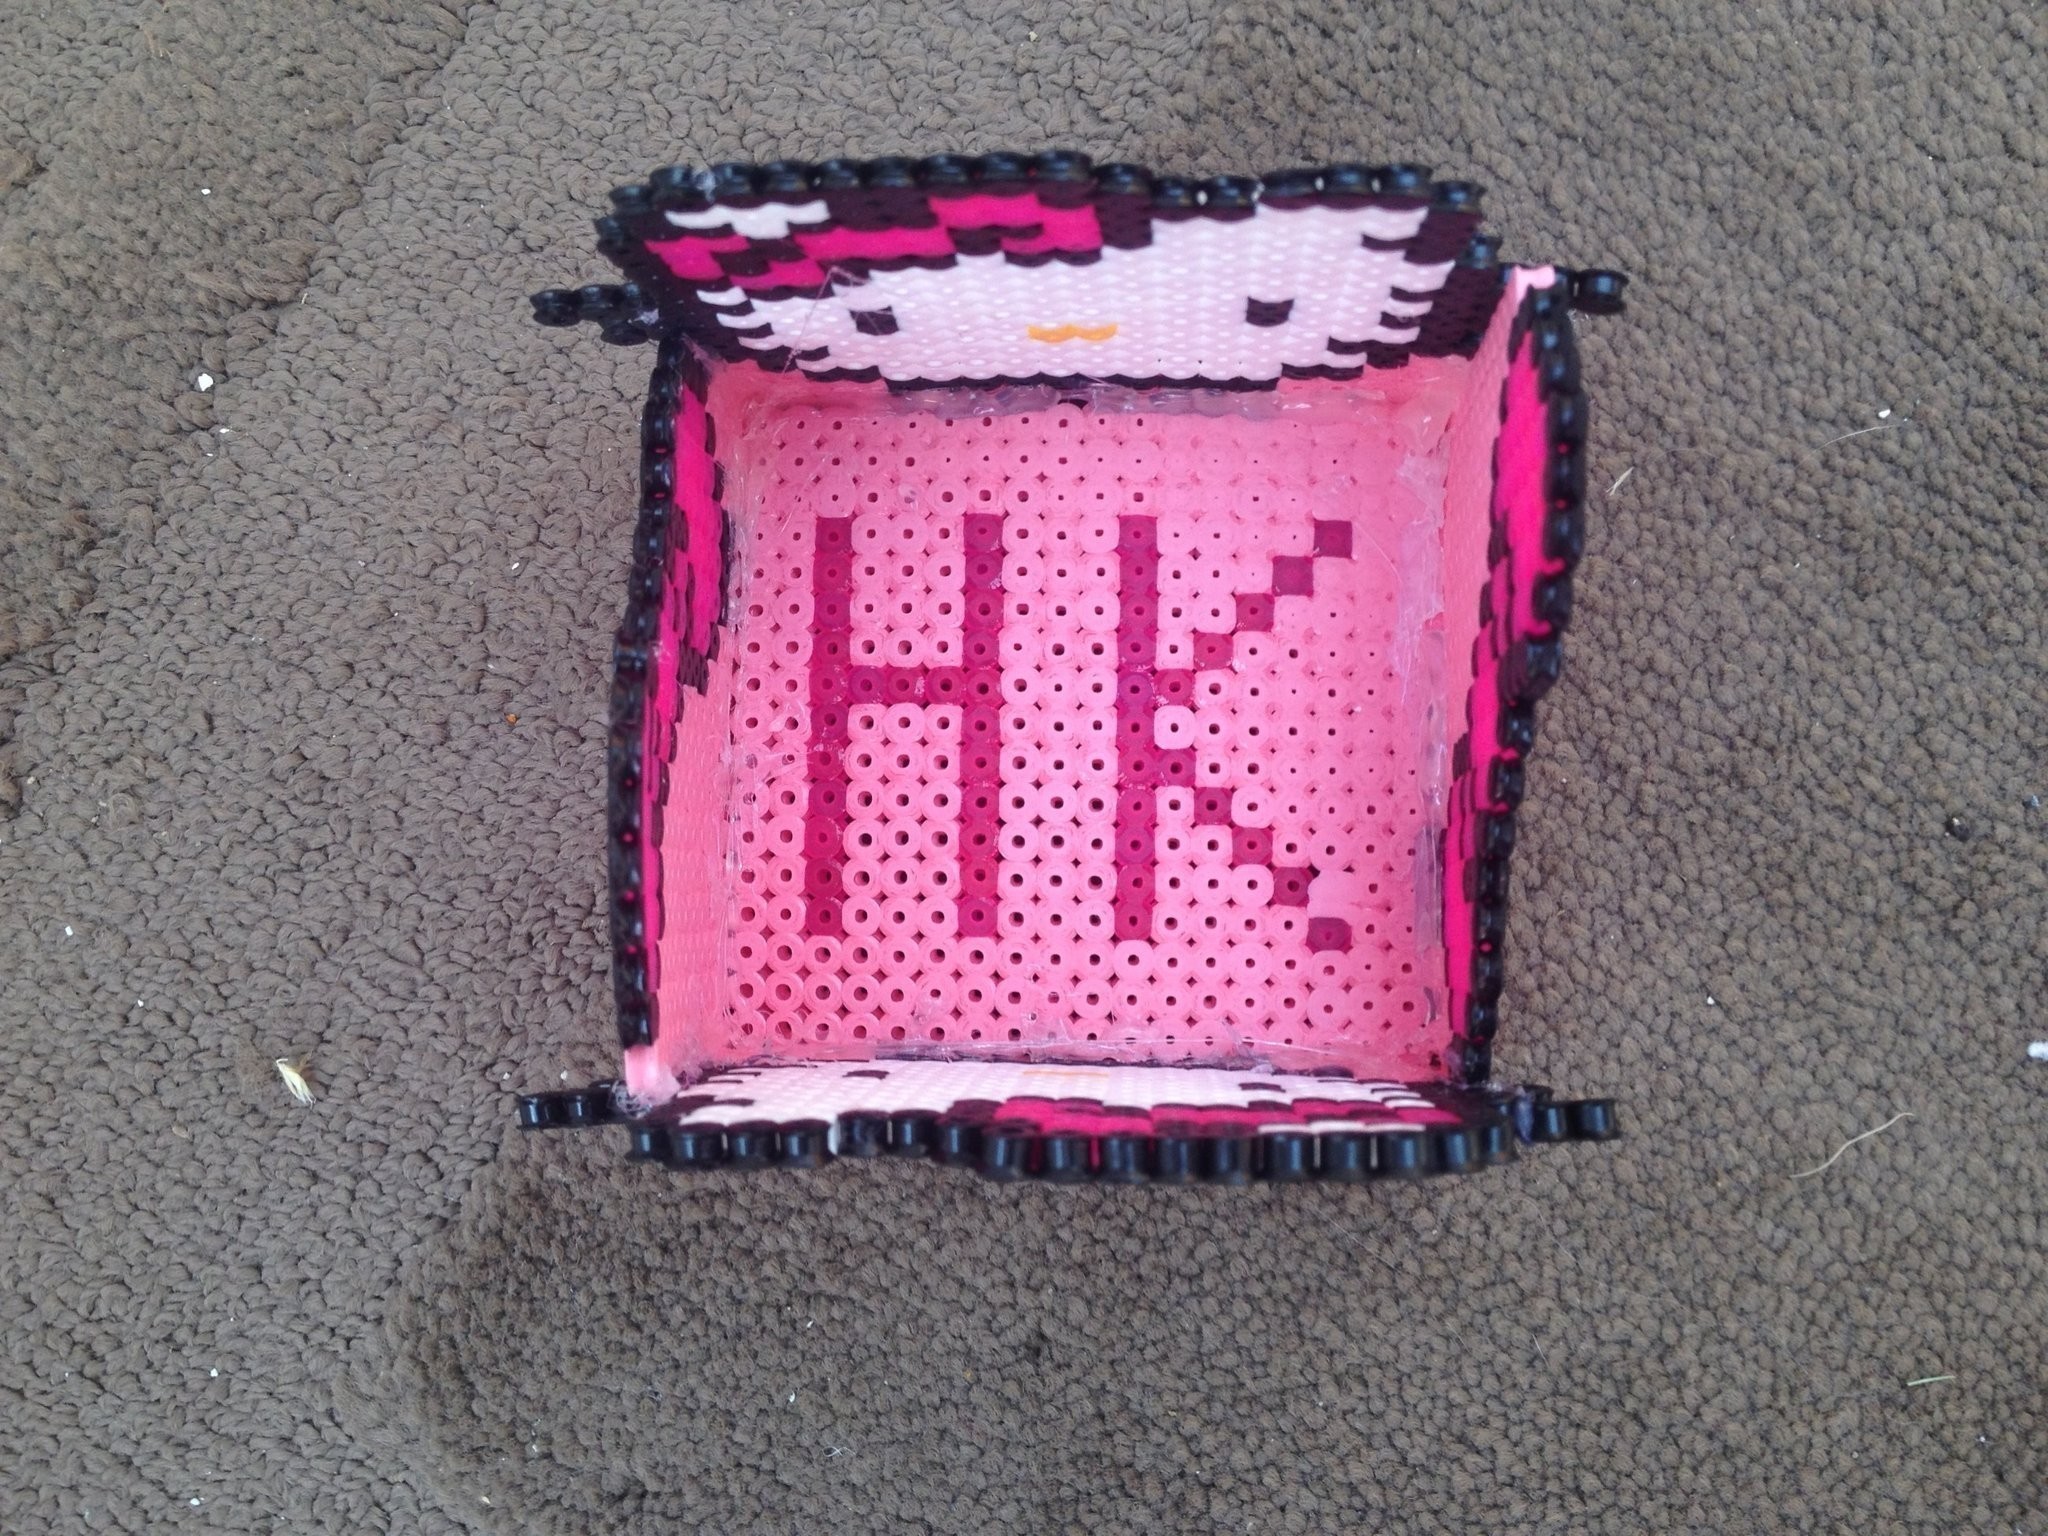
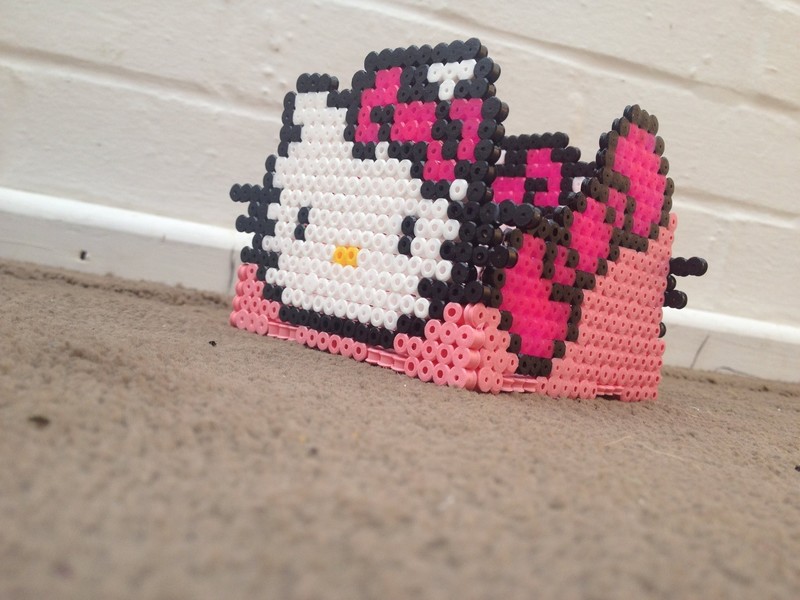
Keep your stuff in this cute, fun and easy pot!
This cute pot can be used to hold many items such as pens, pencils, makeup, nail varnish and anything else you can think of!
The patterns for hama beads are below.
If you have any problems tell me in the comments.
Tags
Downloads
- 2014-04-11-184417-HK_20Wall_201.JPG 50.8 KB [ Download ]
- 2014-04-11-184421-HK_20Wall_202.JPG 47.7 KB [ Download ]
- 2014-04-11-184425-HK_20Base.JPG 58.2 KB [ Download ]
-
 Rika N. favorited Hello Kitty Hama Bead Pot
27 Mar 10:22
Rika N. favorited Hello Kitty Hama Bead Pot
27 Mar 10:22
-
 Toxic Cupcake Killjoy entered her project Hello Kitty Hama Bead Pot to Crafty Creatives
22 Nov 11:52
Toxic Cupcake Killjoy entered her project Hello Kitty Hama Bead Pot to Crafty Creatives
22 Nov 11:52
-
Toxic Cupcake Killjoy entered her project Hello Kitty Hama Bead Pot to Ginger Pickle
15 Sep 16:10
-
 chelsea g. favorited Hello Kitty Hama Bead Pot
24 Aug 23:37
chelsea g. favorited Hello Kitty Hama Bead Pot
24 Aug 23:37
-
Toxic Cupcake Killjoy entered her project Hello Kitty Hama Bead Pot to Japan Crate
21 Apr 17:09
-
Toxic Cupcake Killjoy entered her project Hello Kitty Hama Bead Pot to Harmonee's Creations
23 Mar 21:32
-
 Pixel junkie favorited Hello Kitty Hama Bead Pot
13 Feb 19:55
Pixel junkie favorited Hello Kitty Hama Bead Pot
13 Feb 19:55
-
Toxic Cupcake Killjoy entered her project Hello Kitty Hama Bead Pot to Secret Santa
16 Dec 07:34
-
Toxic Cupcake Killjoy entered her project Hello Kitty Hama Bead Pot to Kawaii Box
15 Sep 15:26
-
 Conner W. added Hello Kitty Hama Bead Pot to organizers
13 Sep 00:28
Conner W. added Hello Kitty Hama Bead Pot to organizers
13 Sep 00:28
You Will Need
-
Step 1
First, gather up all your equipment and then we'll begin!
-
 Step 2
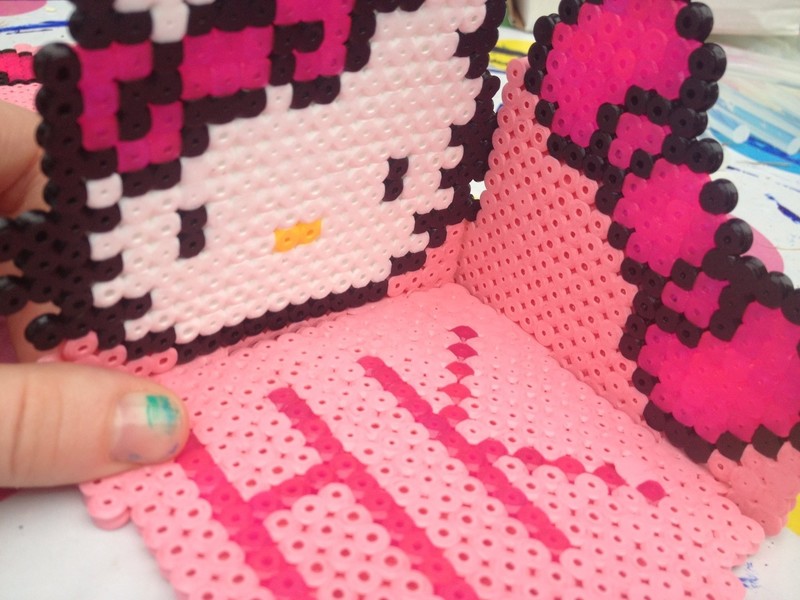
The first parts of the pot we need to make are the walls. I started with the wall with Hello Kitty's face, you need to make two of these. The pattern you'll need is called HK Wall 1 and can be found in the attachments.
-
 Step 3
Iron both of the walls with the ironing paper. If you don't know how to iron the beads properly look at steps 7-10.
-
 Step 4
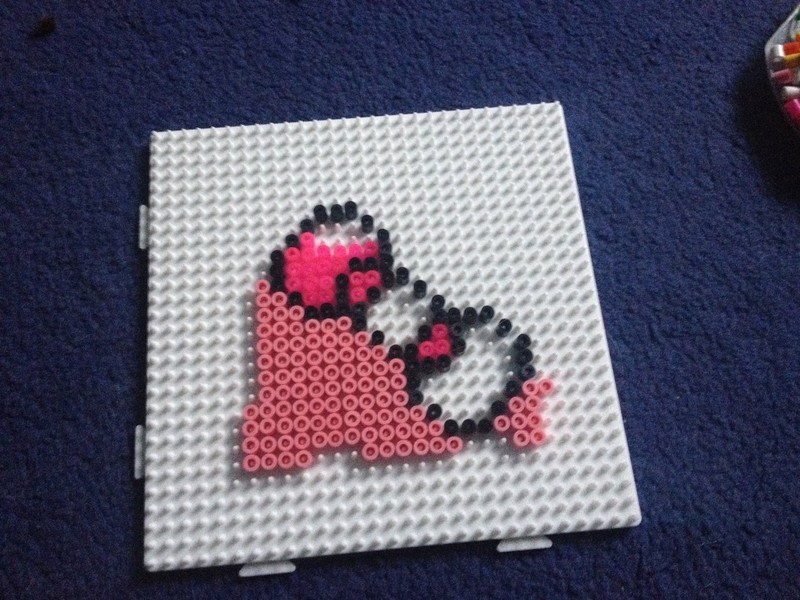
Next, create two of the walls with Hello Kitty's bow. The pattern for this one is called HK Wall 2.
-
 Step 5
Iron the walls like you did in step 3. After you've done that you've made all the walls! Woohoo!
-
 Step 6
Now we need a base for our pot. Use the final attachment called HK Base.
-
 Step 7
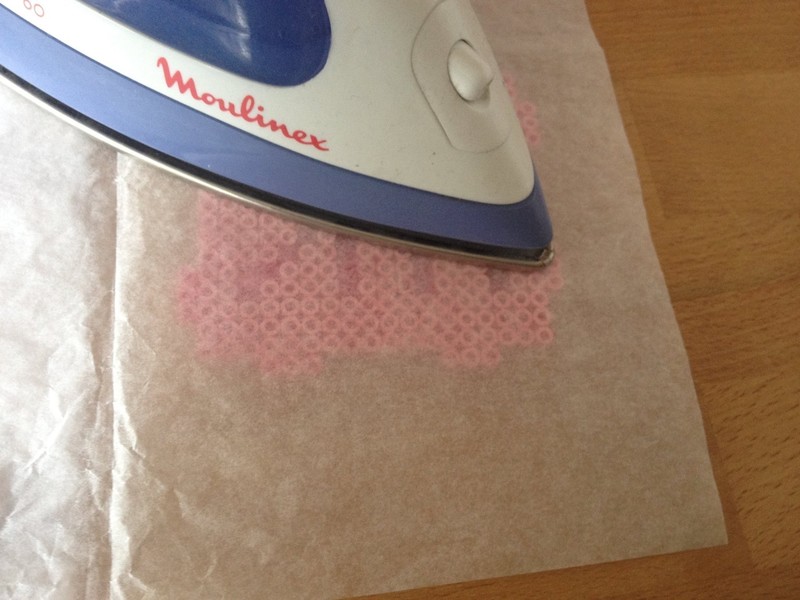
We need to iron the designs so we can use them for the pot. To do this first you need to place the ironing paper on top of the beads making sure they're completely covered.
-
 Step 8
Then iron over the paper in circular movements pressing fairly hard.
-
 Step 9
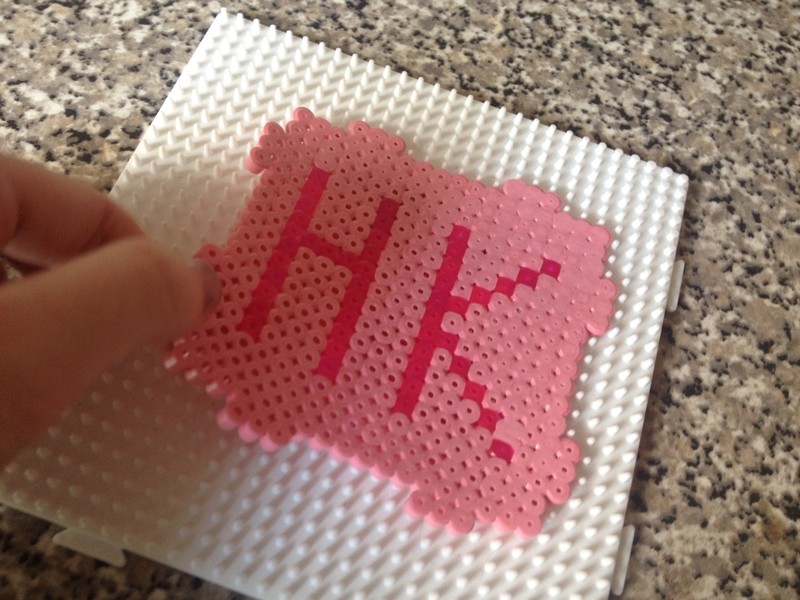
Take off the paper and then gently peel the beads off the pegboard starting at the corners. Don't pull too hard or else you might break it!
-
 Step 10
Turn over the piece and put the ironing paper on the back and iron over that it. I like ironing both sides because then it's stronger and easier to put together. Remember to do this with the walls too!!
-
 Step 11
Congratulations you've made all the pieces! Collect then up and work out which piece goes where.
-
 Step 12
Place two of the walls together and slot them into the base. Be careful so you don't break them.
-
 Step 13
If it does break just iron over again like you did in step 8 or use a bit of glue from the glue gun to stick the broken pieces together again.
-
 Step 14
Glue along the joints where the sides meet and where the sides meet the base.
-
 Step 15
Attach the other sides to the base and glue them together. You may want to put some glue on a cocktail or kebab stick to reach the corners.
-
 Step 16
And ta-da! Your cute little pot is ready!


Comments


 1
Home Accessories »
Diy Jewelry Box
1
Home Accessories »
Diy Jewelry Box
