


About
Handmade "Handmaid's Tale" Egg Cozy
One must keep their eggs secure and safe and warm in a dystopian society. This festive felt egg cozy does just that.
Types of stitch:
Overcast stitch
Backstitch
Difficulty:
Medium
Finished size:
3.5 x 5.5 in
Downloads
- 2018-10-10-191207-Handmade+Egg+Cozy+Instructions+v1.pdf 29.9 MB [ Download ]
-
 Key West Witch favorited Handmade "Handmaid" Egg Cozy
08 Aug 13:05
Key West Witch favorited Handmade "Handmaid" Egg Cozy
08 Aug 13:05
-
 Deb E. favorited Handmade "Handmaid" Egg Cozy
10 Aug 20:58
Deb E. favorited Handmade "Handmaid" Egg Cozy
10 Aug 20:58
-
 Emma H. favorited Handmade "Handmaid" Egg Cozy
16 Mar 22:38
Emma H. favorited Handmade "Handmaid" Egg Cozy
16 Mar 22:38
-
 CcareS commented on Handmade "Handmaid" Egg Cozy
02 Mar 07:38
CcareS commented on Handmade "Handmaid" Egg Cozy
02 Mar 07:38
-
 Crafterella featured Handmade "Handmaid" Egg Cozy
01 Mar 23:00
Crafterella featured Handmade "Handmaid" Egg Cozy
01 Mar 23:00
-
 Missy C. published their project Handmade "Handmaid" Egg Cozy
27 Feb 09:00
Missy C. published their project Handmade "Handmaid" Egg Cozy
27 Feb 09:00
-
Step 1
Cut out paper pattern
-
 Step 2
Tape the paper pattern pieces to the felt for precise cuts and easy stitch
detailing. Avoid taping over marked stitch detail.
• Body pieces on red (you will cut two of these—cut and re-tape for the
second piece)
• Cape and sleeves on red
• Head and hands on light tan
• Bonnet pieces on white -
 Step 3
Cut out your felt pieces without marked stitch detail.
-
 Step 4
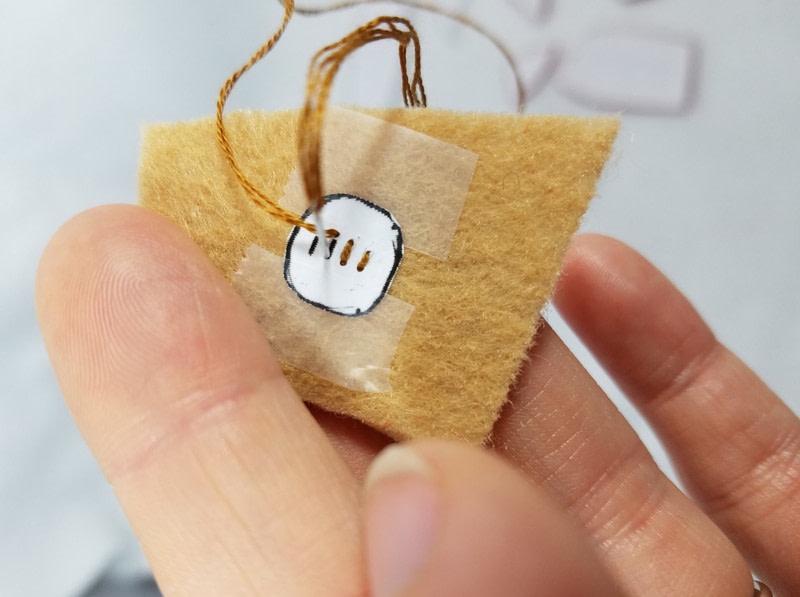
Adding Detail:
1. Use the paper patterns to add stitch detail to your pieces. You may stitch
through the paper patterns, but keep the stitches small to make the paper easier
to remove later. Embroidery floss comes in 6-strand skeins--variations in strand
use are noted.
• Stitch finger detail onto hands using the backstitch and the dark tan floss -
 Step 5
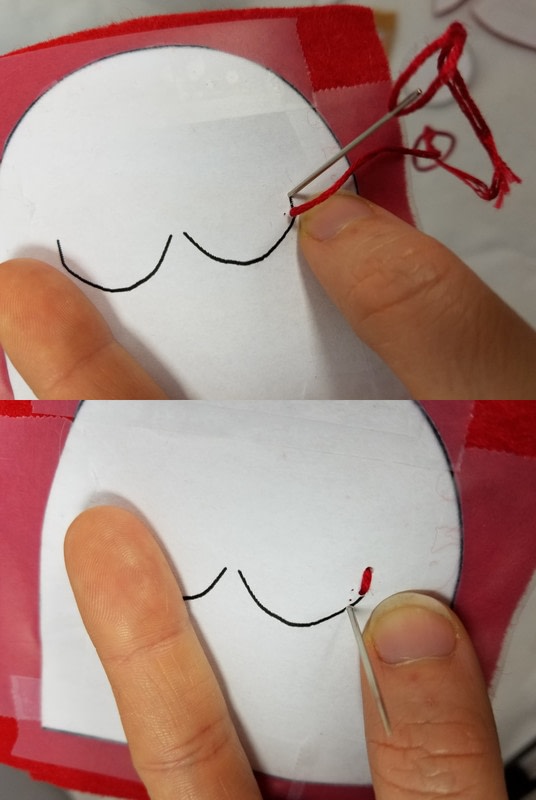
Stitch breast detail onto single body piece using the backstitch and
red floss -
Step 6
Cut out the detail pieces you’ve just stitched and carefully remove the paper patterns.
Note: You may hot glue loose ends underneath the piece so they don’t pull through during paper removal.
-
 Step 7
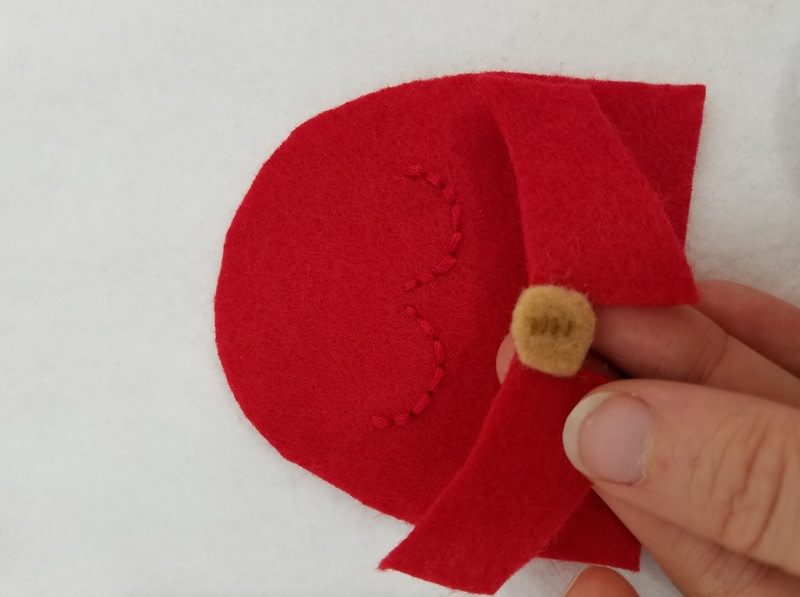
Assemble body pieces.
• Hot glue the hand piece to the sleeve piece.
-
 Step 8
• Hot glue the sleeve piece to the main, front body piece.
-
Step 9
• Glue the collar pieces onto the shawl pieces.
-
 Step 10
• Lay the shawl pieces on top of BOTH layers of body pieces.
-
 Step 11
• Use the overcast stitch and red thread to stitch both body layers and the shawl pieces together. Do not close the bottom edge.
-
 Step 12
Assemble head and complete the egg cozy.
• Glue the front bonnet piece onto the main head piece.
• Position the back bonnet piece on the back of the head and glue on. -
 Step 13
Glue the head piece to the front of your egg cozy.
-
 Step 14
Glue the back bonnet piece to the back of the egg cozy, aligning it with the head.


Comments


