

About
Greeting Card Bleaching Technique
Come stamp with me as I show you how to use the Bleaching Technique to a greeting card to add color!
Downloads
- 116064_2F2017-03-14-103227-Bleaching+Technique.pdf 557 KB [ Download ]
-
 Crafterella featured Greeting Card Bleaching Technique
18 Apr 23:00
Crafterella featured Greeting Card Bleaching Technique
18 Apr 23:00
-
 Moira A. added Greeting Card Bleaching Technique to arty stuff
17 Apr 07:19
Moira A. added Greeting Card Bleaching Technique to arty stuff
17 Apr 07:19
-
Moira A. favorited Greeting Card Bleaching Technique
17 Apr 07:18
-
 Debbie Henderson, Debbie's Designs published her project Greeting Card Bleaching Technique
11 Apr 09:00
Debbie Henderson, Debbie's Designs published her project Greeting Card Bleaching Technique
11 Apr 09:00
You Will Need
-
 Step 1
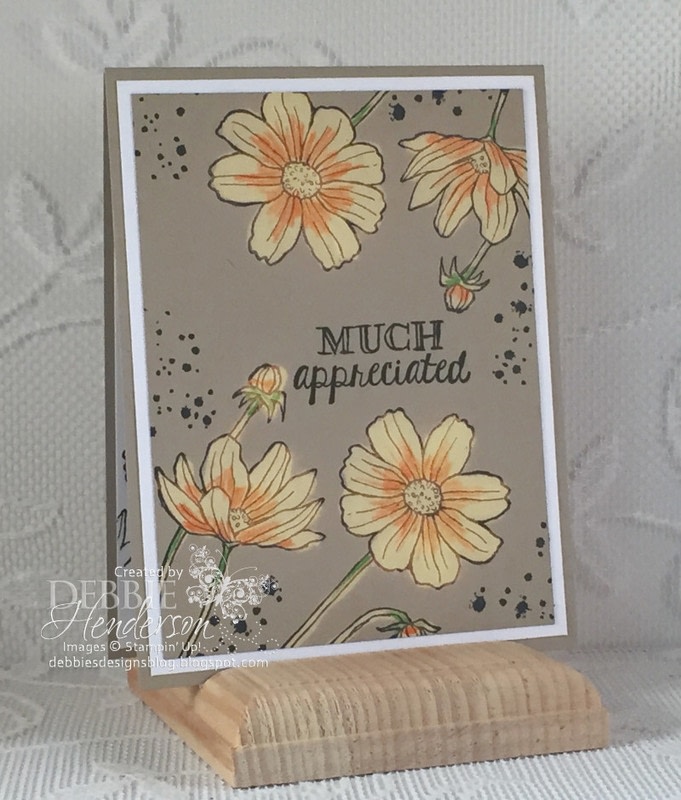
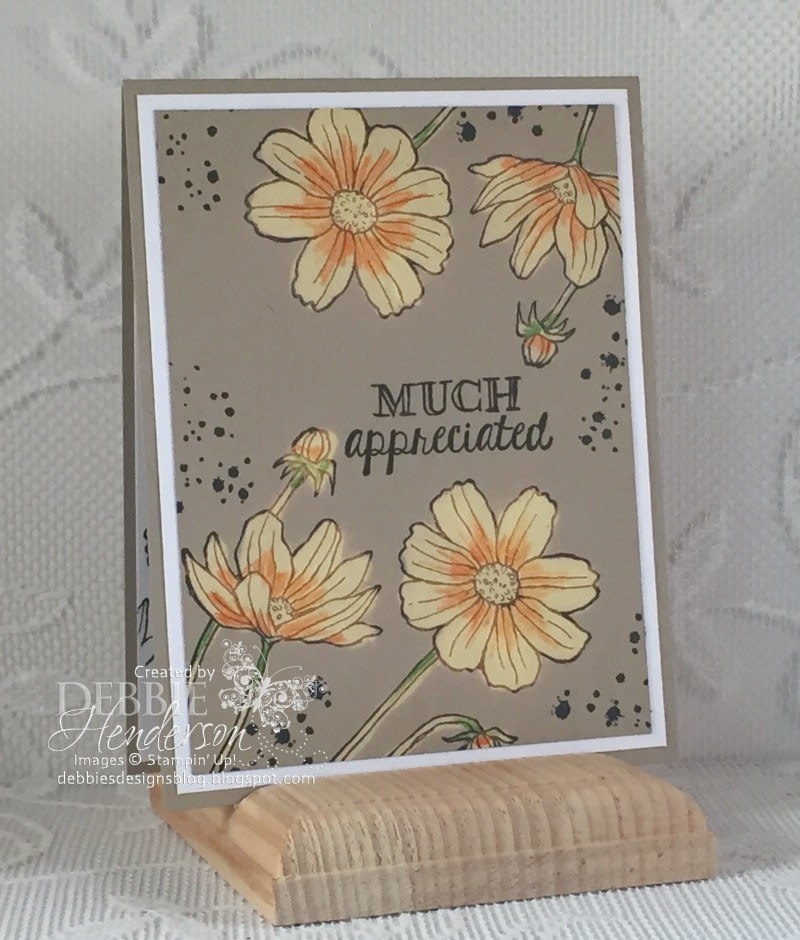
Card Base: Crumb Cake Cardstock 11” x 4-1/4”. Score and fold at 5-1/2”.
-
Step 2
Layer #2: Whisper White Cardstock 5-1/4” x 4”. Glue to card base.
-
Step 3
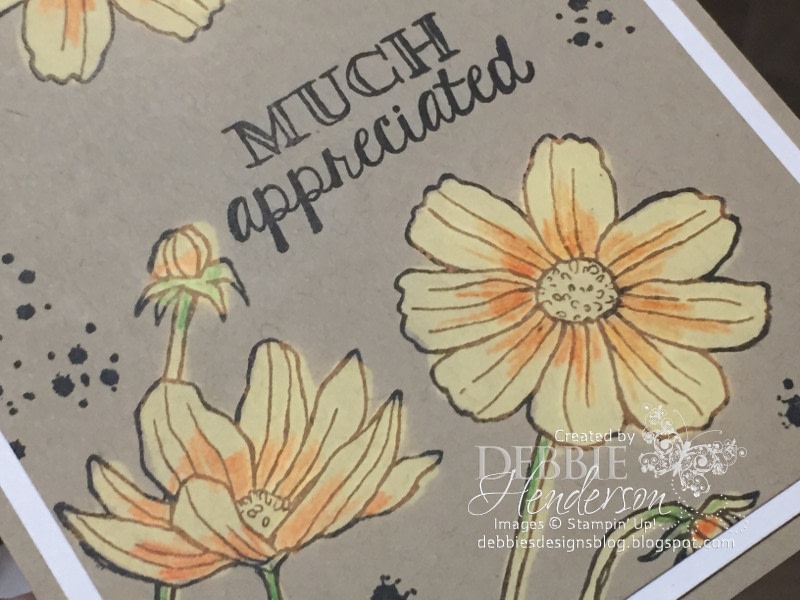
Layer #3: Crumb Cake Cardstock 5” x 3-3/4”. Start by stamping the sentiment from the Helping Me Grow stamp set using StazOn Jet Black Ink in the center. Stamp the flower image from the Helping Me Grow stamp set using StazOn Jet Black Ink surrounding the sentiment. Add the splatter image from the Awesomely Artistic stamp set to fill in the remainder of the space around the flowers using StazOn Jet Black Ink.
-
 Step 4
Technique: Add a little bit of bleach to a cup. Using an old Blender Pen, dip the tip of the Blender Pen into the bleach and color all of the flowers and stems with the bleach. Make sure you stay inside the lines. You will notice the cardstock start to bleach out the cardstock color. Set aside to dry. Once dry, use colored pencils to add color to the flowers and stems. I used an orange color for the flowers and green for the stems. Glue to card front once coloring is completed.