About
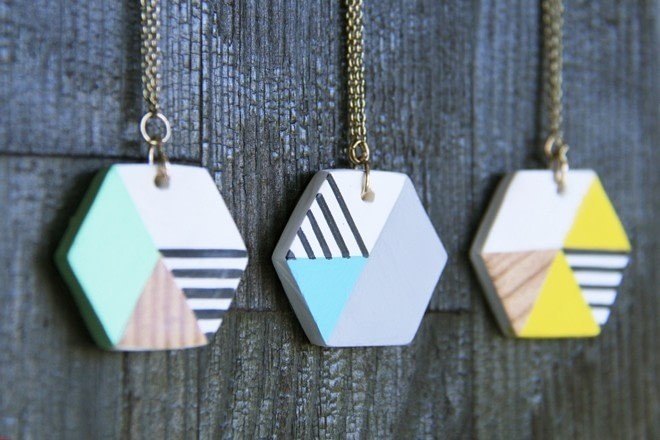
Make your own geometric pendants from polymer clay.
These pendants are super simple to make with a bit of polymer clay and some acrylic paint. I made several of these to give away to friends as gifts for birthdays and at christmas. Because they are painted, each one can be personalized. Hope you like them.
Tags
-
 Holly J. added Geometric Pendant Diy to Jewelry
09 Jul 22:00
Holly J. added Geometric Pendant Diy to Jewelry
09 Jul 22:00
-
 Ghosts are Green favorited Geometric Pendant Diy
26 Apr 01:03
Ghosts are Green favorited Geometric Pendant Diy
26 Apr 01:03
-
 Xfluffy_unitatoX favorited Geometric Pendant Diy
19 Nov 21:23
Xfluffy_unitatoX favorited Geometric Pendant Diy
19 Nov 21:23
-
 Allyne added Geometric Pendant Diy to On Holidaaaaaay
26 Jul 22:17
Allyne added Geometric Pendant Diy to On Holidaaaaaay
26 Jul 22:17
-
Barjaa B. added Geometric Pendant Diy to DIYS
27 Jun 18:19
-
meg B. favorited Geometric Pendant Diy
25 Jun 18:48
-
sarah g. favorited Geometric Pendant Diy
13 Apr 05:18
-
 isis.nallely favorited Geometric Pendant Diy
31 Jan 03:39
isis.nallely favorited Geometric Pendant Diy
31 Jan 03:39
-
 Justine :] favorited Geometric Pendant Diy
04 Jan 17:46
Justine :] favorited Geometric Pendant Diy
04 Jan 17:46
-
 Muhaiminah Faiz added Geometric Pendant Diy to Must make jewelries!
26 Nov 04:29
Muhaiminah Faiz added Geometric Pendant Diy to Must make jewelries!
26 Nov 04:29
-
Step 1
Cut a hexagonal shape out of cardstock.
-
Step 2
Condition the polymer clay and roll flat using an acrylic rolling pin.
-
 Step 3
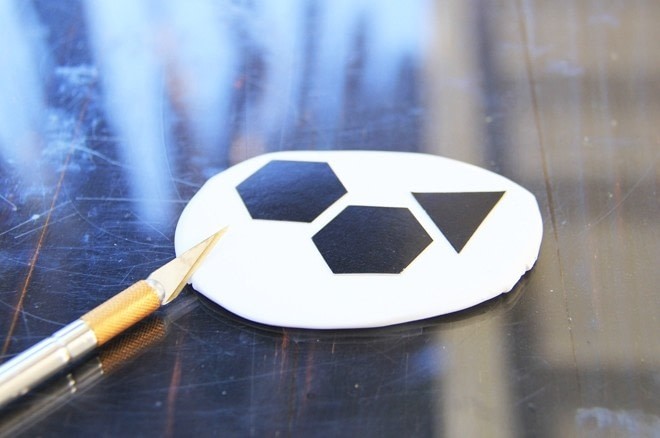
Lay your cardstock template over the clay and cut out shapes. Use the toothpick to pierce a hole in the top of the pendant.
Tip: If the shape isn't perfect, you can always sand the sides after it's baked. -
Step 4
Bake the pendants according to instructions on package.
-
 Step 5
Once the pendants have cooled, tape off a section you wish to paint. Paint it.
-
 Step 6
Use the marker and ruler to draw a few horizontal lines.
-
 Step 7
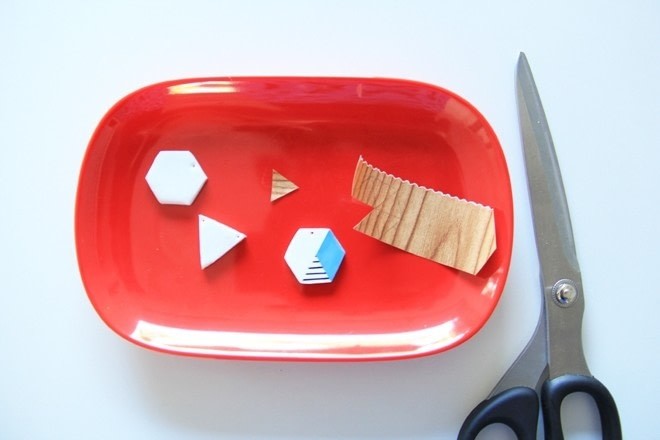
Cut a triangular piece of contact paper to fit a section of the pendant. Adhere to pendant.
-
 Step 8
Use some Modge Podge to seal the paint and contact paper.
-
 Step 9
Once everything is dry, attach o-rings and necklace chain.